Send Email using Python
Master Programming with Our Comprehensive Courses Enroll Now!
You would have sent and received an email. What to send an email by using the Python code, rather than going to the browser or app to do so?
Then you are at the right place. We will discuss the SMTP protocol, sending mail using Python, and also sending an HTML email using Python. So, let us begin with the introduction to SMTP.
Introduction to SMTP
Protocols are the set of rules that define a task. When dealing with networking, we use one or more protocols based on the requirements of the task we do. One of such protocols is SMTP (Simple Mail Transfer Protocol).
SMTP is the standard protocol for transmitting electronic mail (or in short e-mail). This is a connection-oriented protocol and uses TCP as a transport layer. This is a push protocol, so we can use it to send emails. But at the receiver’s end, it used the POP (Post Office Protocol) and IMAP (Internet Message Access Protocol).
The smtplib Module
In Python, we use the smtplib module to send emails. This module defines the SMTP client session object. This object can then be used to send an email on any internet session. We can import this module using the below code.
import smtplib
And to create the SMTP object we can use the SMTP() function inside the module. The syntax of this function is given below.
smtp_obj = smtplib.SMTP(host, port, local_hostname)
The parameters of this function are:
1. host: This is the hostname of the server that is running the SMTP server. We can either give the IP address or the local host. It is an optional parameter.
2. port: This parameter takes the port number of the machine from where the SMTP server is listening to the connections. This argument needs to be mentioned when the host argument is given. This number is 25 by default, the port number of SMTP protocol.
3. local_hostname: When the server is running on the local machine, we need to mention the ‘localhost’ or the hostname of the local machine.
This SMTP object has the following methods:
1. SMTP.ehlo(name=’’):
This function is called for extended hello. The purpose of the method is to make the server identify the client and also tell the server to use the extended SMTP (ESMTP) protocol. By default, the name argument is the local hostname.
2. SMTP.helo(name=’’):
This function is used to let the server identify the client and use the SMTP protocol.
3. SMTP.starttls(keyfile=None, certfile=None, context=None):
This function is used to set up the TLS(Transport Layer Security) connection. It none of helo() or ehlo() are called previously, the ehlo() is called first.
All the functions called after this function get encrypted. So, it is required to call ehlo() again.
The keyfile and certfile are optional and are used to create an ssl.SSLContext. Instead, we can give the context parameter as an ssl.SSLContext object by setting the previous two parameters as None.
4. SMTP.login(user, password, *, initial_response_ok=True):
This function is used to authenticate to the server using the username and the password. If any of the ehol() or helo() functions are called previously, then it goes with the respective protocol. Or else, it prefers to call the ehlo() function.
If the username and the password are correct then it authenticates, or else it gives an exception. The optional parameter initial_response_ok is used to specify if an “initial response” can be sent along with the auth command, rather than requiring a challenge.
5. SMTP.sendmail(from_addr, to_addrs, msg, mail_options=(), rcpt_options=()):
This function takes the sender’s address, receiver’s address and the message and sends an email. If none of helo() or ehlo() are called previously, the ehlo() is called first.
6. SMTP.auth(mechanism, authobject, *, initial_response_ok=True):
This function is used for authenticating the provided mechanism. And the authobject is provided to handle any issues.
7. SMTP.connect(host=’localhost’,port=0):
This method is used to connect to the host mentioned in the given port. By default, the port is SMTP port (port number=25). This method is invoked automatically by the constructor if the host is mentioned during the initiation.
8. SMTP.verify(address):
This function checks the validity of the input address on this SMTP server. If the address is valid, then returns a tuple with two elements, code 250 and a full RFC 822 address (including human name). Or else, it returns an error code of 400 or greater and a string describing the error.
9. SMTP.ehlo_or_helo_if_needed():
This method either calls the ehlo() or helo() method if any of these functions are not called in the current session. This function first calls the ehlo() method.
10. SMTP. set_debuglevel(level):
This function is used to set the debug output level. We can set the level to 1 or True to connect to the server, send to and receive messages from the server. The value should be 2 for time-stamped messages.
11. SMTP.docmd(cmd,args=’’):
This function takes the command as the first arguments and optional arguments (args) that get appended to the command separated by a space. It sends this command to the server and returns a tuple of two values. One is the numeric response code and the other is the actual response line.
12. SMTP.hasextn(name):
This function takes the name as the input and checks if the name exists in the ser of the SMTP service extensions provided by the server. It returns True if present or else it returns False. While checking, it ignores the case.
13. SMTP.send_message(msg, from_addr=None, to_addrs=None, mail_options=(), rcpt_options=()):
This method is similar to the sendmail() function, except that here the message represents the Message object.
14. SMTP.quit():
This function is used to terminate the SMTP session and close the connection
Sending an Email using Python
We have seen a lot of functions in the above section. Now let us do the implementation.
Example of sending an email using Python:
import smtplib #importing the module

sender_add='[email protected]' #storing the sender's mail id
receiver_add='[email protected]' #storing the receiver's mail id
password='password' #storing the password to log in

 #creating the SMTP server object by giving SMPT server address and port number
smtp_server=smtplib.SMTP("smtp.gmail.com",587)
smtp_server.ehlo() #setting the ESMTP protocol

smtp_server.starttls() #setting up to TLS connection
smtp_server.ehlo() #calling the ehlo() again as encryption happens on calling startttls()

smtp_server.login(sender_add,password) #logging into out email id

msg_to_be_sent ='''
Hello, receiver!
Hope you are doing well.
Welcome to PythonGeeks!
'''

#sending the mail by specifying the from and to address and the message
smtp_server.sendmail(sender_add,receiver_add,msg_to_be_sent)
print('Successfully the mail is sent') #priting a message on sending the mail

smtp_server.quit()#terminating the server
Output:
SMTPAuthenticationError: (535, b’5.7.8 Username and Password not accepted. Learn more at\n5.7.8 https://support.google.com/mail/?p=BadCredentials f4sm4107599pgs.3 – gsmtp’)
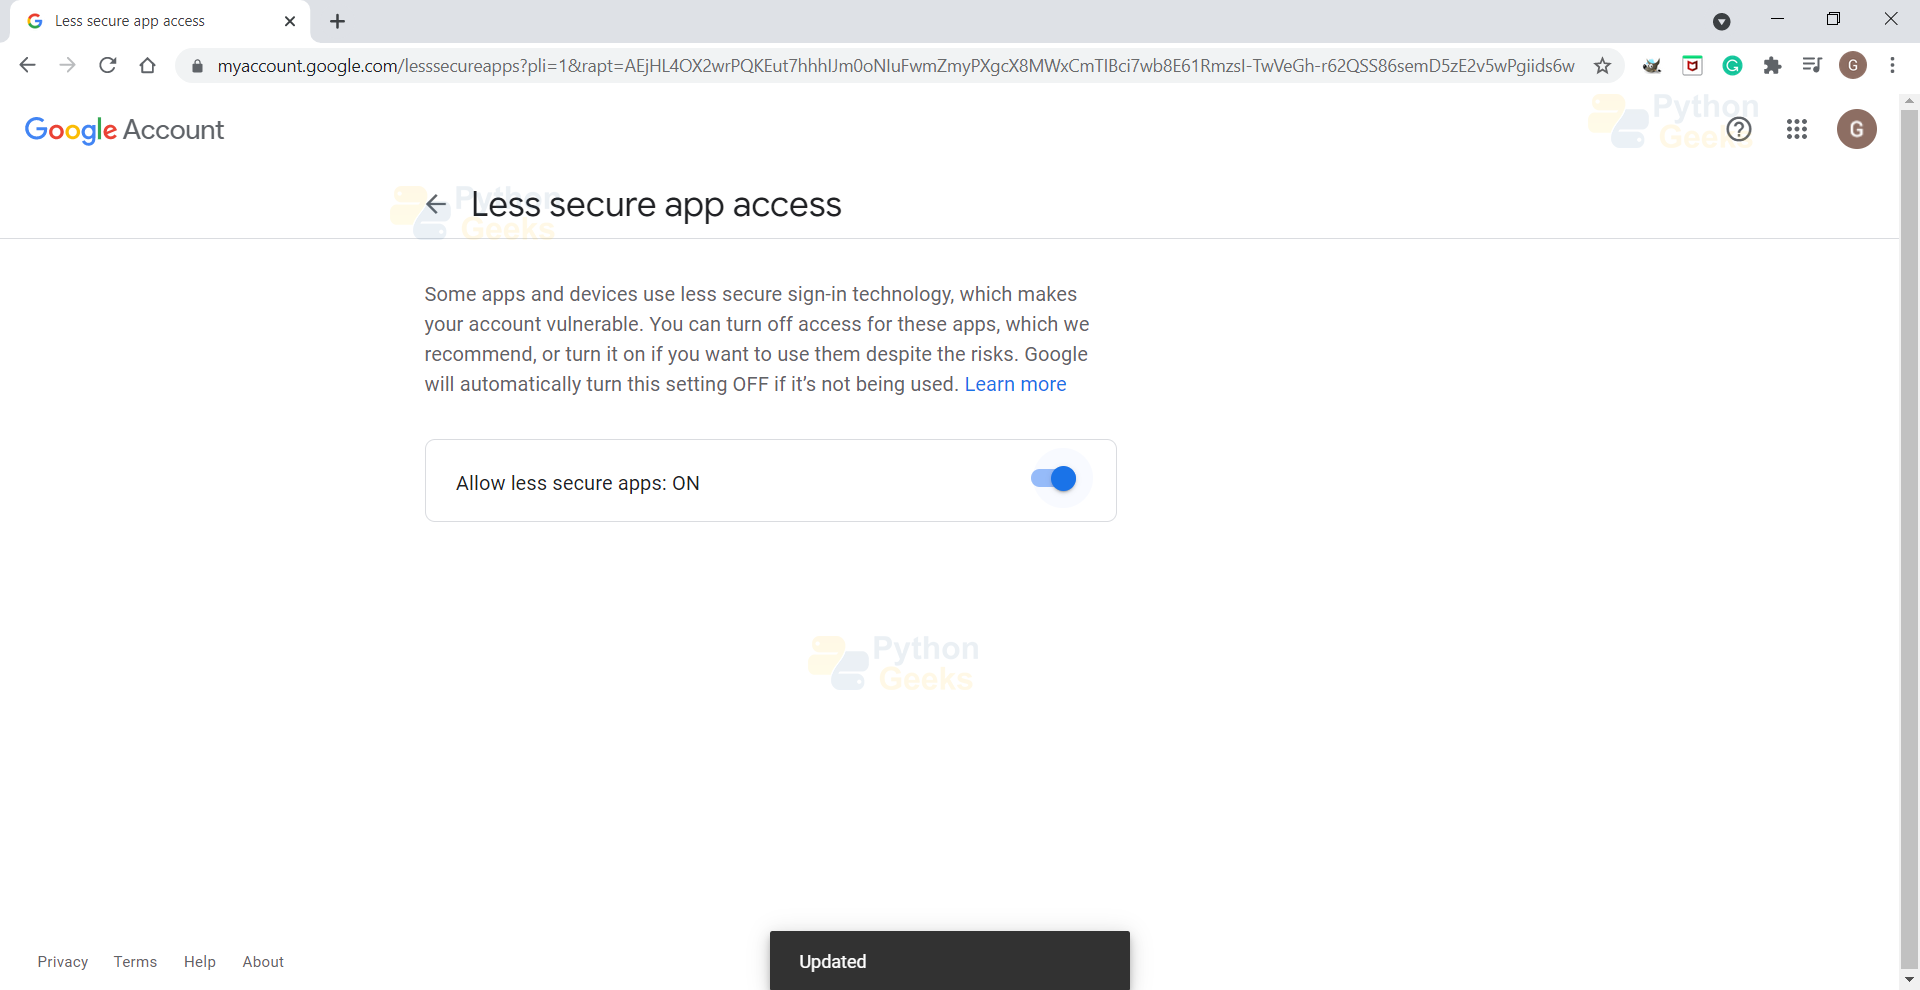
We get an error because our email account does not allow any access to an anonymous program. So, we need to give access temporarily before running this code. Don’t forget to disable the access once the task is done.
We can give them access by going to the site https://myaccount.google.com on your browser logged in with the mail you are using to send the mail.
After this, if we run the code, then the code is executed and we can successfully send a message from our account to the required person’s account. And we get the below message in the console.
Output after giving the access:
Successfully the mail is sent
(221, b’2.0.0 closing connection o20sm4168183pgv.80 – gsmtp’)
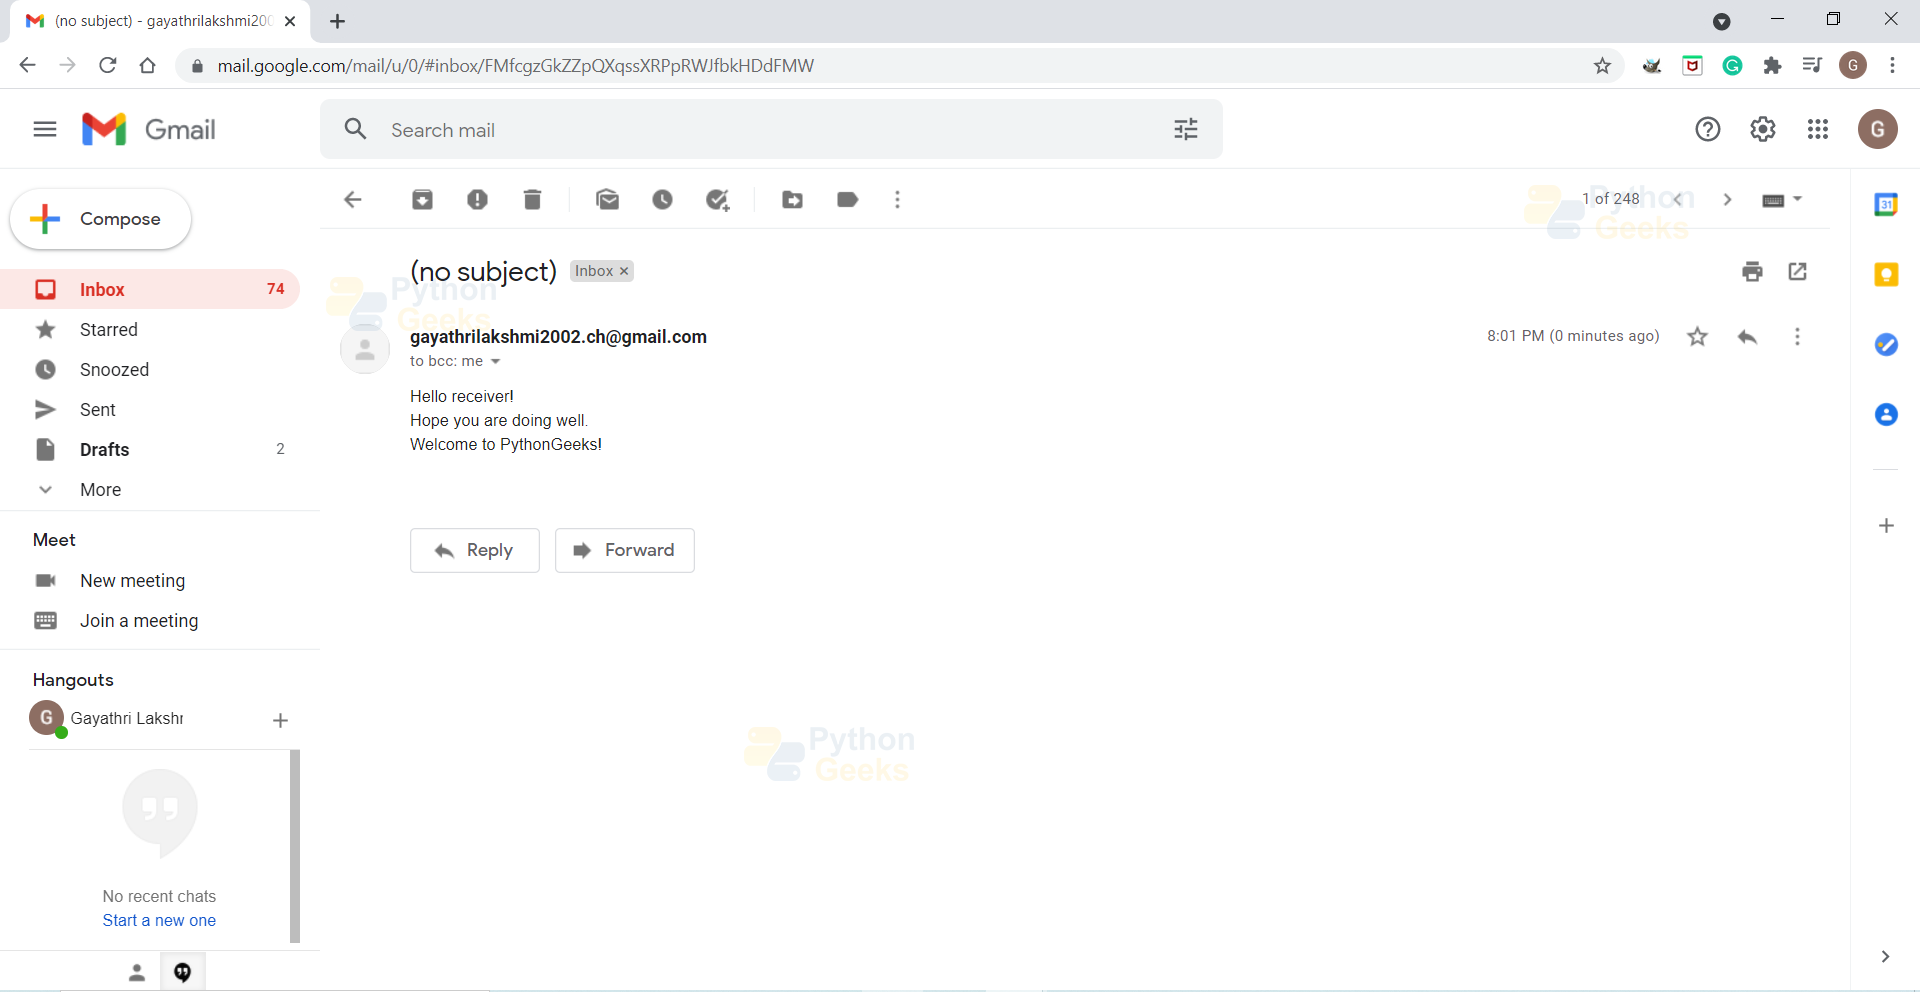
The above mail will be sent to the receiver. Here, I gave both the receiver and the sender address as same so the mail shows ‘to bcc: me’.
Sending HTML email using Python
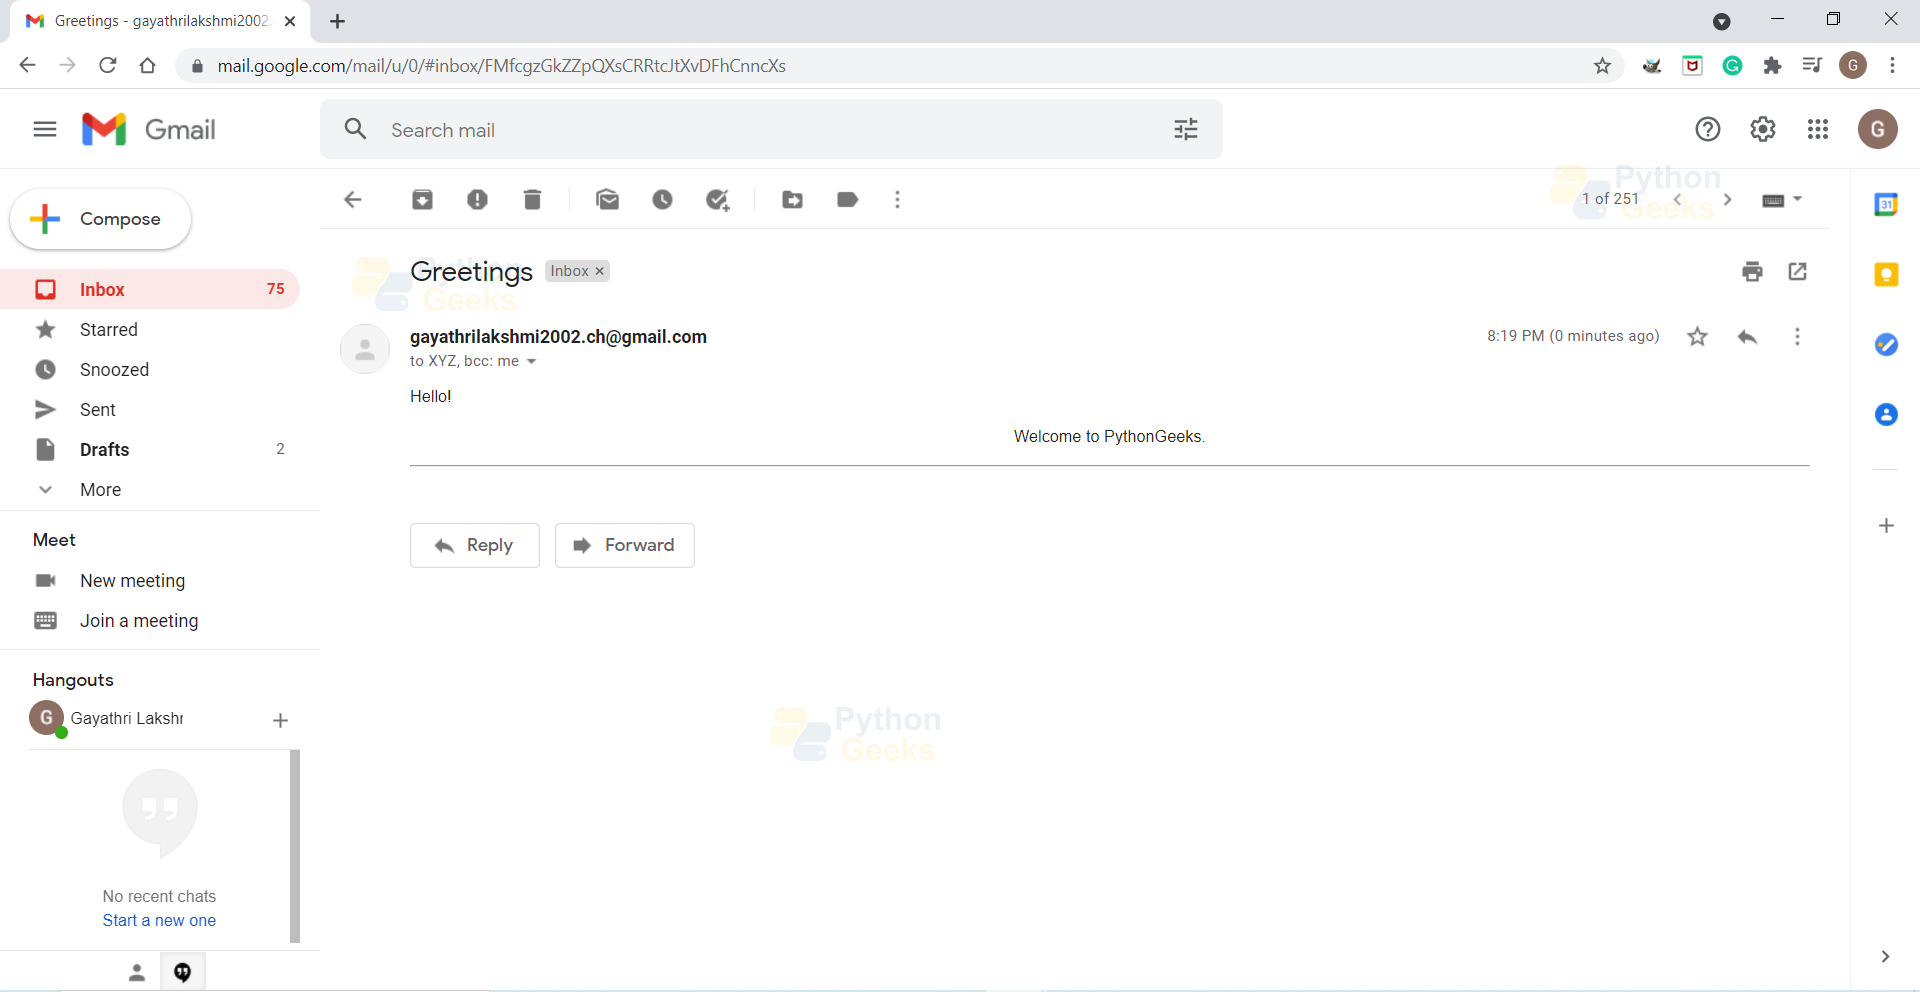
We can send an HTML email also using the same procedure mentioned above. Here, by HTML we mean the content in the message. Using this, we can add some attributes to the content like making some parts of it bold, setting alignment, etc.
Here also, we need to make sure we give access.
Example of sending an email using Python:
import smtplib #importing the module

sender_add='[email protected]' #storing the sender's mail id
receiver_add='[email protected]' #storing the receiver's mail id
password='password' #storing the password to log in

 #creating the SMTP server object by giving SMPT server address and port number
smtp_server=smtplib.SMTP("smtp.gmail.com",587)
smtp_server.ehlo() #setting the ESMTP protocol

smtp_server.starttls() #setting up to TLS connection
smtp_server.ehlo() #calling the ehlo() again as encryption happens on calling startttls()

smtp_server.login(sender_add,password) #logging into out email id

#writing the message in HTML
html_msg="""From: ABC
To: XYZ
MIME-Version: 1.0
Content-type: text/html
Subject:Greetings
Hello! <br/><p align="center">Welcome to PythonGeeks.</p><hr/>"""

#sending the mail by specifying the from and to address and the message
smtp_server.sendmail(sender_add,receiver_add,html_msg)
print('Successfully the mail is sent') #printing a message on sending the mail

smtp_server.quit()#terminating the server
Output:
Successfully the mail is sent
(221, b’2.0.0 closing connection y9sm4159836pgr.10 – gsmtp’)
And we get the following mail.
Sending Attachments via Email
To write an email with mixed content, that is, with text and documents we need to set the content-type header to multipart or mixed. And specify these content within specified boundaries.
We can specify the boundaries using two hyphens followed by a unique number (this number will not be shown in the email). The final boundary should end with the two hyphens denoting the end of the mail.
To attach the file we import the ‘base64’ module and use the pack() function.
Example of sending an email using Python:
import smtplib #importing the module
import base64

file_path="D:\python_pic.png" #Storing the file path


file = open(file_path, "rb") #opening the file
file_content = file.read() #reading the content of the file
encoded_content = base64.b64encode(file_content)  # converting the content into base64 format

sender_add='[email protected]' #storing the sender's mail id
receiver_add='[email protected]' #storing the receiver's mail id
password='password' #storing the password to log in

unique_marker = "AUNIQUEMARKER" #this is used to number the parts uniquely

smtp_server=smtplib.SMTP("smtp.gmail.com",587) #creating the SMTP server object by giving SMPT server address and port number
smtp_server.ehlo() #setting the ESMTP protocol
smtp_server.starttls() #setting up to TlS connection
smtp_server.ehlo() #calling the ehlo() again as encryption happens on calling startttls()

smtp_server.login(sender_add,password) #logging into out email id

text='Hello! Welcome to PythonGeeks'

# Defining the main headers
part1 = """From: From Person <[email protected]>
To: To Person <[email protected]>
Subject: Sharing the attachment
MIME-Version: 1.0
Content-Type: multipart/mixed; boundary=%s
--%s
""" % (unique_marker, unique_marker)

# Defining the message section
part2 = """Content-Type: text/plain
Content-Transfer-Encoding:8bit

%s
--%s
""" % (text,unique_marker)

# Defining the attachment section
part3 = """Content-Type: multipart/mixed; name=\"%s\"
Content-Transfer-Encoding:base64
Content-Disposition: attachment; filename=%s

%s
--%s--
""" %(file_path, file_path, encoded_content, unique_marker)

msg_to_be_sent = part1 + part2 + part3 #combining all the parts

#sending the mail by specifying the from and to address and the message
smtp_server.sendmail(sender_add,receiver_add,msg_to_be_sent)
print('Successfully the mail is sent') #printing a message on sending the mail

smtp_server.quit()#terminating the server
Output:
Successfully the mail is sent
(221, b’2.0.0 closing connection j128sm4325682pfd.38 – gsmtp’)
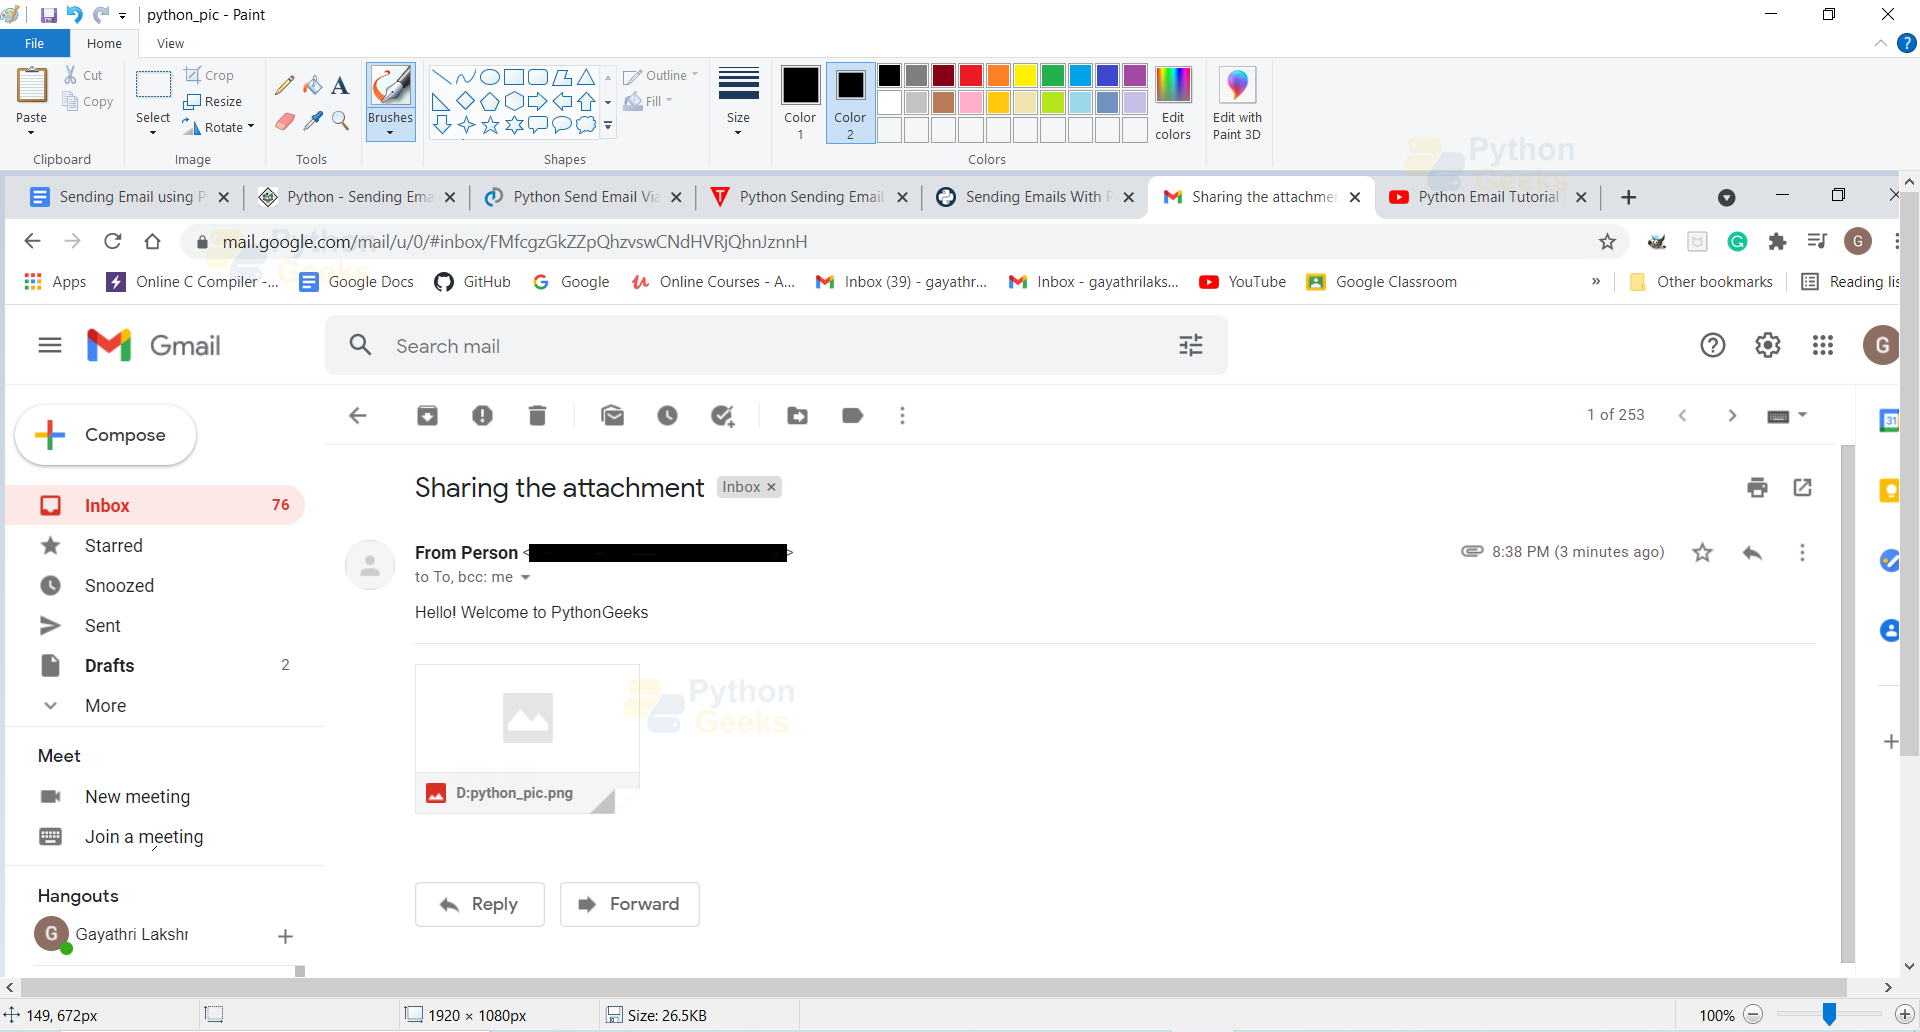
Here, the shared document is a picture. The content of the email we get is shown in the below picture.
Conclusion
Congratulation! You have learned how to send an email using Python. We saw about the SMTP protocol and we discussed the smtplib module. Then we saw some examples of sending different emails. Hope you understood all the topics covered in this article.
Happy learning!

Great, how can I append info get it from variables? I write a little script with PySimpleGUI, in summary just I need send info by email, this info is chosen by user in a combo box, for example.
Type1 Folder1
Type2 Blocked
Send Button
If I combine like your last example, I received the email but all within the body, like this:
From: abc @ gmail . com
to: xyz @ gmail . com
subject: Greetings!
{‘Type1’: ‘Folder1’, ‘Type2’: ‘Blocked’}
I mean, in From, To and Subject section is empty, all is in the body mail.
Hope you have and idea,
thanks
Just put the body of the email into an html, then use {variablename} to call the value of the selected item in your combo box