Create Voice Assistant using Python
Get ready to crack interviews of top MNCs with Placement-ready courses Learn More!
Python voice assistant project helps you to automate your pc for different tasks. It’ll provide the same environment as you get in your mobile phones. The most important thing is it’ll be your personal assistant you can name it to as you want not restricted like mobile phones.
About Python Voice Assistant Project
The objective of the project is to implement a voice assistant using Python that can synthesize your voice to listen to specific voice commands and return relevant information or perform specific functions as requested by the user.
Project Prerequisites
To implement a voice assistant in python requires you to have a basic knowledge of the python programming and speech_recognition library.
- tkinter – for use Interface(UI)
- speech_recognition – to recognize the speech
- datetime – to get date and time
- pyttsx3 – is a text-to-speech conversion library
- webbrowser – is a convenient web browser controller
Download Python Voice Assistant Project Code
For the actual implementation, please download the python voice assistant project code from the following link: Voice Assistant Project Code
Project File Structure
Below is the structure of Python Voice Assistant Project:
- Importing modules
- Create display window
- Define Function
- Creating Object for class
1. Importing Modules
We first import all the necessary Python libraries required for this voice assistant project.
# Importing all the necessary libraries
import speech_recognition as sr
import pyttsx3
import webbrowser
import datetime
from tkinter import *
from PIL import ImageTk
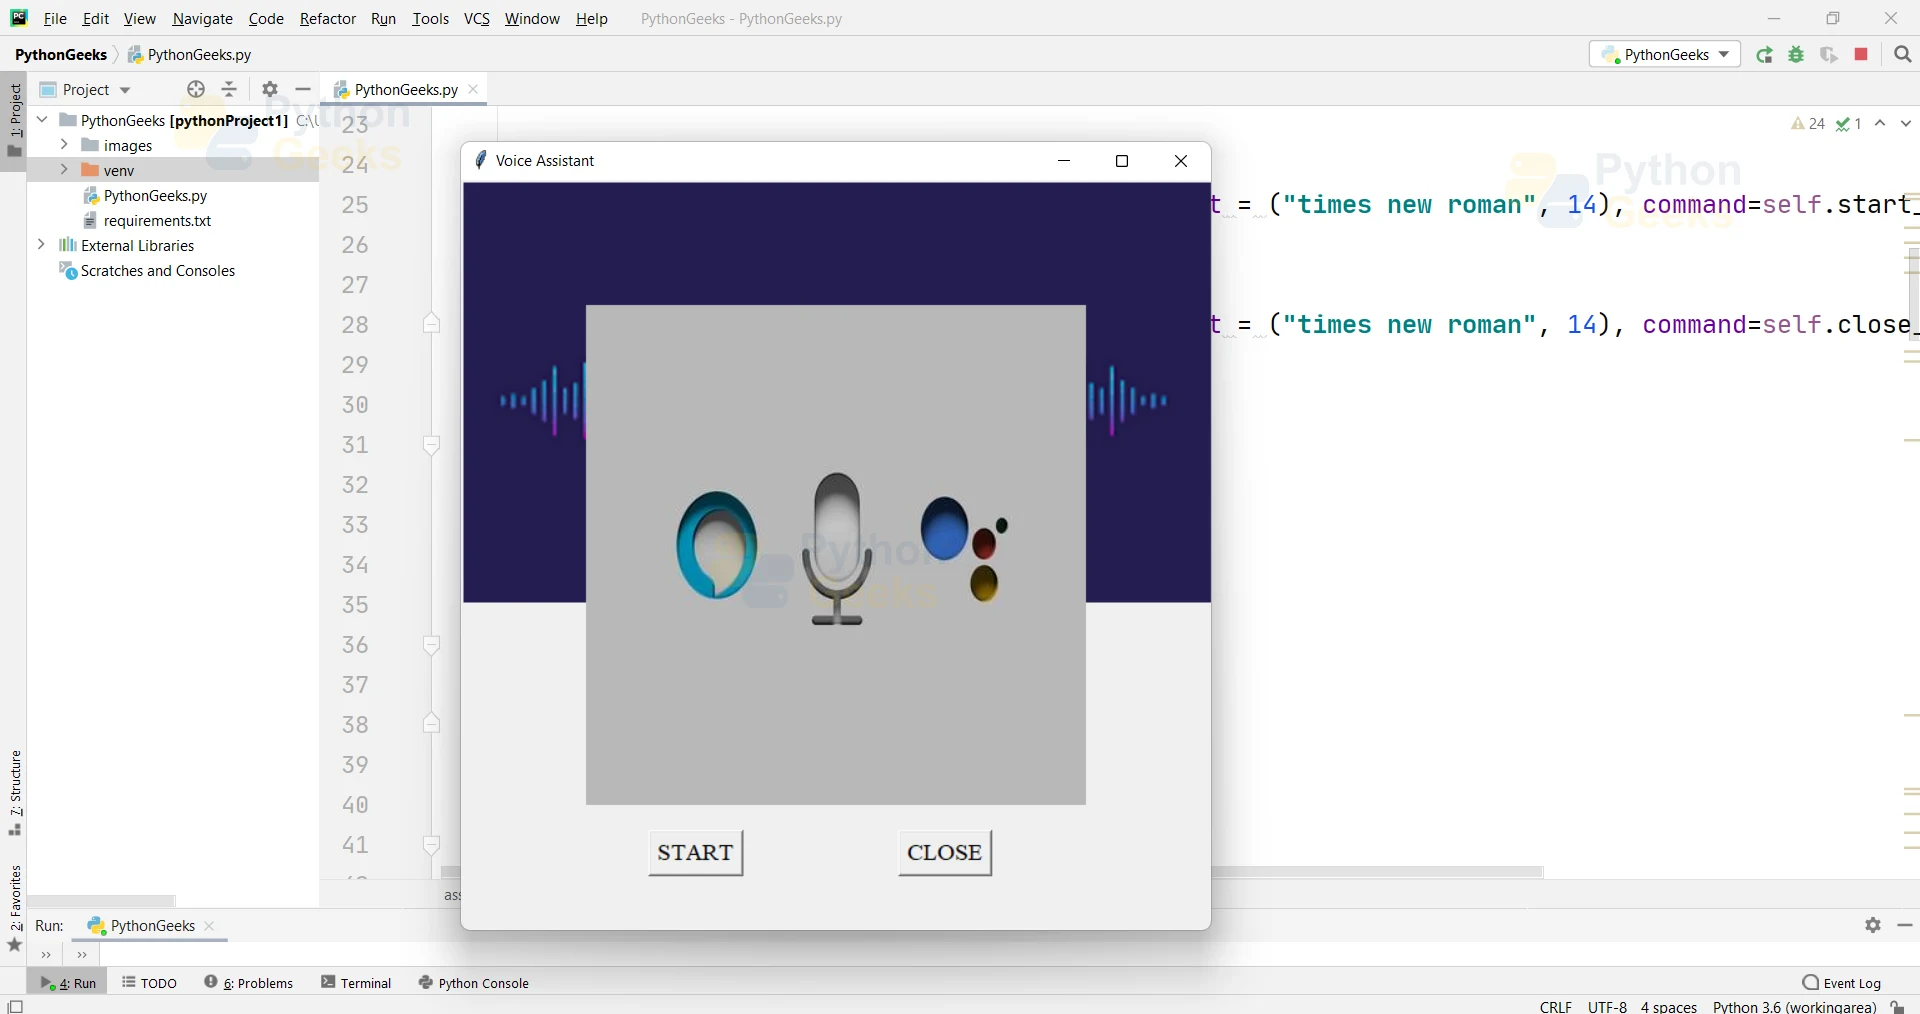
2. Create Display Window
We first create a class of assistance_gui, where we create an initiator function in which we pass the root of the interface. Now, we set the title, geometry, frames and buttons for the interface.
# ==== Creating gui for user
class assistance_gui:
def __init__(self,root):
self.root = root
self.root.title("Voice Assistant")
self.root.geometry('600x600')

self.bg = ImageTk.PhotoImage(file="images/background.png")
bg = Label(self.root, image=self.bg).place(x=0, y=0)

self.centre = ImageTk.PhotoImage(file="images/frame_image.jpg")
left = Label(self.root, image=self.centre).place(x=100, y=100, width=400, height=400)

# ====start button
start = Button(self.root, text='START', font = ("times new roman", 14), command=self.start_option).place(x=150, y=520)

# ====close button
close = Button(self.root, text='CLOSE', font = ("times new roman", 14), command=self.close_window).place(x=350, y=520)
3. Define functions
Now, let’s create different functions which are going to be used in this project.
i. speak()
ii. start()
iii. take_command()
iv. run_command()
i. speak():- This function is responsible for voice control to convert the text into speech.
# ==== Voice Control

def speak(text):
engine.say(text)
engine.runAndWait()
ii. start():- This is the default function that gets started when you click on the start button from the interface it wishes you as per the time and asks you what kind of help you want from your assistant. We’ll call this function in our main function as a default option.
# ====Default Start

def start():
# ==== Wish Start
hour = int(datetime.datetime.now().hour)
if hour >= 0 and hour < 12:
wish = "Good Morning!"
elif hour >= 12 and hour < 18:
wish = "Good Afternoon!"
else:
wish = "Good Evening!"
speak('Hello Sir,' + wish +' I am your voice assistant. Please tell me how may I help you')

# ==== Wish End
iii. take_command():- This function will take instructions from the user and return the user instruction to run_function() to execute that instruction.
# ==== Take Command

def take_command():
try:
with sr.Microphone() as data_taker:
print("Say Something")
voice = listener.listen(data_taker)
instruction = listener.recognize_google(voice)
instruction = instruction.lower()
return instruction
except:
pass
iv. run_command():- This function will take the user instruction from the user and perform as per the user given task. We’ll also print the instruction which will be provided by the user and to run this function again and again we’re putting this function in an indefinite while loop which only gets terminated when False value get returned to it.
# ==== Run command

def run_command():
instruction = take_command()
print(instruction)

try:
if 'who are you' in instruction:
speak('I am your personal voice Assistant')

elif 'what can you do for me' in instruction:
speak('I can play songs, tell time, and help you go with wikipedia')

elif 'current time' in instruction:
time = datetime.datetime.now().strftime('%I: %M')
speak('current time is' + time)

elif 'open google' in instruction:
speak('Opening Google')
webbrowser.open('google.com')

elif 'open youtube' in instruction:
speak('Opening Youtube')
webbrowser.open('youtube.com')

elif 'open facebook' in instruction:
speak('Opening Facebook')
webbrowser.open('facebook.com')

elif 'open PythonGeeks' in instruction:
speak('Opening PythonGeeks')
webbrowser.open('pythongeeks.org')

elif 'open linkedin' in instruction:
speak('Opening Linkedin')
webbrowser.open('linkedin.com')

elif 'open gmail' in instruction:
speak('Opening Gmail')
webbrowser.open('gmail.com')

elif 'open stack overflow' in instruction:
speak('Opening Stack Overflow')
webbrowser.open('stackoverflow.com')

elif 'shutdown' in instruction:
speak('I am shutting down')
self.close_window()
return False
else:
speak('I did not understand, can you repeat again')
except:
speak('Waiting for your response')
return True

# ====Default Start calling
start()

# ====To run assistance continuously
while True:
if run_command():
run_command()
else:
break
v. close_window():- This function is responsible to terminate the user interface window.
# ==== Close window
def close_window(self):
self.root.destroy()
4. Create object for class
In this we’ll first create a root for our tkinter window then pass that root to the class by creating an object for it and then run the mainloop window of our GUI.
# ==== create tkinter window
root = Tk()

# === creating object for class
obj=assistance_gui(root)

# ==== start the gui
root.mainloop()
Python Voice Assistance Project Output
Summary
YAY!! We have successfully developed the voice assistant project in python. To make things easy, this tutorial is divided into different subparts. We learned different modules of python in this project like tkinter, webbrowser, datetime. You can add more features as much as you can to perform more tasks.
I hope you’ll enjoy developing your project using this tutorial at PythonGeeks.

can you just give us the full code
how to change its voice
i got plenty of errors while making this project
i want full coding of voice assistant without any errors
note:in python language
dfhbmhk,bngkgxjfgk
can you provide the full code?
i want full code without error
can you just share one whole file for this so that its easy for us??
Like the code is alright but if you could just share a source code file with us , that would be really helpful and good….
error is coming on line 9 and 10
I followed all the procedures and copied the codes and corrected all the indentation problems until all done. but when I run the program gave me with this error down below.
import speech_recognition as sr
ModuleNotFoundError: No module named ‘speech_recognition’
how to resolve this please?
install the python modules as instructed
i love you