Python OpenCV Project – Automatic Colorization of Photos
Get Job-ready with hands-on learning & real-time projects - Enroll Now!
Automatic colorization of photos using deep neural networks is a technology that can add color to black and white photos without the need for manual coloring. This technology uses deep neural networks that have been trained on large datasets of color images to learn the relationship between luminance and color, which can then be used to predict the color channels of grayscale images. This technique has many applications, including restoring old photos and enhancing the visual appeal of images.
Background
Before the advent of computer technology, adding color to a black-and-white photograph was a manual and time-consuming process that required skilled artists. With the introduction of automated colorization methods, the process became quicker but often inaccurate and still required manual intervention. Deep neural networks are a type of machine learning algorithm inspired by the human brain, and they have made it possible to automatically colorize black-and-white photographs with high accuracy and speed. These networks are trained on large datasets of color images and use what they learned to generate plausible colorizations for grayscale images. Using deep neural networks for automatic colorization has many practical applications, such as restoring old photographs, enhancing medical images, and creating realistic 3D models from 2D images.
colorization_deploy_v2.prototxt
The colorization_deploy_v2.prototxt file contains the architecture of the deep neural network used for the automatic colorization of grayscale images. It specifies the layers, their types, parameters, and connections, and is used by the computer to build the network and perform colorization.
pts_in_hull.npy
pts_in_hull.npy is a file containing a matrix of precomputed color values that represent the color space used for colorizing images. It is used in conjunction with the colorization neural network to improve the accuracy and speed of the colorization process.
colorization_release_v2.caffemodel
The “colorization_release_v2.caffemodel” is a pre-trained deep neural network model used for automatic colorization of grayscale images. It has learned relationships between luminance and color from a large dataset of color images, and can be used to accurately and quickly colorize black-and-white photographs.
Prerequisites for Automatic Colorization of Photos using Python OpenCV
It is important to have a solid understanding of the Python programming language and the OpenCV library. Apart from this, you should have the following system requirements.
- Python 3.7 (64-bit) and above
- Any Python editor (VS code, Pycharm)
Download Python OpenCV Automatic Colorization of Photos Project
Please download the source code of Python OpenCV Automatic Colorization Project: Python OpenCV Automatic Colorization Project Code
Installation
Open Windows cmd as administrator
1. To install the opencv library, run the command from the cmd.
pip install opencv-python
Let’s Implement
To implement it, follow the below steps.
1. We need to import some libraries that will be used in our implementation.
import numpy as np
import cv2
2. These are variables used in the code for the automatic colorization of photos using a deep neural network. “PROTOTXT” is a file that contains the network architecture, “POINTS” is a file that stores color space information, and “MODEL” is a pre-trained model file that contains the learned weights of the neural network.
PROTOTXT = "colorization_deploy_v2.prototxt"
POINTS = "pts_in_hull.npy"
MODEL = "colorization_release_v2.caffemodel"
3. These lines of code load the pre-trained colorization model and the corresponding points used for color mapping into the program. The model and points are stored in files, which are read and loaded into the program using the OpenCV library and the numpy library, respectively.
net = cv2.dnn.readNetFromCaffe(PROTOTXT, MODEL)
pts = np.load(POINTS)
4. This code sets up the pre-trained neural network by obtaining the layer IDs for class8 and conv8. It then reshapes the “pts” variable to match the dimensions of the layers and sets the layer blobs to the reshaped “pts” array and a 313×1 array filled with the scalar value of 2.606.
class8 = net.getLayerId("class8_ab")
conv8 = net.getLayerId("conv8_313_rh")
pts = pts.transpose().reshape(2, 313, 1, 1)
net.getLayer(class8).blobs = [pts.astype("float32")]
net.getLayer(conv8).blobs = [np.full([1, 313], 2.606, dtype="float32")]
5. The code reads an image file named “flower.jpg” using OpenCV and scales the pixel values to a range between 0 and 1. The image is then converted from BGR to LAB color space using cv2.cvtColor(). Finally, the image is resized to 224×224 pixels using cv2.resize().
image = cv2.imread("flower.jpg")
scaled = image.astype("float32") / 255.0
lab = cv2.cvtColor(scaled, cv2.COLOR_BGR2LAB)
resized = cv2.resize(lab, (224, 224))
6. In this code, the L channel of the resized LAB image is extracted using cv2.split(), and then its pixel values are subtracted by 50.
L = cv2.split(resized)[0]
L -= 50
7. The grayscale image “L” is fed into the pre-trained neural network using the setInput function to produce an output array “ab”. The output array is reshaped and resized to match the dimensions of the original image.
net.setInput(cv2.dnn.blobFromImage(L))
ab = net.forward()[0, :, :, :].transpose((1, 2, 0))
ab = cv2.resize(ab, (image.shape[1], image.shape[0]))
8. This code separates the L channel from a given LAB color image using OpenCV’s “cv2.split” function.
L = cv2.split(lab)[0]
9. In this code, the colorized image is obtained by concatenating the L channel of the LAB color space with the predicted AB channels, converting the image back to the BGR color space, clipping the pixel values to lie between 0 and 1, and finally scaling the pixel values to the range of 0 to 255.
colorized = np.concatenate((L[:, :, np.newaxis], ab), axis=2)
colorized = cv2.cvtColor(colorized, cv2.COLOR_LAB2BGR)
colorized = np.clip(colorized, 0, 1)
colorized = (255 * colorized).astype("uint8")
10. This code creates a window with a name, resizes it to match the size of the original image, and displays the colorized image in the window.
window_name = "Colorized Image By PythonGeeks"
cv2.namedWindow(window_name, cv2.WINDOW_NORMAL)
cv2.resizeWindow(window_name, image.shape[1], image.shape[0])
cv2.imshow(window_name, colorized)
11. The code creates a window to display the original image with a specified name and size using OpenCV functions namedWindow and resizeWindow. Then, it shows the original image in the window using the imshow function.
cv2.namedWindow("Original Image By PythonGeeks", cv2.WINDOW_NORMAL)
cv2.resizeWindow("Original Image By PythonGeeks", image.shape[1], image.shape[0])
cv2.imshow("Original Image By PythonGeeks", image)
12. This program waits indefinitely until a key is pressed. Argument 0 specifies that the program should wait indefinitely.
cv2.waitKey(0)
Python OpenCV Automatic Colorization of Photo Output:
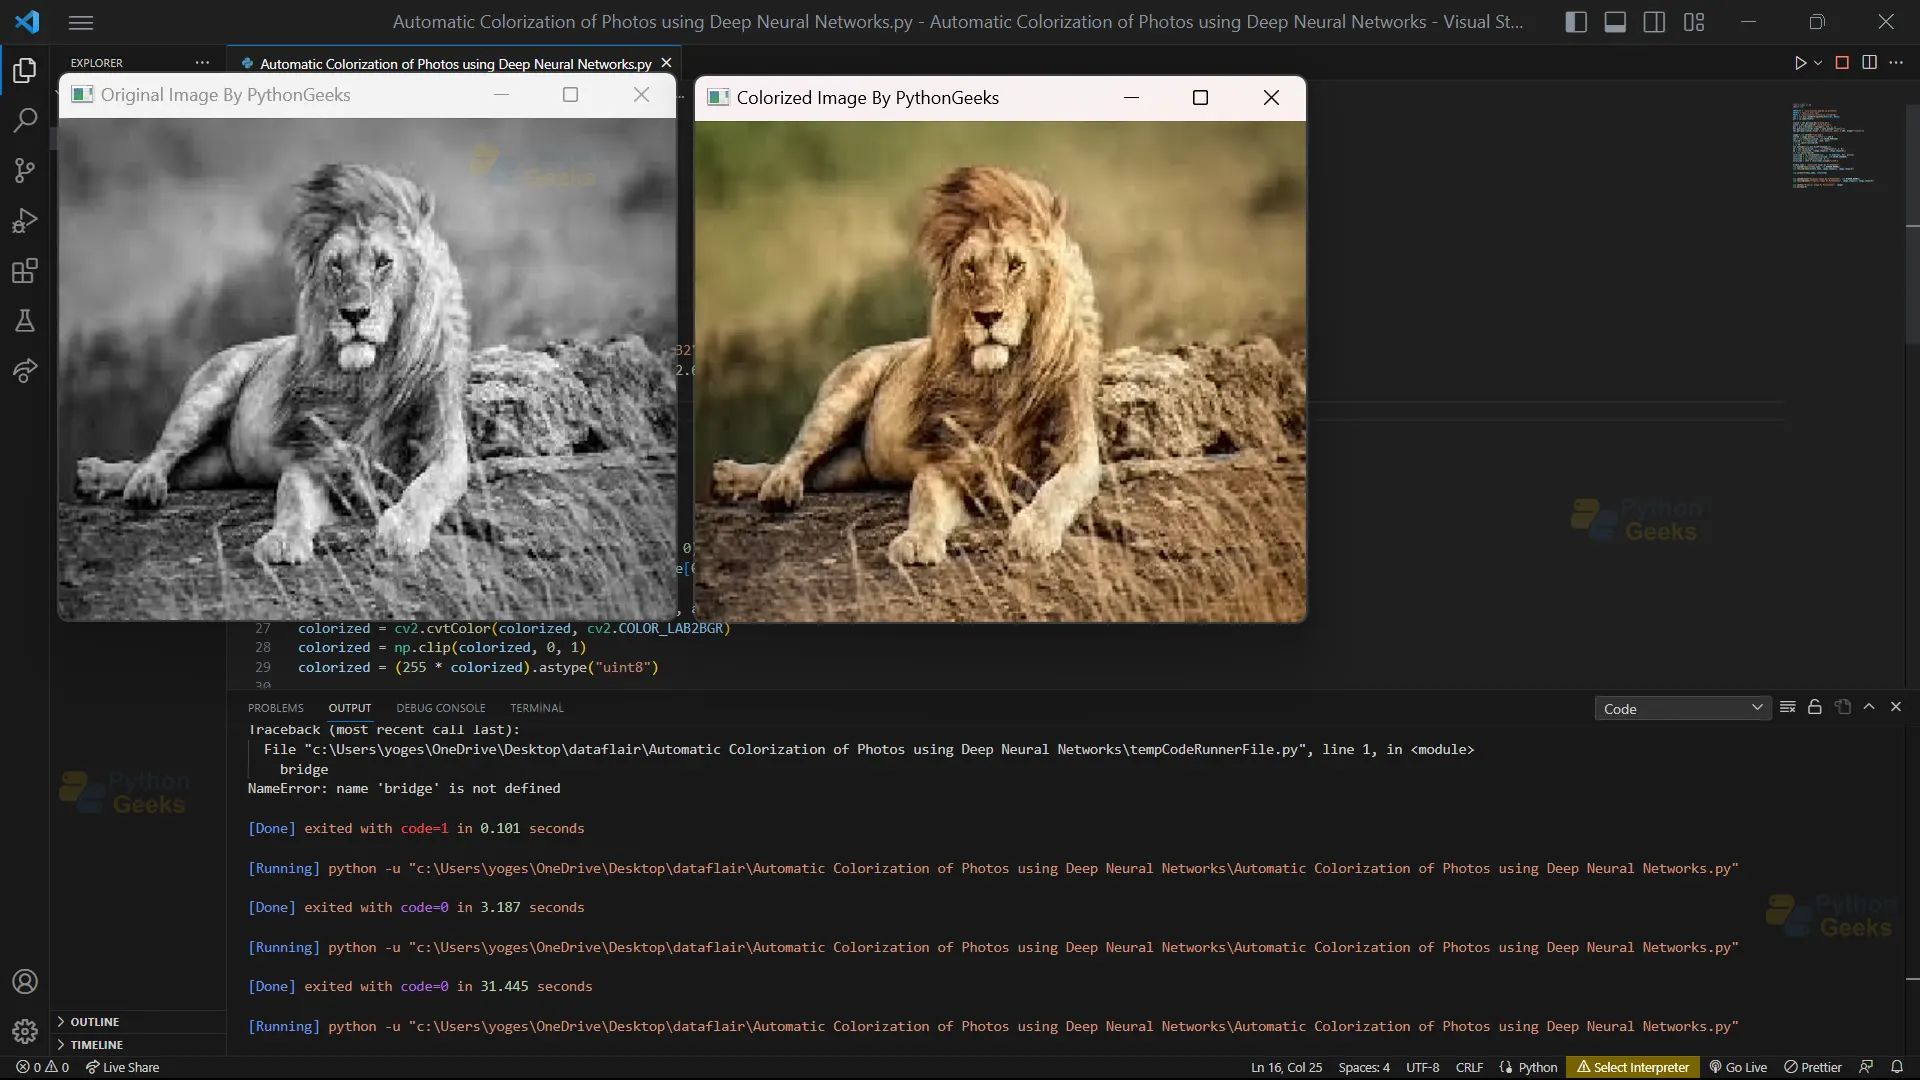
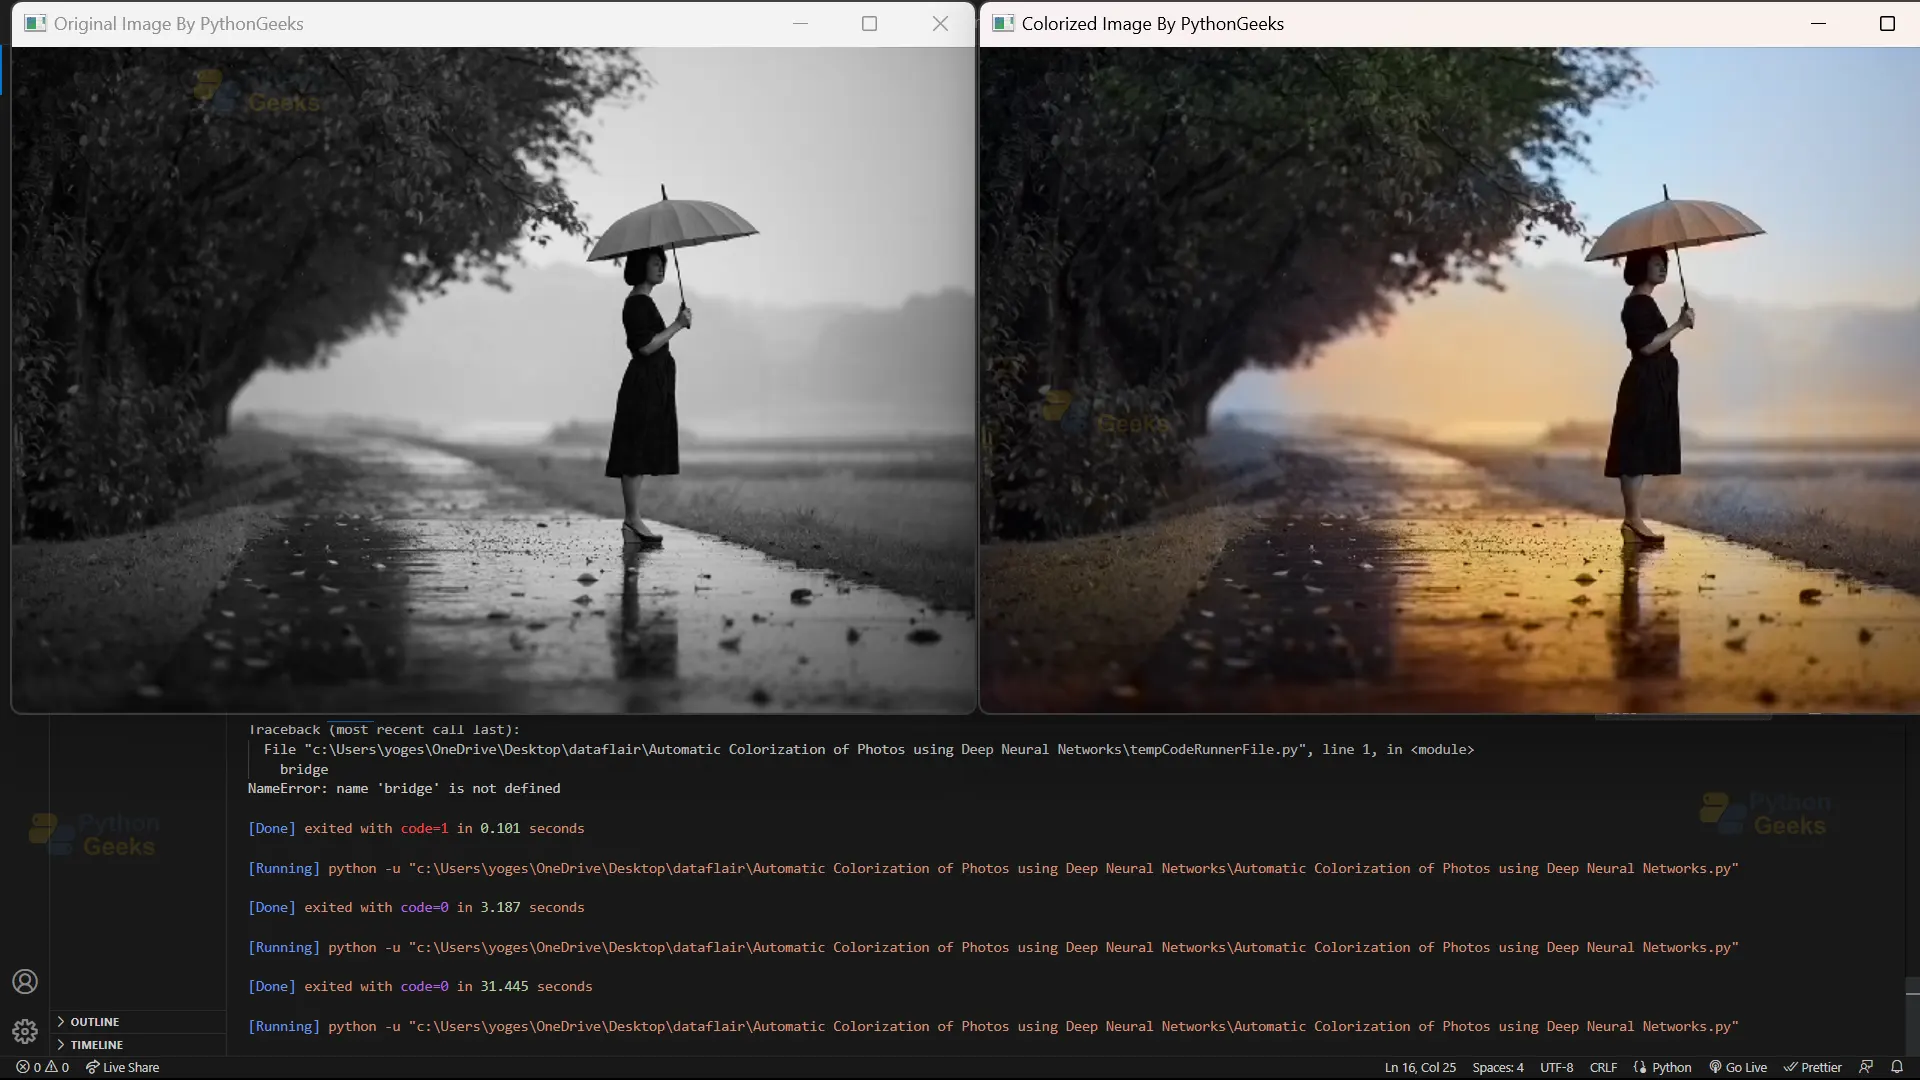
Conclusion
Automated colorization using deep neural networks is a technique that uses pre-trained neural networks to automatically add color to grayscale images. This method is useful for image and video editing, restoration of historical media, and improving accessibility for individuals with visual impairments. The process involves converting the grayscale image to the LAB color space, predicting the color channels using the neural network, and merging them with the grayscale image to produce the final colorized image. Advancements in deep learning algorithms and large-scale datasets will likely lead to further advancements in this field.

Hello, thanks for the tutorial! I think the download link redirects to another file called ‘displaying-coordinates-of-points-using-python-opencv.zip’. Inside there is a single py file. Could you link the right file? Thank you!