Python Flask Introduction
Boost Your Career with In-demand Skills - Start Now!
One of the popular Python frameworks used by developers for web development is Flask. In this article, you will get introduced to Python Flask framework. Along with this, we will also see some of the basic implementations along with some HTTP methods.
Let us start with the introduction to this framework.
Introduction to Python Flask Framework
A web framework is a software architecture that contains tools and libraries used to develop a web application in a fast and efficient way. Flask is a microframework written in Python. It was developed by Armin Ronacher and has a BSD license. It is based on the Werkzeug toolkit and Jinja2 template. Here,
1. WSGI (Web Server Gateway Interface): It is used as a universal interface between the web server and the web application
2. Werkzeug: It is a WSGI toolkit and is used for implementing requests, response objects, and other utilities. It is used to build a web framework on top of it.
3. Jinja2: It is a templating engine that combines a template and a data source to develop a dynamic website.
It provides only core functionalities including form validation, upload handling, object-relational mappers, open authentication, etc. Using these, one can build both small and large scale websites. It does not have a database abstraction layer, form validation, and additional functionalities but it provides extensions to implement these.
Advantages of Python Flask
1. It is a lightweight and modular design
2. Contains a built-in development server and a fast debugger.
3. Provides integrated unit testing support
4. RESTful request dispatching.
5. Jinja2 Template.
6. Provides support for secure cookies.
Setting Flask Environment
Before we use the Flask module, we need to install the required packages. The prerequisite for this is that we need 2.6 or higher versions of Python installed on the device.
Then we need to install the Python virtual environment. We can do this by writing the below command in the command prompt.
Example of entailing virtualenv:
pip install virtualenv
Output:
Using cached virtualenv-20.7.2-py2.py3-none-any.whl (5.3 MB)
:
:
:
:
Installing collected packages: virtualenv
Successfully installed virtualenv-20.7.2
If you have already installed it, then we get the below output.
Requirement already satisfied: virtualenv in c:\users\.....\lib\site-packages (20.7.2)
Now we create a folder and initiate the virtual environment in the folder. For this, we write the below codes.
D:\> mkdir flask_proj
D:\> cd flask_proj
D:\flask_proj> virtualenv env
Now we activate the environment.
D:\flask_proj> env\scripts\activate
(env) PS D:\flask_proj>
Now we install the flask package.
Installing Flask Package:
(env) PS D:\flask_proj> pip install flask
Output:
Downloading Flask-2.0.1-py3-none-any.whl (94 kB)
|████████████████████████████████| 94 kB 273 kB/s
Collecting itsdangerous>=2.0
Downloading itsdangerous-2.0.1-py3-none-any.whl (18 kB)
Collecting click>=7.1.2
Downloading click-8.0.1-py3-none-any.whl (97 kB)
|████████████████████████████████| 97 kB 311 kB/s
Collecting Jinja2>=3.0
Downloading Jinja2-3.0.1-py3-none-any.whl (133 kB)
|████████████████████████████████| 133 kB 262 kB/s
Collecting Werkzeug>=2.0
Downloading Werkzeug-2.0.1-py3-none-any.whl (288 kB)
|████████████████████████████████| 288 kB 211 kB/s
Collecting colorama
Downloading colorama-0.4.4-py2.py3-none-any.whl (16 kB)
Collecting MarkupSafe>=2.0
Downloading MarkupSafe-2.0.1-cp38-cp38-win_amd64.whl (14 kB)
Installing collected packages: MarkupSafe, colorama, Werkzeug, Jinja2, itsdangerous, click, flask
Successfully installed Jinja2-3.0.1 MarkupSafe-2.0.1 Werkzeug-2.0.1 click-8.0.1 colorama-0.4.4 flask-2.0.1 itsdangerous-2.0.1
Python Flask Framework Implementation
Let us see a simple example of the web application that prints ‘PythonGeeks’.
Example of flask:
Let the below code be saved as ‘demo.py’ in the folder we created above.
from flask import Flask #importing the module
app=Flask(__name__) #instantiating flask object
@app.route('/') #defining a route in the application
def func(): #writing a function to be executed
       return 'PythonGeeks'
if __name__=='__main__': #calling  main
       app.debug=True #setting the debugging option for the application instance
       app.run() #launching the flask's integrated development webserver
Now in the command prompt, we change the directory to the folder and run the python file by writing the below command.
python demo.py
Output:
* Environment: production
WARNING: This is a development server. Do not use it in a production deployment.
Use a production WSGI server instead.
* Debug mode: on
* Restarting with windowsapi reloader
* Debugger is active!
* Debugger PIN: 333-984-205
* Running on http://127.0.0.1:5000/ (Press CTRL+C to quit)
Now, if we paste the address 127.0.0.1:5000 in the browser, we go to the below page.
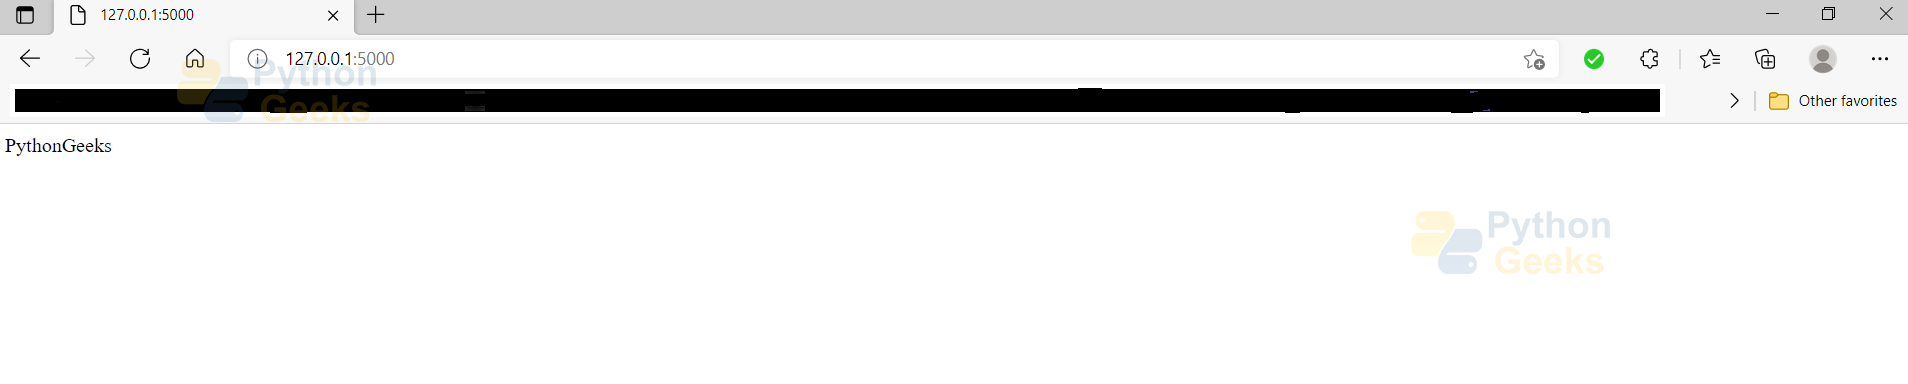
In this example,
1. On running the code in a virtual environment, Flask starts the server on 127.0.0.1 and port 5000 by default. To accept connection from any remote address, we can use the host as ‘0.0.0.0.’
2. On typing the requirements on the browser, the webserver sends the request to the Flask application instance
3. The application has information on the code that needs to run for each URL and it maps the URL to the Python functions
4. The route defined using the decorator @app.route() defines handles the URL and the associated function. It binds the URL ‘/’ to the function func(). We can also use app.add_url_rule() function.
5. Using the run() function we start the flask’s integrated development webserver
Dynamic Web Example
Let us build a small website that takes the name of the person and greets.
Example of a dynamic website in the flask:
Let the below code be saved as ‘demo.py’ in the folder we created above.
from flask import Flask #importing the module
app=Flask(__name__) #instantiating flask object
@app.route('/') #defining a route in the application
def func(): #writing a function to be executed
       return 'PythonGeeks'
@app.route('/greet<name>')
def greet(name):
    return f"Hello, {name}"
if __name__=='__main__': #calling  main
       app.debug=True #setting the debugging option for the application instance
       app.run() #launching the flask's integrated development webserver
Now in the command prompt, we change the directory to the folder and run the python file by writing the below command.
python demo.py
Output:
* Environment: production
WARNING: This is a development server. Do not use it in a production deployment.
Use a production WSGI server instead.
* Debug mode: on
* Restarting with windowsapi reloader
* Debugger is active!
* Debugger PIN: 333-984-205
* Running on http://127.0.0.1:5000/ (Press CTRL+C to quit)
127.0.0.1 – – [24/Aug/2021 23:32:42] “←[37mGET / HTTP/1.1←[0m” 200 –
127.0.0.1 – – [24/Aug/2021 23:32:43] “←[37mGET / HTTP/1.1←[0m” 200 –
127.0.0.1 – – [24/Aug/2021 23:32:45] “←[37mGET / HTTP/1.1←[0m” 200 –
127.0.0.1 – – [24/Aug/2021 23:33:25] “←[37mGET /greetABC HTTP/1.1←[0m” 200 –
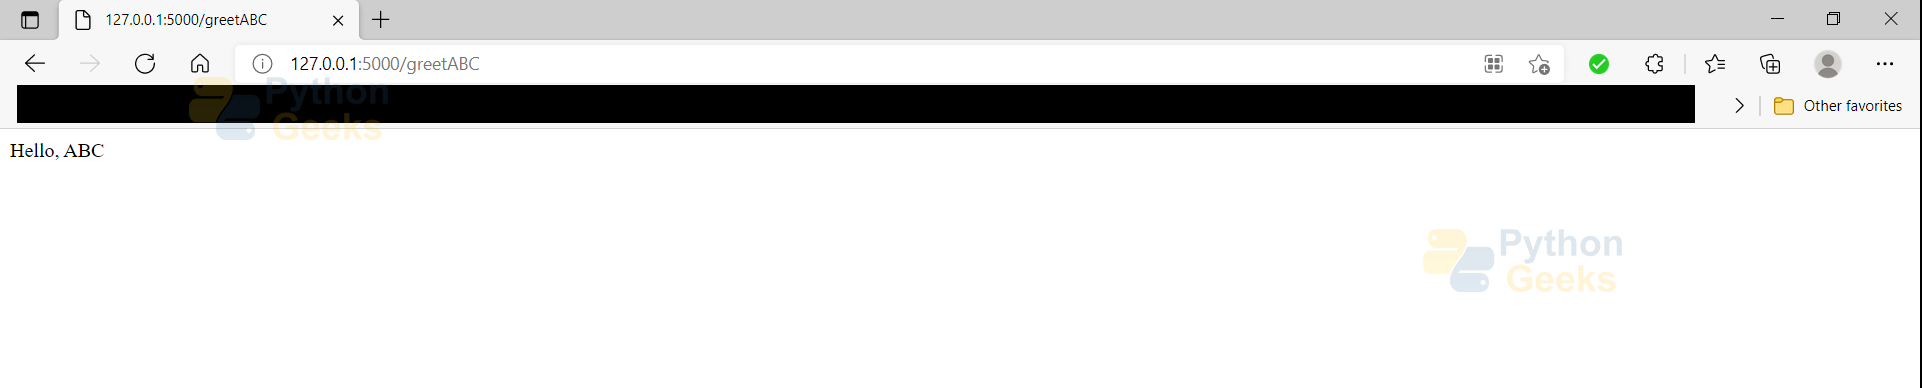
Now if we paste the 127.0.0.1:5000 address, we get the previous page. But if we type 127.0.0.1:5000/greetABC, then we get the below page.
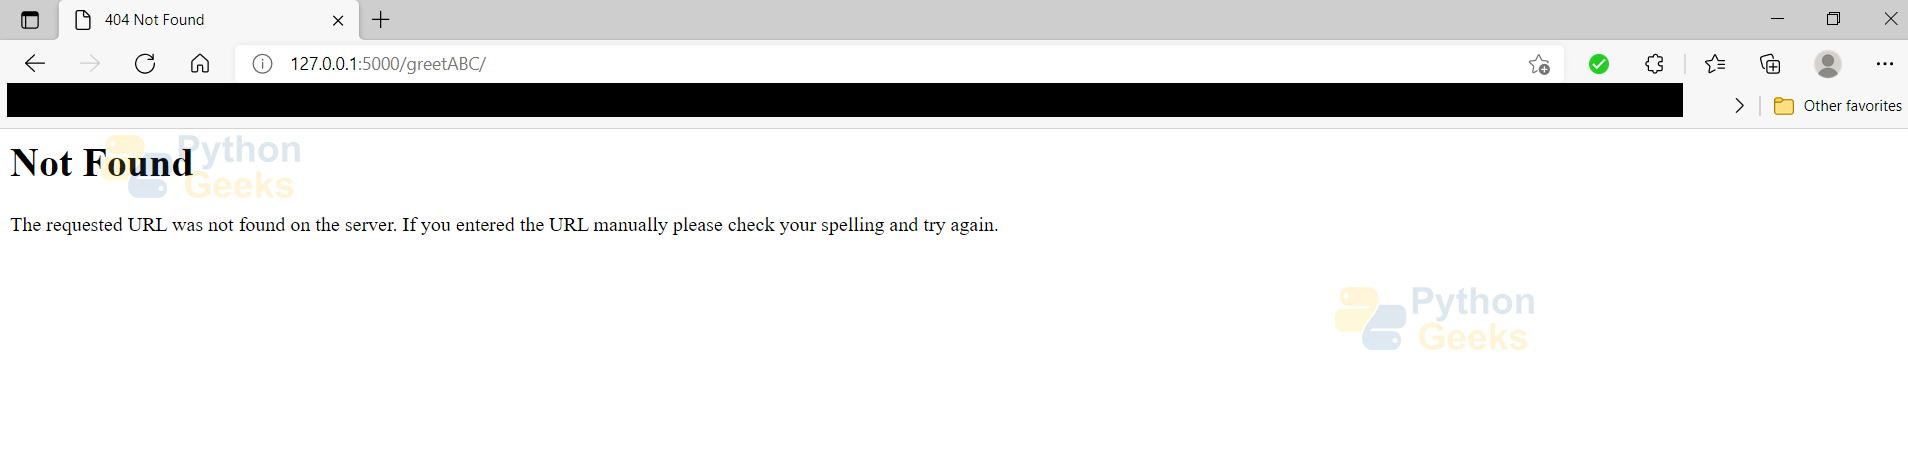
Similarly, if we give any other name, we get a respective greeting. We can also give other data type values to the variables and also do some operation and set it in the return value of the function func(). One thing, we need to make sure of is that we give the proper address. For example, if we give the address as 127.0.0.1:5000/greetABC/, then we get Page not found.
HTTP Methods
Now let us discuss some of the HTTP methods we can use to get the data from the URL.
1. GET
This method sends data to the server requesting the response body.
2. HEAD
It is similar to the GET method, except that it has no response body.
3. POST
This is used to send HTML form data to the server. Data received by this method is not cached by the server.
4. PUT
This is used to replace the current content with the uploaded content on the target resource.
5. DELETE
This removes all the current representations of the target resource as per the URL.
Let us see an example.
Example of taking input from the user:
First let us write the HTML code as ‘file.html’ in the folder.
<html>
   <body>
      <form action = "http://localhost:5000/login" method = "post">
         <p>Enter your name:</p>
         <p><input type = "text" name = "name" /></p>
         <p><input type = "submit" value = "Enter" /></p>
      </form>
   </body>
</html>
And then write, the below code to get the page directly on entering input and clicking a button.
from flask import Flask,redirect,url_for, request #importing the module
app=Flask(__name__) #initiating flask object
@app.route('/welcome/<name>') #defining a route in the application
def greet(name):
    return f"Welcome to PythonGeeke, {name}!"
@app.route('/login',methods = ['POST', 'GET'])
def login():
   if request.method == 'POST':
      user = request.form['name']
      return redirect(url_for('greet',name = user))
   else:
      user = request.args.get('name')
      return redirect(url_for('greet',name = user))
if __name__=='__main__': #calling  main
       app.debug=True #setting the debugging option for the application instance
       app.run() #launching the flask's integrated development webserver
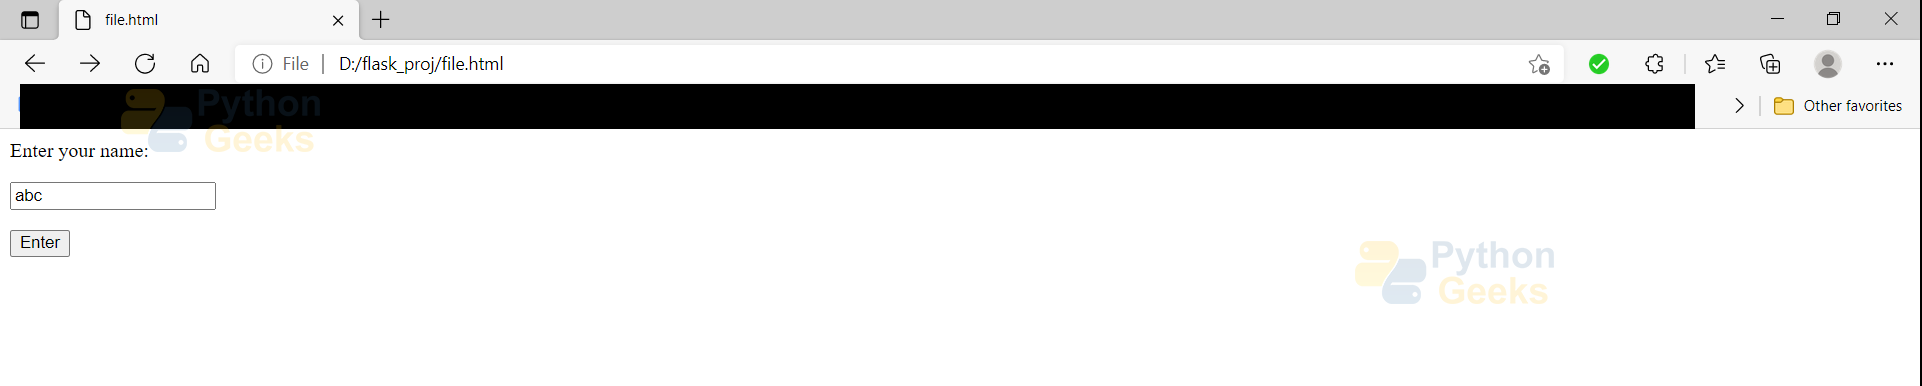
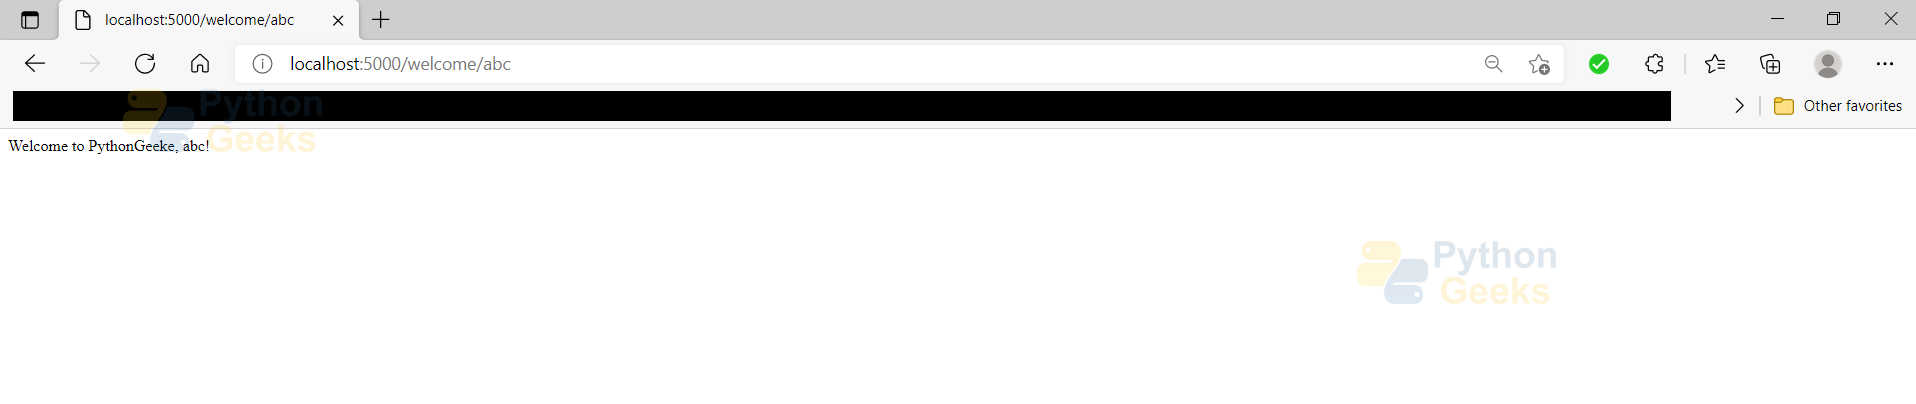
Now if we go to the location where our HTML file is present we get the below page.

Now if we enter the name and press Enter button, we directly go to the below page as specified in the second @app.route() decorator.
 Conclusion
In this article, we discussed the Flask framework. Then we saw its installations. After this, we saw some basic implementations. Hoping that reading this article encourages you more to explore this framework. Happy coding!

what ever i do i can not download flask so please can you download it for me