Python Django Project – Pin Your Note
Upgrade Your Skills, Upgrade Your Career - Learn more
Pin Your Note is a dynamic web application built using Django, a Python web framework. It allows users to create, view, edit, delete, and pin notes. The application provides an intuitive interface for managing notes, making it an ideal tool for personal organization and productivity.
About Django Pin Your Note Project
Pin Your Note offers a robust platform for creating and managing notes. It integrates user-friendly interfaces with features like authentication and note pinning functionality. Using Django’s ORM ensures efficient database management with an SQLite backend. The application supports CRUD operations for notes, enhancing organization and accessibility. With a focus on usability, it caters to individuals looking to manage their notes efficiently.
Objectives of Django Pin Your Note Project
- Develop a user-friendly interface for creating and managing notes.
- Implement CRUD (Create, Read, Update, Delete) functionality for notes.
- Ensure a responsive and visually appealing design.
- Provide a scalable codebase.
Project Setup
Required Libraries
The project requires the following Python libraries:
- Django: For a web framework and ORM.
- SQLite: For database management.
Technology Stack
- Python
- Django
- SQLite (default database)
- HTML/CSS
- JavaScript
Prerequisites for Django Pin Your Note Project
- Basic understanding of Python programming.
- Familiarity with the Django framework.
- Knowledge of HTML/CSS for template design.
Download the Python Django Pin Your Note Project
Please download the source code of the Python Django Pin Your Note Project: Python Django Pin Your Note Project Code.
Step-by-Step Code Implementation of the Django Pin Your Note Project
Project Initialisation
- The first command initialises a new Django project named PinYourNote. The startproject command creates a new directory named after the project.
- The second command changes the directory to the project folder.
- The third command initialises a new Django app named notes in the same directory. It’s up to the basic structure of the projects.
django-admin startproject PinYourNote
cd PinYourNote
python manage.py startapp notes
Setting Up Models
- The Note model represents a basic structure for storing blog posts.
- It includes fields for the title, content, creation date (created_at), and last update date (updated_at).
- The __str__ method ensures that each post instance is displayed with its title, enhancing readability.
from django.db import models
from django.utils import timezone
from django.contrib.auth.models import User


class Note(models.Model):
   title = models.CharField(max_length=200)
   content = models.TextField()
   created_at = models.DateTimeField(auto_now_add=True)
   updated_at = models.DateTimeField(auto_now=True)
   pinned = models.BooleanField(default=False)
   user = models.ForeignKey(User, on_delete=models.CASCADE)


   def __str__(self):
       return self.title
Making Migrations
- makemigrations: Makes migrations based on the changes detected in the models. Migrations are how Django stores changes to the models.
- migrate: This command applies the migrations to the database, creating the tables and columns.
python3 manage.py makemigrations
python3 manage.py migrate
Defining Views
- All available views are restricted to authenticated users using the @login_required.
- This code segment provides create, read, update, and delete functionality for notes.
- Each view renders an appropriate template, passing the necessary context for display.
- It ensures that notes are filtered and managed based on the logged-in user, maintaining user-specific data integrity.
from django.shortcuts import render, get_object_or_404, redirect
from django.contrib.auth.decorators import login_required
from .models import Note
from .forms import NoteForm


@login_required
def note_list(request):
   notes = Note.objects.filter(user=request.user).order_by('-created_at')
   return render(request, 'notes/note_list.html', {'notes': notes})


@login_required
def note_create(request):
   if request.method == "POST":
       form = NoteForm(request.POST)
       if form.is_valid():
           note = form.save(commit=False)
           note.user = request.user
           note.save()
           return redirect('note_list')
   else:
       form = NoteForm()
   return render(request, 'notes/note_form.html', {'form': form})


@login_required
def note_update(request, pk):
   note = get_object_or_404(Note, pk=pk, user=request.user)
   if request.method == "POST":
       form = NoteForm(request.POST, instance=note)
       if form.is_valid():
           form.save()
           return redirect('note_list')
   else:
       form = NoteForm(instance=note)
   return render(request, 'notes/note_form.html', {'form': form})


@login_required
def note_delete(request, pk):
   note = get_object_or_404(Note, pk=pk, user=request.user)
   if request.method == "POST":
       note.delete()
       return redirect('note_list')
   return render(request, 'notes/note_confirm_delete.html', {'note': note})


@login_required
def note_pin(request, pk):
   note = get_object_or_404(Note, pk=pk, user=request.user)
   note.pinned = not note.pinned
   note.save()
   return redirect('note_list')
Setting URLs
- The urlpatterns list contains URL pattern definitions.
- views.note_list displays a list of notes.
- views.note_create is responsible for creating a new note.
- views.note_update updates an existing note.
- views.note_delete deletes an existing note.
- views.note_pin indicates whether a note is pinned.
from django.urls import path
from . import views  # Import views from the current app


urlpatterns = [
   path('', views.note_list, name='note_list'),
   path('note/create/', views.note_create, name='note_create'),
   path('note/update/<int:pk>/', views.note_update, name='note_update'),
   path('note/delete/<int:pk>/', views.note_delete, name='note_delete'),
   path('note/pin/<int:pk>/', views.note_pin, name='note_pin'),
]
Creating Templates
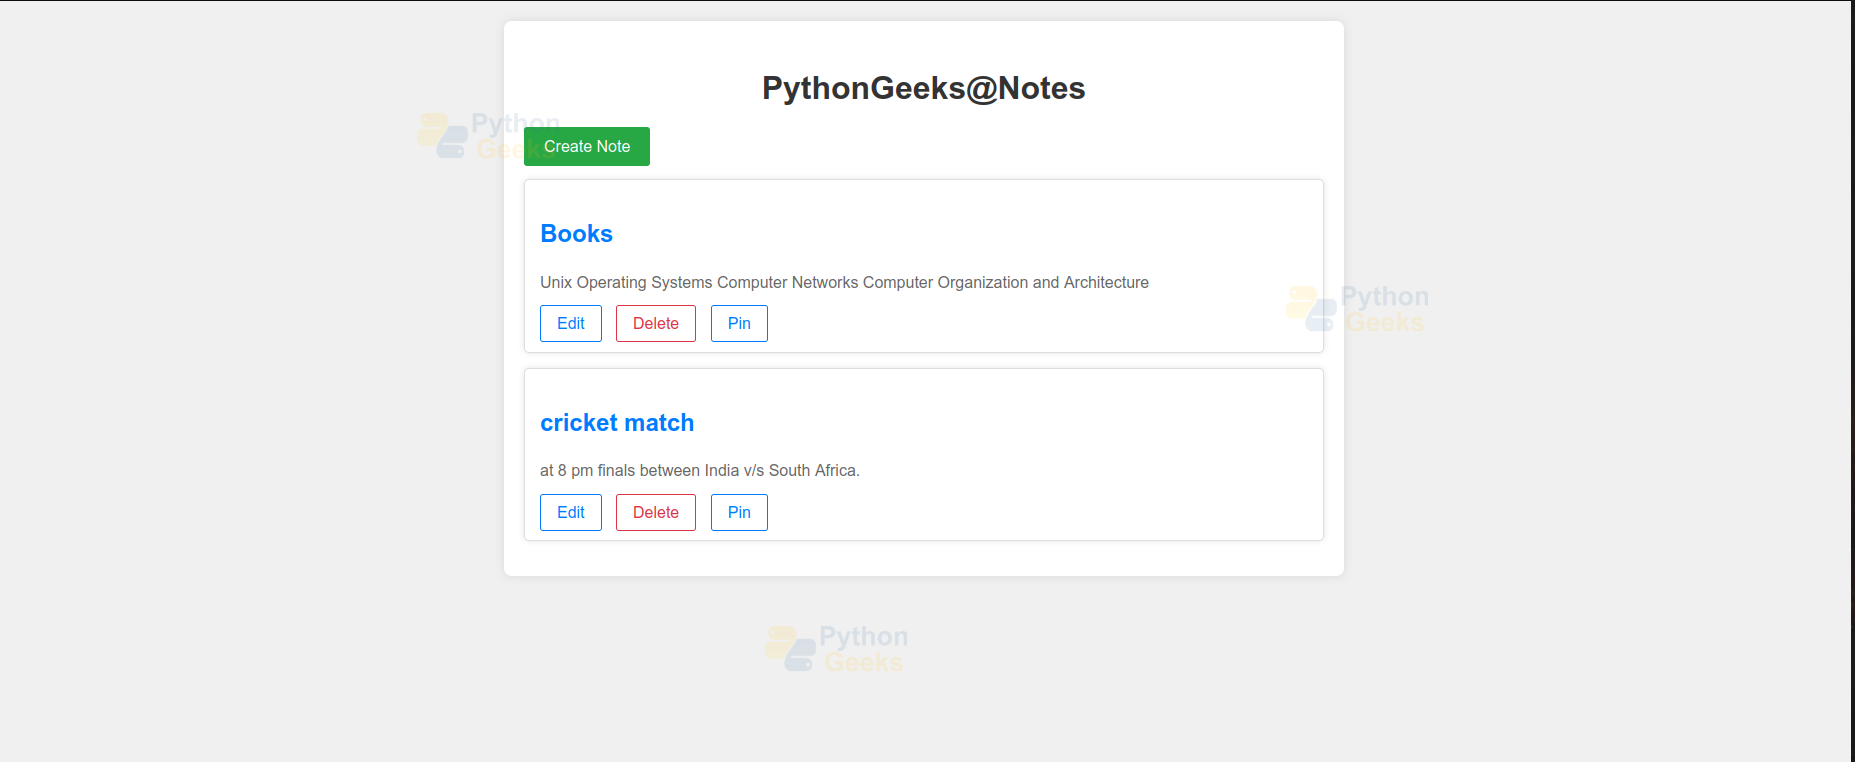
note_list.html
- This template renders a list of notes, each with its title and metadata.
- It includes external CSS for styling different pages of the Project.
- Only authenticated users can access note_list, note_create, etc., because they are protected views.
- This template uses a Django template to dynamically generate content based on the notes context variable.
- Using Django provides interactive elements to create, edit, delete, and pin/unpin notes.
<!DOCTYPE html>
<html lang="en">
<head>
   <meta charset="UTF-8">
   <meta name="viewport" content="width=device-width, initial-scale=1.0">
   <title>Note List</title>
   {% load static %}
   <link rel="stylesheet" href="{% static 'notes/css/styles.css' %}">
</head>
<body>
   <div class="container">
       <h1>PythonGeeks@Notes</h1>
       <div class="create-note-btn">
           <a href="{% url 'note_create' %}">Create Note</a>
       </div>
       <div class="note-list">
           {% for note in notes %}
               <div class="note">
                   <h2>{{ note.title }}{% if note.pinned %} <span class="badge">Pinned</span>{% endif %}</h2>
                   <p>{{ note.content }}</p>
                   <div class="actions">
                       <a href="{% url 'note_update' note.pk %}" class="edit-link">Edit</a>
                       <a href="{% url 'note_delete' note.pk %}" class="delete-link" onclick="return confirm('Are you sure you want to delete this note?');">Delete</a>
                       <a href="{% url 'note_pin' note.pk %}" class="pin-link">{% if note.pinned %}Unpin{% else %}Pin{% endif %}</a>
                   </div>
               </div>
           {% endfor %}
       </div>
   </div>
</body>
</html>
note_detail.html
- This template inherits common layout and styles from base.html.
- It displays detailed information about a specific note, including its title, content, and creation date, and provides links to edit or delete it.
{% extends 'base.html' %}
{% block title %}Note Detail{% endblock %}
{% block content %}
<div class="row mt-5">
   <div class="col-md-8 offset-md-2">
       <h2>{{ note.title }}</h2>
       <p class="lead">{{ note.content }}</p>
       <p><small>Created on {{ note.created_at|date:"F j, Y, g:i a" }}</small></p>
       <a href="{% url 'note_update' note.id %}" class="btn btn-primary">Edit</a>
       <a href="{% url 'note_delete' note.id %}" class="btn btn-danger">Delete</a>
   </div>
</div>
{% endblock %}
Django Pin Your Note Output
1. Application Interface
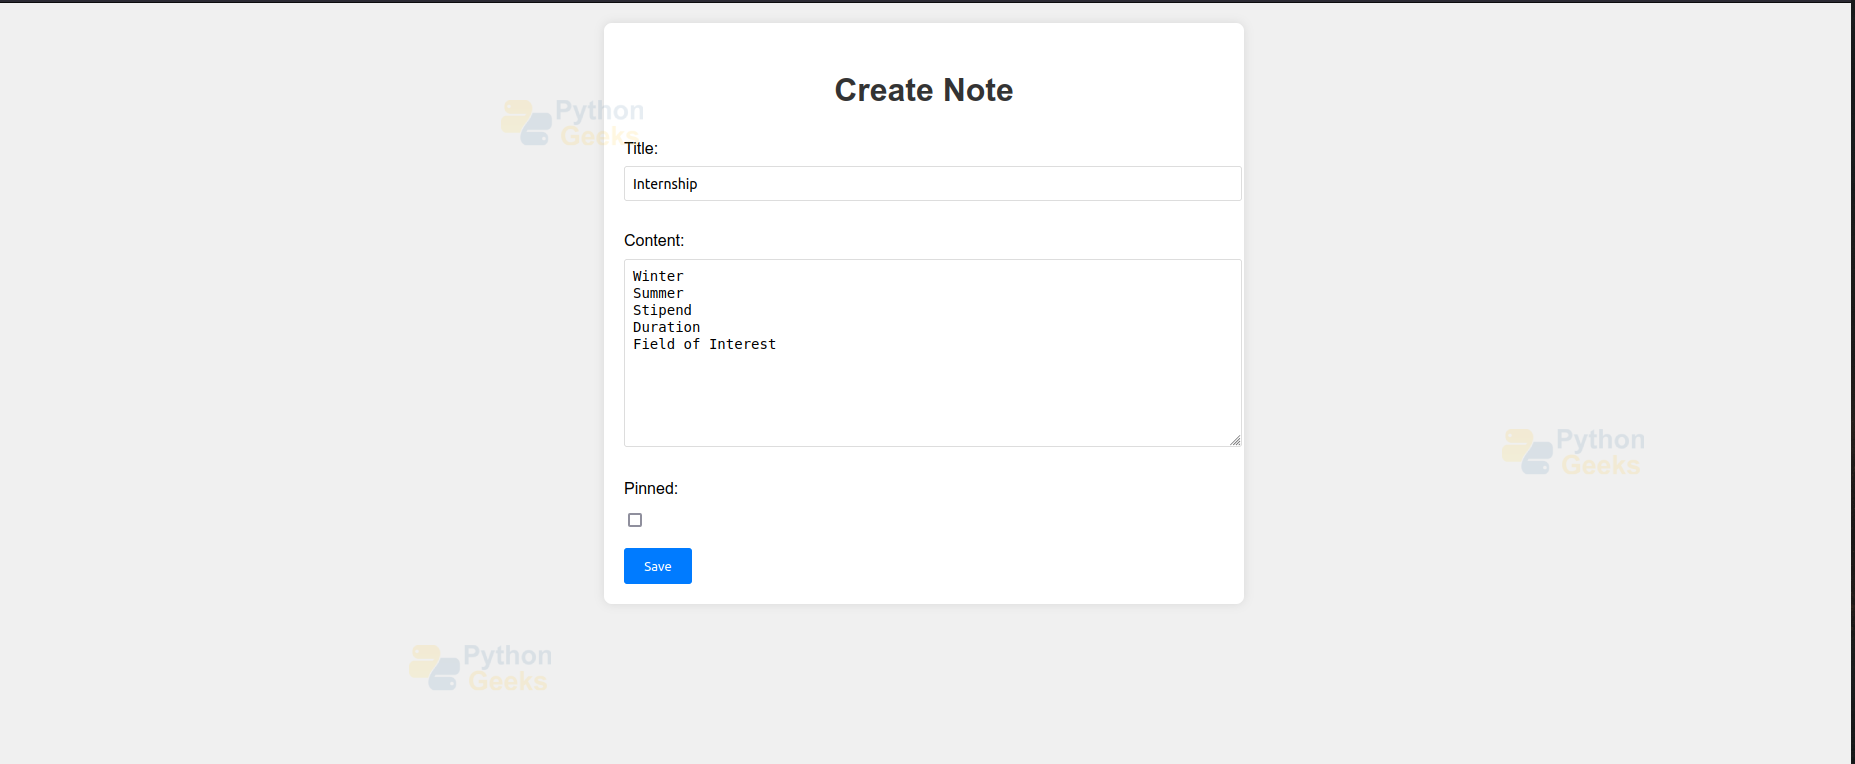
2. Add Note
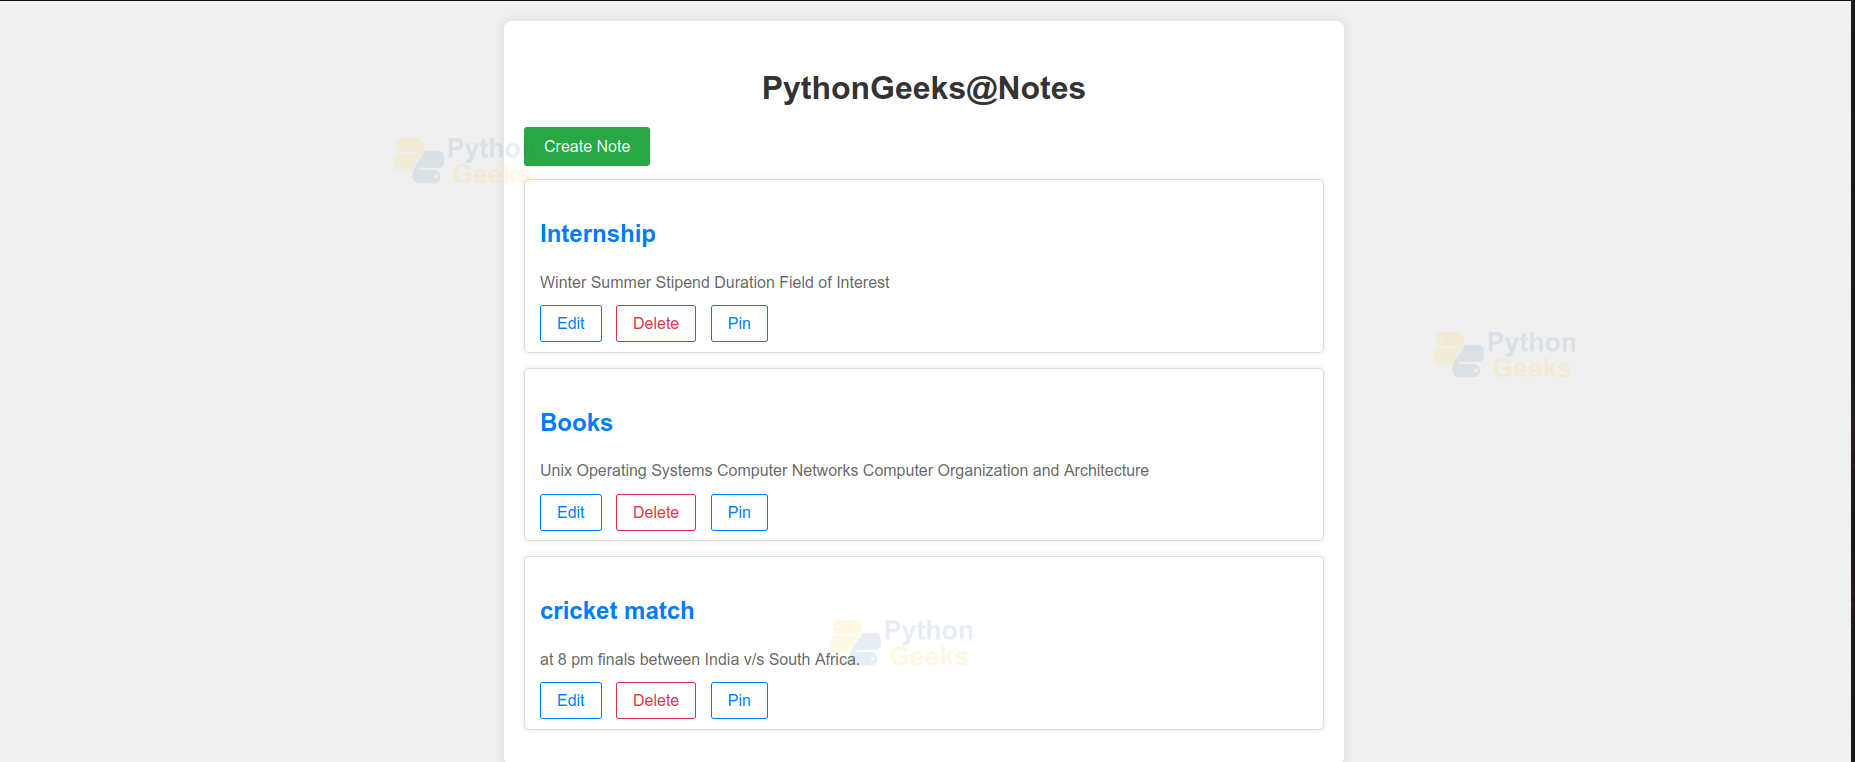
3. Note Added
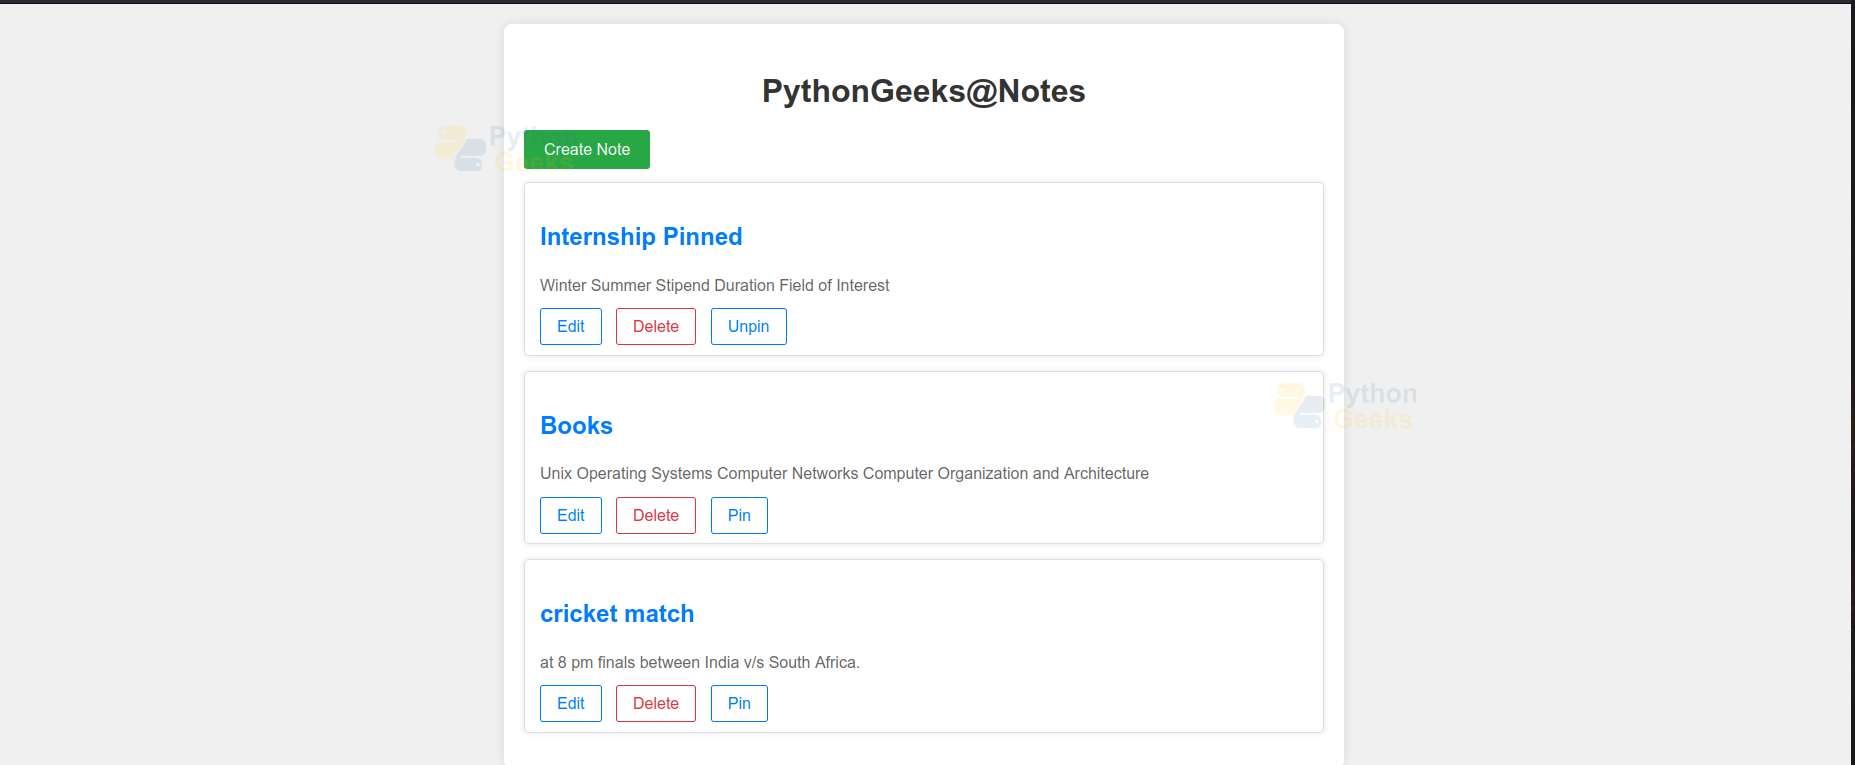
4. Pinned Note
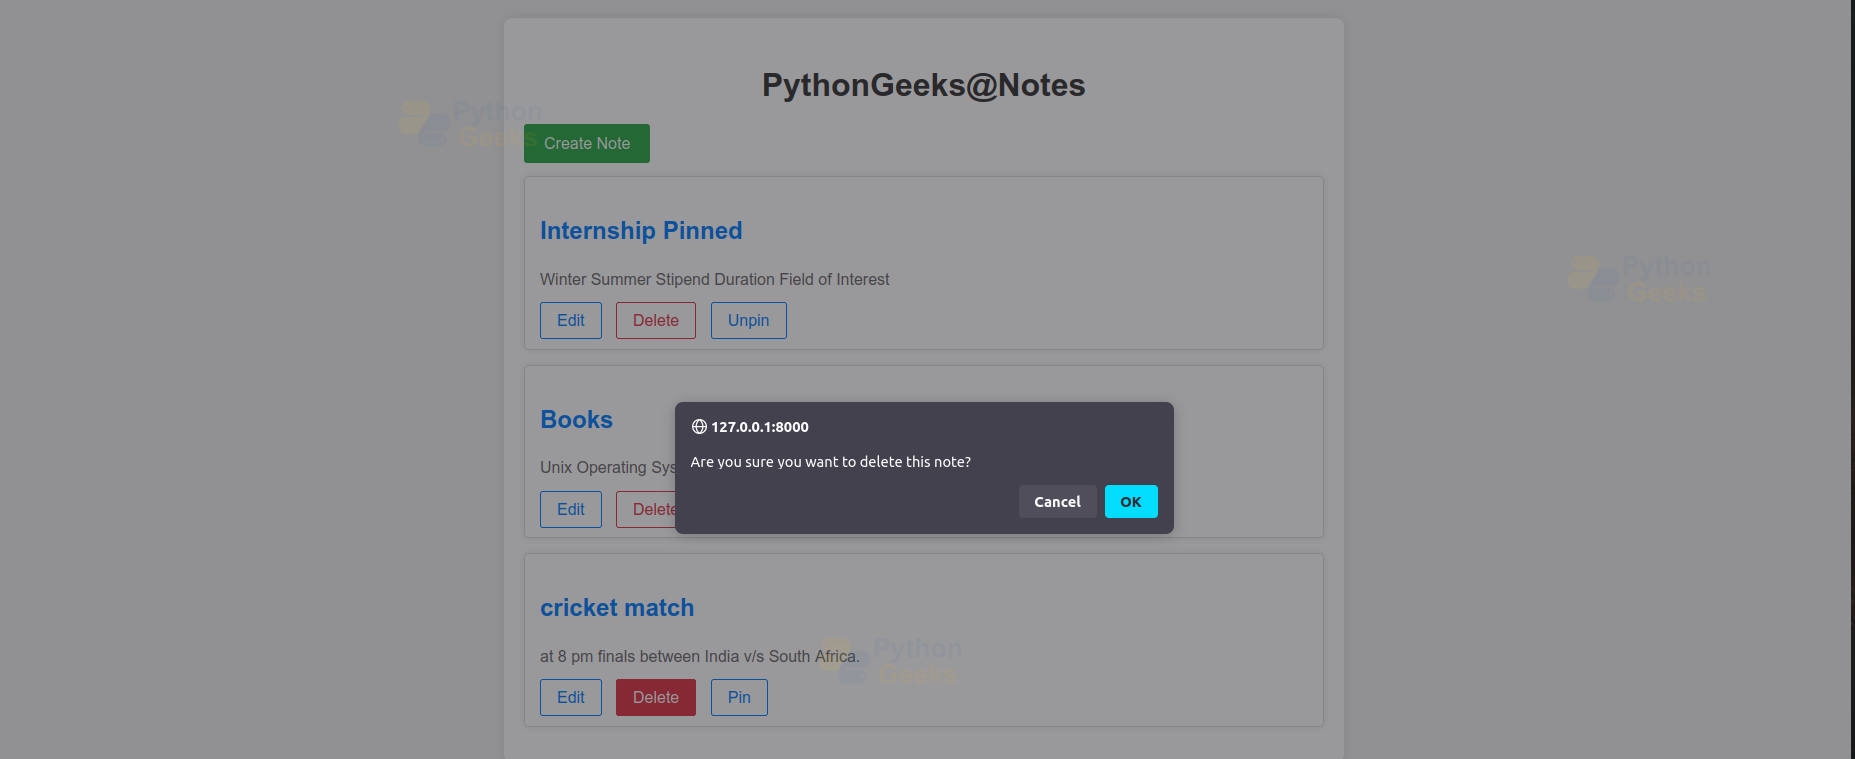
5. Delete Prompt
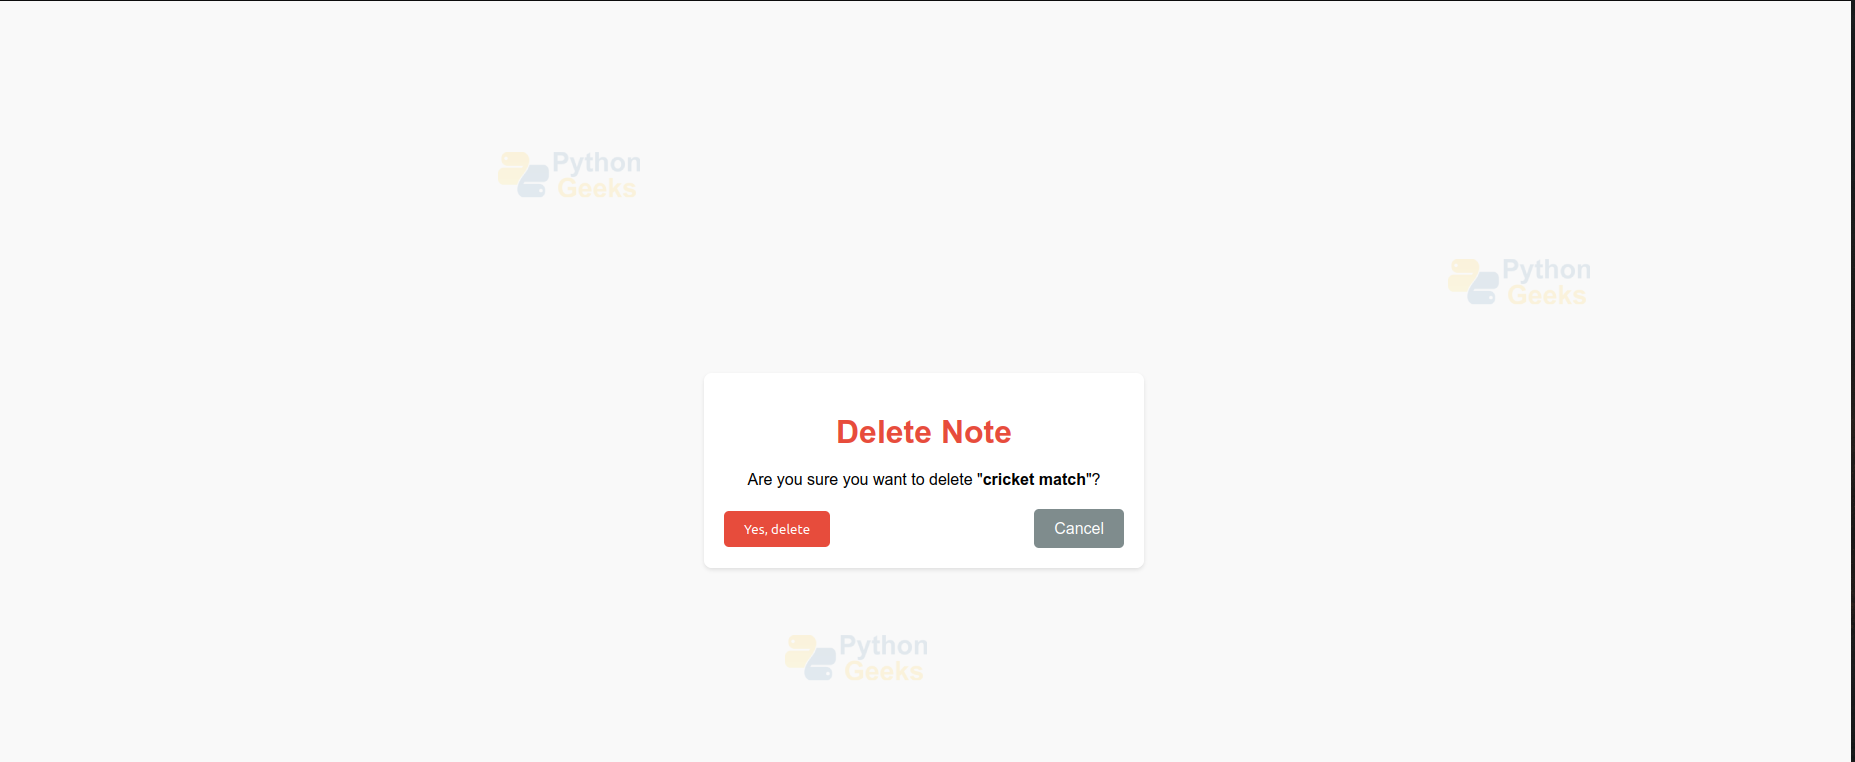
6. Delete Note
7. Note Deleted

Conclusion
The Pin Your Note project demonstrates the capabilities of Django for building dynamic web applications. It provides a robust platform for managing notes. The project can be further enhanced with features like user authentication, note sharing, and search functionality. This report outlines the key steps and components involved in developing a basic note management application, serving as a foundation for further customisation and expansion.
