Image Processing in OpenCV
Get Job-ready with hands-on learning & real-time projects - Enroll Now!
Image reading, displaying, and writing operations are the fundamentals for working on image processing and computer vision tasks in OpenCV. To achieve any output using OpenCV, we must fully understand how to perform these basic functions.
The OpenCV library has built-in functions available to ease these tasks. The imread function helps to read an image file from a directory. The imshow function displays an image and lastly, the imwrite function stores an image into the current working directory.
In this article, we’ll be discussing the tasks and the implements of these functions and cover the following objectives:
1. Reading an image using the imread function
2. Displaying an image using imshow and matplotlib.pyplot functions
3. Storing an image using the imwrite function
OpenCV imread() for reading images
The imread function loads an image from the specified location and returns it. If the function is unable to read the image, which can happen due to a variety of reasons such as incorrect file path, unsupported format, or improper permission to work with the file, then the function returns an empty matrix.
OpenCV supports multiple file formats for image reading, so we need to ensure that our file has the correct extension. Additionally, the image we are going to load, should be present in the current working directory or specify the actual path of the image.
While reading color images, the channels of the decoded image are stored in BGR (blue, green, red) order.
Syntax of OpenCV imread():
cv2.imread(path, flag)
Parameters of OpenCV imread() function:
1. path: The absolute path of the image or the relative path if the image is present in the working directory.
2. flag: Specifies the color mode while reading the image. This parameter is optional.
3. Return value: imread() returns one value, a numpy.ndarray (NumPy N-dimensional array) after the image is read from the specified location.
Flags in OpenCV imread function
1. cv2.IMREAD_COLOR: This flag specifies to load a color image. This mode neglects the transparency of the image. It is the default flag.
Integer value 1 is passed for this flag.
2. cv2.IMREAD_GRAYSCALE: It specifies the loading of an image in grayscale mode. The integer value 0 is passed for this flag.
3. cv2.IMREAD_UNCHANGED: It specifies to include the alpha channel while loading the image. Integer value -1 is passed for this flag.
Implementation of OpenCV imread():
# Importing OpenCV
import cv2
# Importing matplotlib.pyplot
import matplotlib.pyplot as plt
# Reading the image
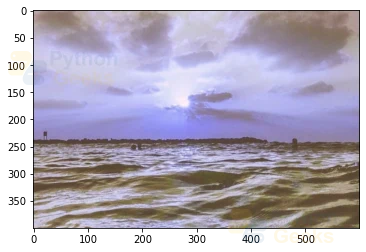
img = cv2.imread('C:\\Users\\tushi\\Downloads\\PythonGeeks\\ocean.jpg')
#Displays the type of the img i.e. the return value of imread function
type(img)
# Displaying the image
plt.imshow(img)
OpenCV imshow() for displaying Images
The imshow function displays the image on the window. The window fits the shape of the image.
There is another option to display the image in OpenCV and that is using the imshow function in the matplotlib.pyplot library. The advantage of using matplotlib.pyplot is not having to add the additional waitKey() and destroyAllWindows() functions.
Syntax of OpenCV imshow():
cv2.imshow(window_name, image)
OpenCV imshow() parameters:
1. window_name: It is a string that represents the name of the window in which the image is displayed.
2. Image: It is the name of the image that is to be displayed in the window.
3. Return value: imshow function has no return value.
4. waitkey(): It is a function that is used along with imshow() and allows the users to display the window for a specified time given in milliseconds or until any key (or the key specified in the code) is pressed.
It is possible to use the imshow function without a waitkey, but the image will only be briefly displayed on the screen.
5. destroyAllWindows(): This function simply closes all the windows that are running in the session. To destroy a specific window, we need to pass the window_name as a parameter to this function.
Implementation of OpenCV imshow()
# Importing OpenCV
import cv2

# Reading the image
img = cv2.imread('C:\\Users\\tushi\\Downloads\\PythonGeeks\\ocean.jpg’)

#Displays the type of the img i.e. the return value of imread function
type(img)

Output: numpy.ndarray

# Displaying the image
cv2.imshow('PythonGeeks', img)

# Required to make the image stay on the screen
# 0 means the image will be displayed till any key is pressed
cv2.waitKey(0)

# Closes all the windows
cv2.destroyAllWindows()

OpenCV imwrite() for storing images
The imwrite function stores the image at a specified location. The format of the image is selected based on the extension. If the format of the image is not supported, the image will be converted to 8-bit unsigned and will be saved in that format. The imwrite function overwrites existing files without outputting an error or asking for confirmation.
Syntax of OpenCV imwrite():
cv2.imwrite(filename, image)
Parameters of OpenCV imwrite():
1. filename: Actual or relative path of the image. The filename must include the extension of the image like .jpg, .png, etc.
2. image: The name of the image that will be stored
3. Return Value: It returns true if the image is saved at the specified location.
Implementation of OpenCV imwrite():
# Importing OpenCV
import cv2
# Importing os modules to execute options like getting the current directory, changing the working directory, etc.
import os
# Getting the working directory
os.getcwd()
Output: 'C:\\Users\\tushi\\PycharmProjects\\Computer vision'
# Changing the working directory to PythonGeeks folder where we'll be storing our images
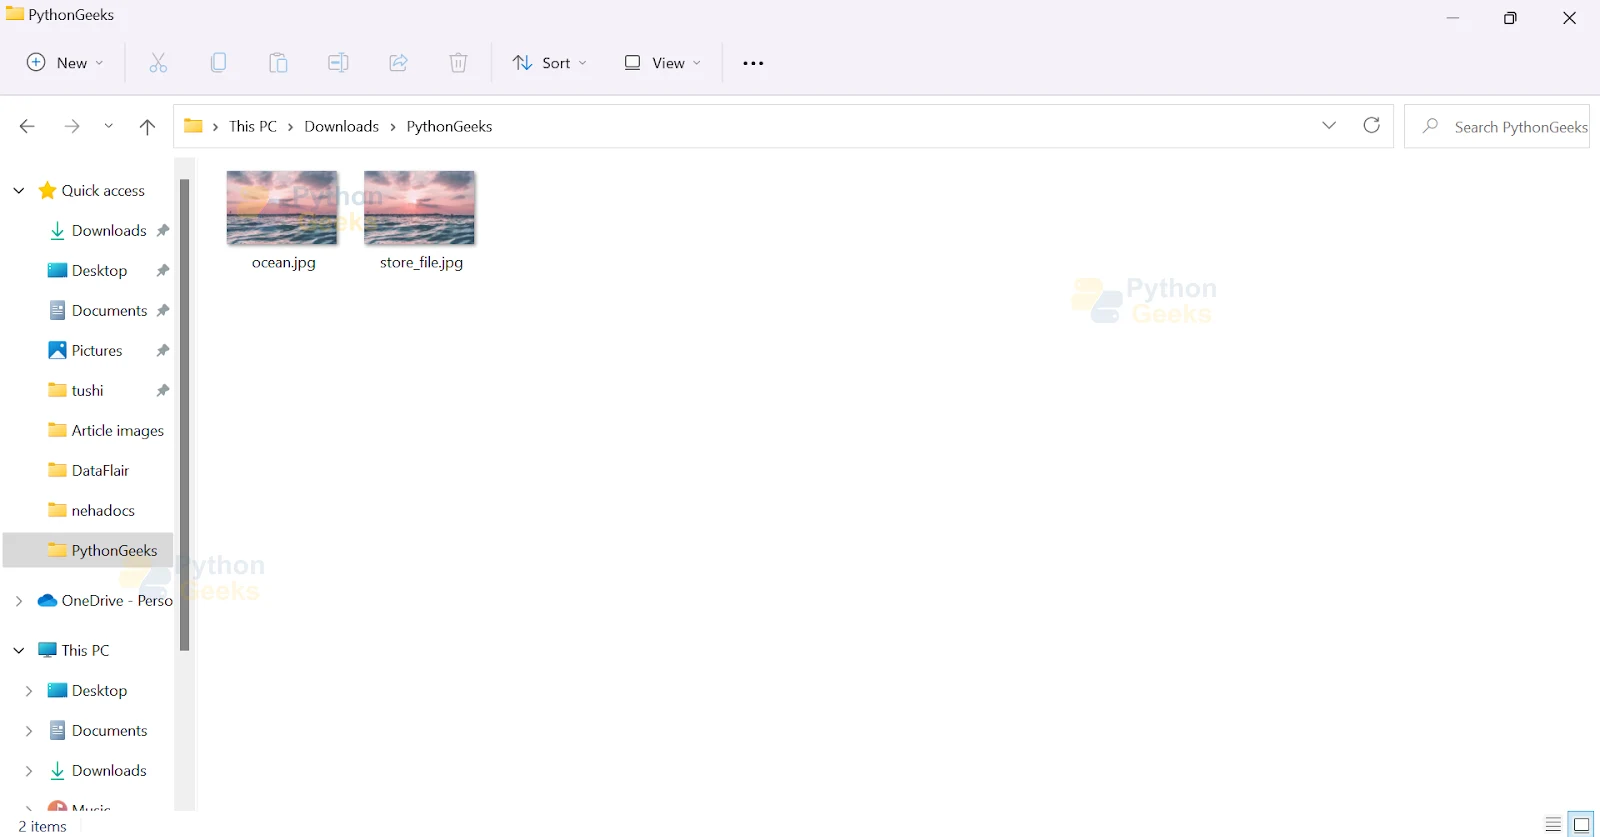
os.chdir('C:\\Users\\tushi\\Downloads\\PythonGeeks')
os.getcwd()
Output: 'C:\\Users\\tushi\\Downloads\\PythonGeeks'
# Reading the image
img = cv2.imread('C:\\Users\\tushi\\Downloads\\PythonGeeks\\ocean.jpg')
# Name of the stored image
name = 'store_file.jpg'
# Storing the image using the imwrite function
cv2.imwrite(name, img)
Output
True
Conclusion
In this article, we discussed the three functions of image processing in OpenCV. We understood how to work with OpenCV imread(), imshow(), and imwrite() and we also learned the implementation of these functions.
