File Uploading with Python Flask
Upgrade Your Skills, Upgrade Your Career - Learn more
Uploading files is a common functionality in web applications that allow users to share and store files on a server. Flask, a popular Python web framework, provides easy-to-use tools and libraries for handling file uploads. In this article, we will explore how to implement file uploading in Flask, including handling file submission from HTML forms, storing files on the server, and securing file uploads.
Getting Started with Flask
Flask is a lightweight and flexible web framework for Python that makes it easy to build web applications quickly. To get started with Flask, you’ll need to have Python and Flask installed on your machine. By executing the following command, you may install Flask using pip, the Python package manager:
pip install flask
Once Flask is installed, you can start building your Flask application. Here’s a basic example of a Flask application:
from flask import Flask, request


app = Flask(__name__)


@app.route('/')
def hello():
   return 'Hello, Pythongeeks!'


if __name__ == '__main__':
   app.run(debug=True)
When visited in a web browser, this code generates a straightforward Flask application with a single route that returns “Hello, World!” We can add the ability to upload files to this simple programme.
Handling File Uploads in Flask
To handle file uploads in Flask, we need to add a form to our HTML template that allows users to select and submit a file. Here’s an example of a basic HTML form that includes a file input field:
<!DOCTYPE html>
<html>
 <head>
   <title>Pythongeeks File Upload Example</title>
 </head>
 <body>
   <h1>File Upload Example</h1>
   <form action="/upload" method="post" enctype="multipart/form-data">
     <input type="file" name="file" />
     <input type="submit" value="Upload" />
   </form>
 </body>
</html>
In this form, we set the action attribute of the <form> element to “/upload”, which is the URL where the form data will be submitted. We also set the method attribute to “post”, which indicates that the form data will be sent as part of the request body. Finally, in order to upload files, we set the type property to “multipart/form-data”..
In our Flask application, we can now add a route that handles the file upload. Here’s an example:
from flask import Flask, request


app = Flask(__name__)


@app.route('/')
def hello():
   return 'Hello, Pythongeeks!'


@app.route('/upload', methods=['POST'])
def upload():
   file = request.files['file']
   file.save('uploads/' + file.filename)
   return 'File uploaded and saved.'


if __name__ == '__main__':
   app.run(debug=True)
requests, which is the method used for submitting the form. Inside the route function, we access the uploaded file using request.files[‘file’], where ‘file’ is the name of the file input field in the form. We then save the file to a directory on the server using the save() method, which takes the path where the file should be saved as an argument. In this example, we save the file in a directory called ‘uploads’ in the same directory as the Flask application.
Securing File Uploads in Flask
File uploads can present security risks, as malicious users may attempt to upload files containing malware or other malicious content. Therefore, it’s important to implement security measures to prevent such attacks. Here are some best practices for securing file uploads in Flask:
1. File Type Validation:
Validate the type of files that are allowed to be uploaded. For example, if you’re expecting an image file, you can check the file extension or use a library like python-magic to validate the file type. This prevents users from uploading files with malicious content, such as executable files or scripts.
from flask import Flask, request
import magic
app = Flask(__name__)
ALLOWED_EXTENSIONS = {'jpg', 'jpeg', 'png', 'gif'}
def pythongeeks_allowed_file(filename):
return '.' in filename and filename.rsplit('.', 1)[1].lower() in ALLOWED_EXTENSIONS
@app.route('/upload', methods=['POST'])
def upload():
file = request.files['file']
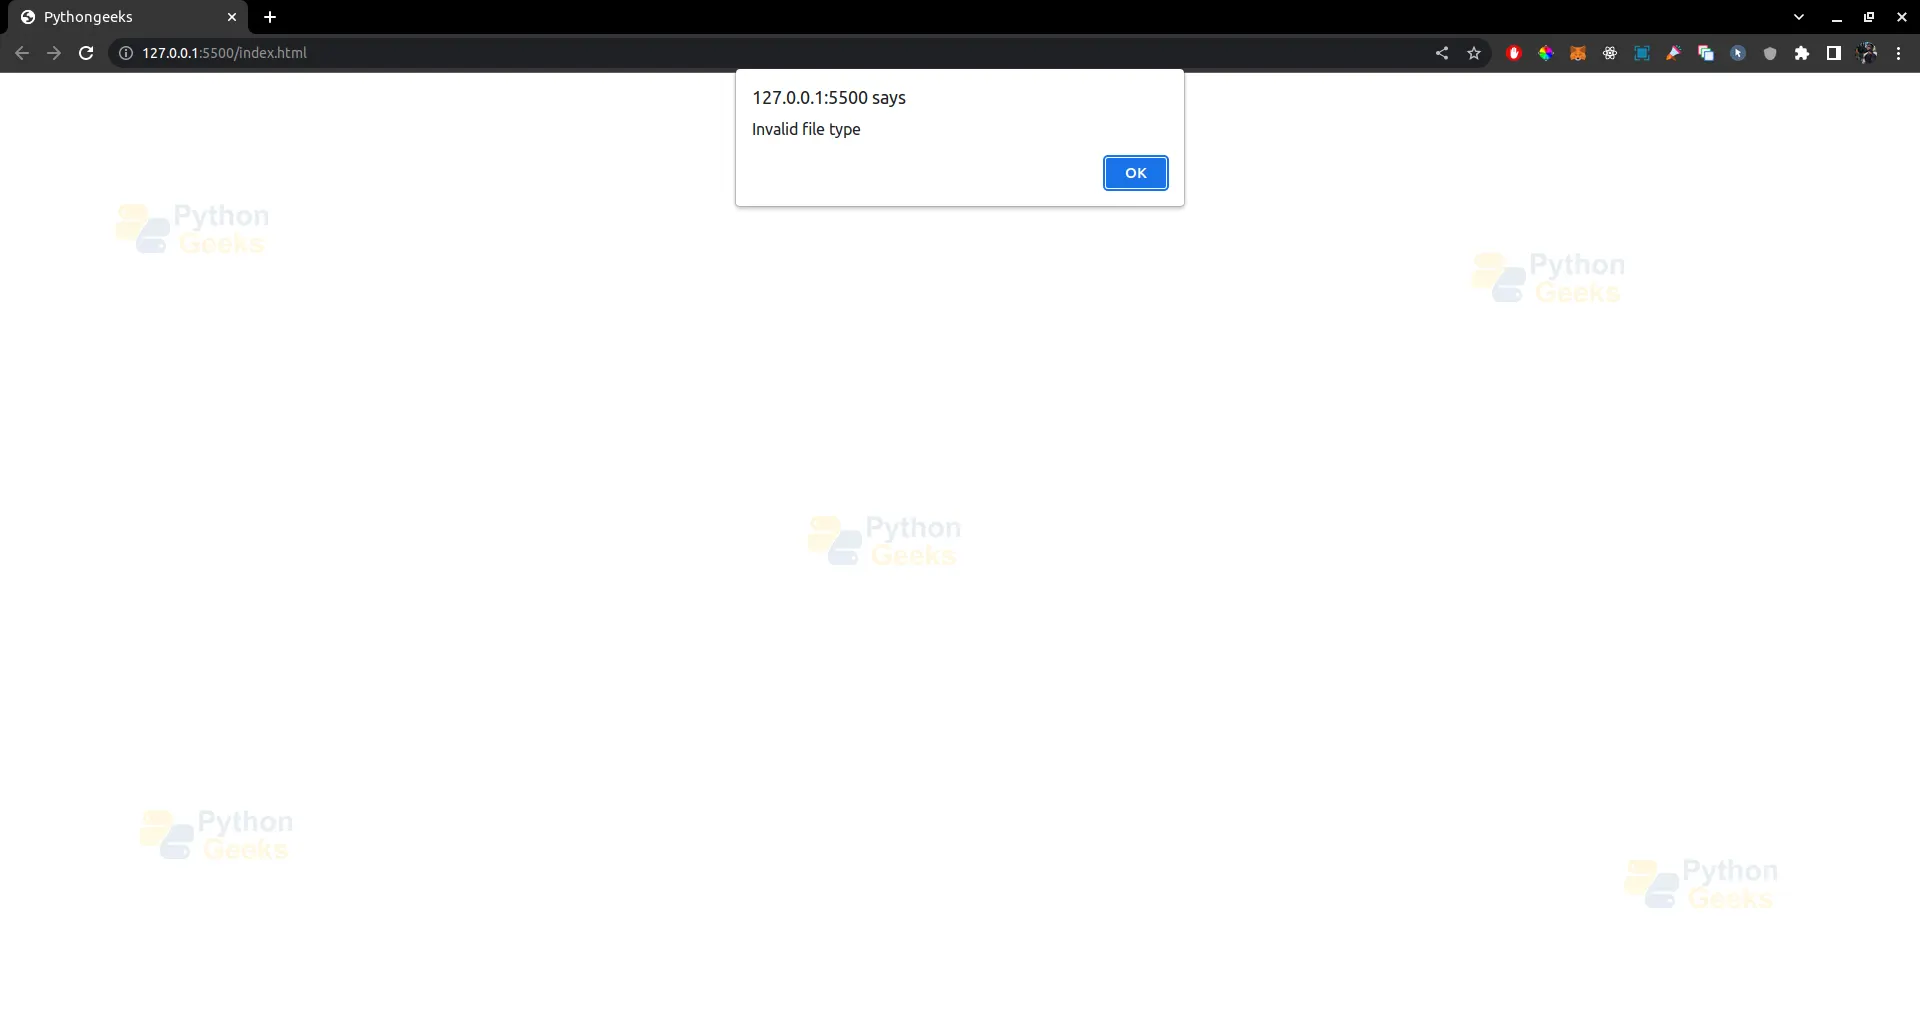
if file and pythongeeks_allowed_file(file.filename):
# Perform further validation and file processing here
file.save('uploads/' + file.filename)
return 'File uploaded and saved.'
else:
return 'Invalid file type.'
if __name__ == '__main__':
app.run(debug=True)
Output –
2. File Size Validation:
Limit the size of the uploaded file to prevent denial of service attacks or server overload. You can set a maximum file size limit using the MAX_CONTENT_LENGTH configuration option in Flask.
from flask import Flask, request
app = Flask(__name__)
app.config['MAX_CONTENT_LENGTH'] = 16 * 1024 * 1024 # 16 MB
@app.route('/upload', methods=['POST'])
def pythongeeks_upload():
file = request.files['file']
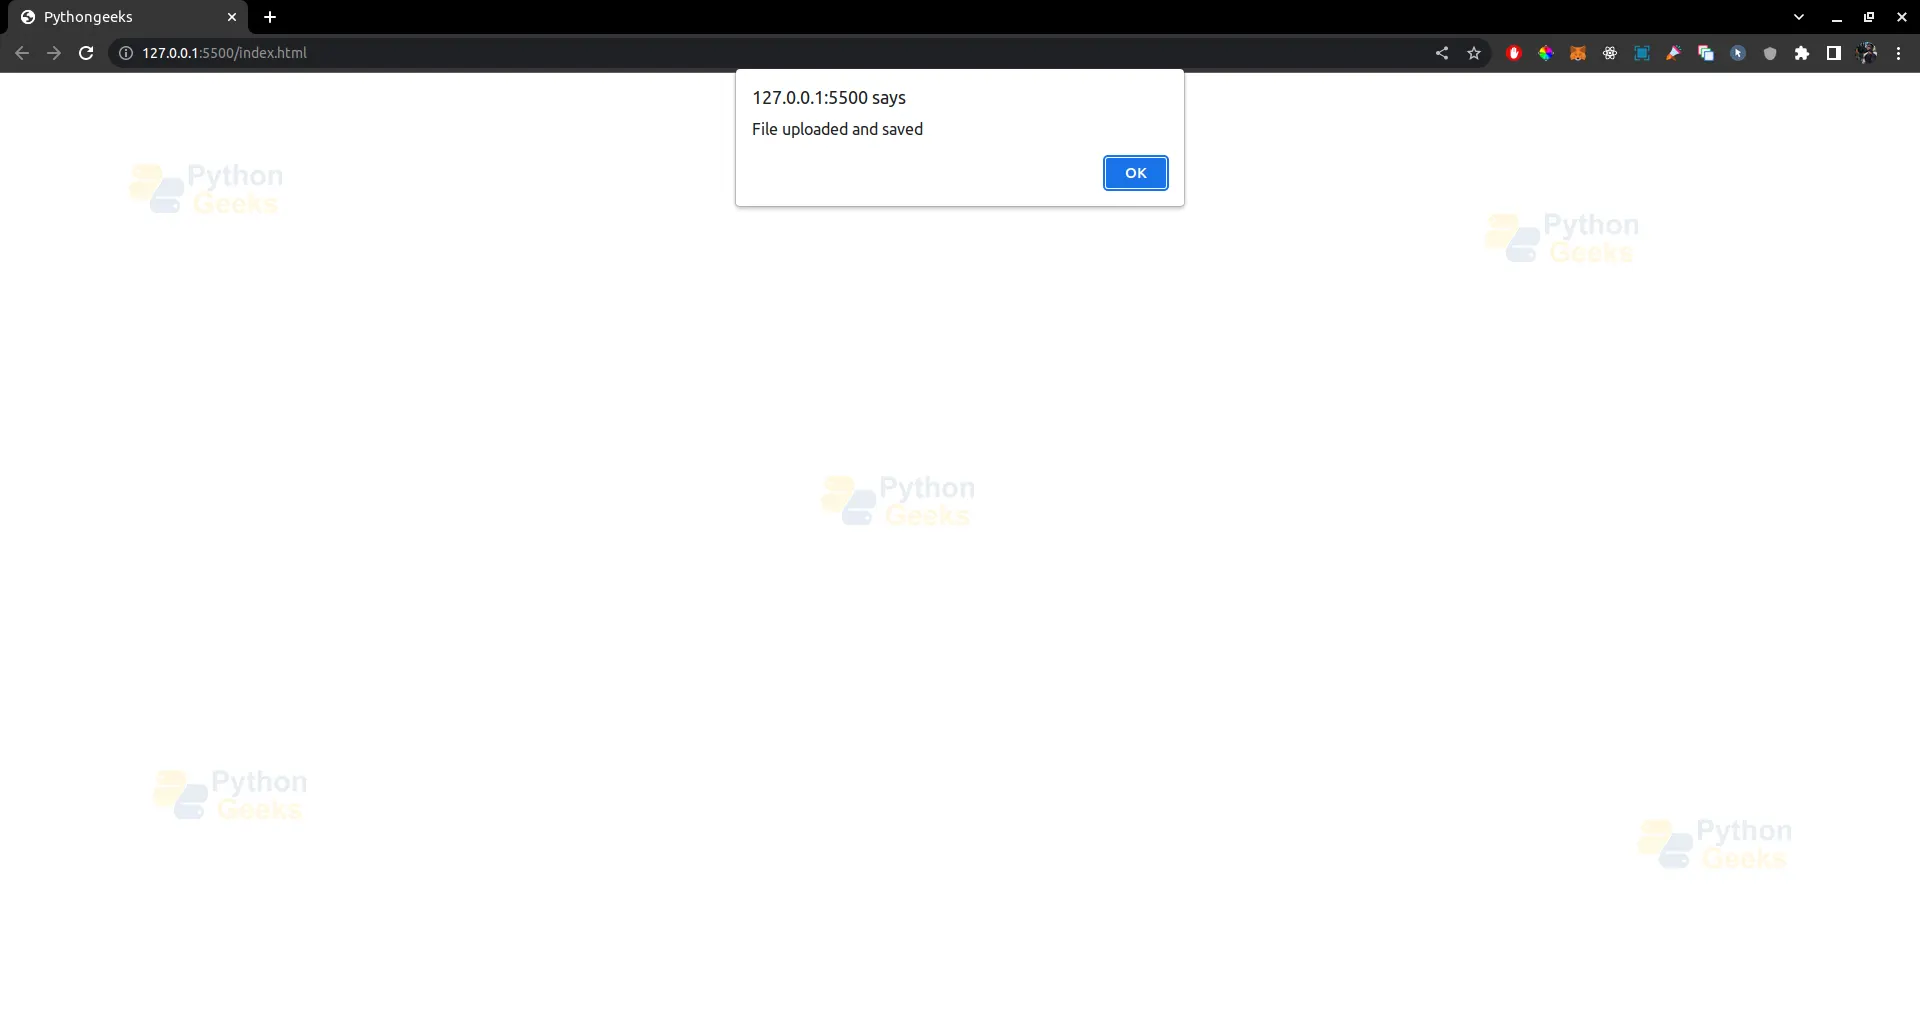
if file:
# Perform further validation and file processing here
file.save('uploads/' + file.filename)
return 'File uploaded and saved.'
else:
return 'Invalid file.'
if __name__ == '__main__':
app.run(debug=True)
Output –
3. File Overwriting:
Be cautious about overwriting existing files on the server. You can generate a unique filename for each uploaded file to avoid overwriting existing files.
from flask import Flask, request
import uuid
app = Flask(__name__)
@app.route('/upload', methods=['POST'])
def pythongeeks_upload():
file = request.files['file']
if file:
# Generate a unique filename
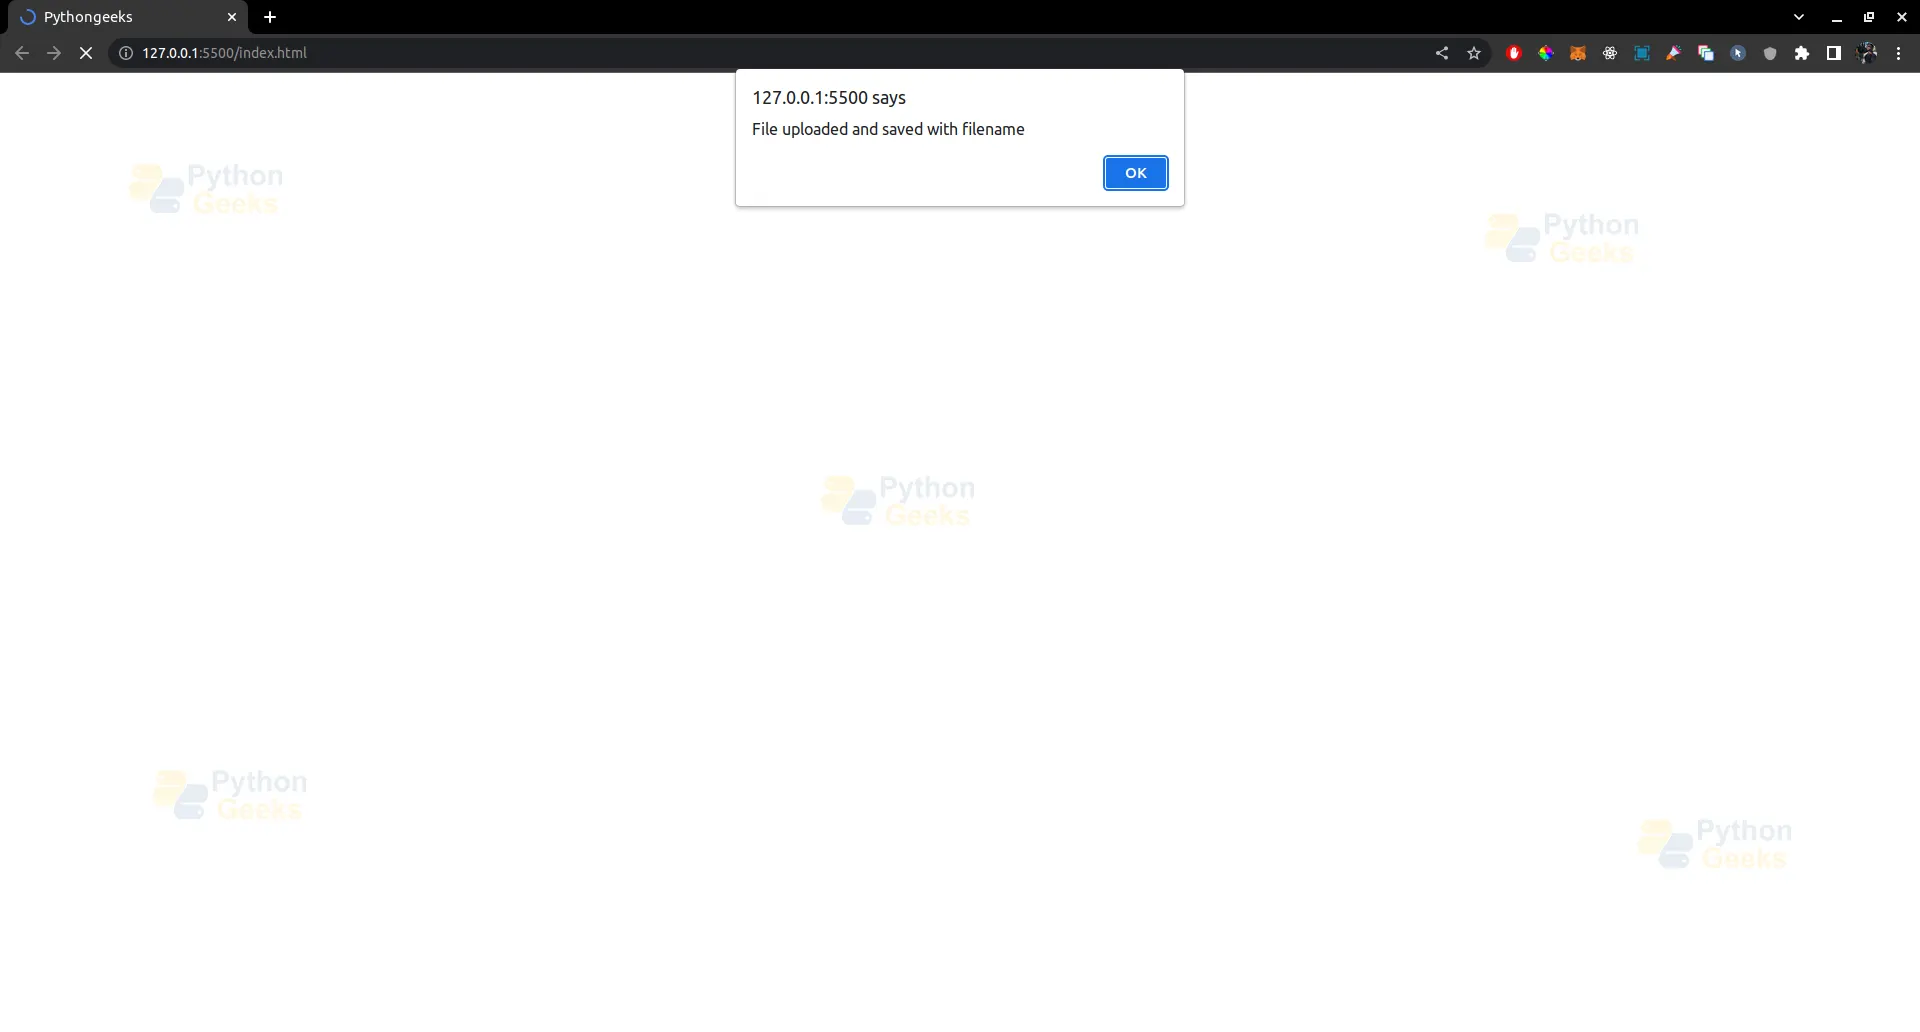
filename = str(uuid.uuid4()) + file.filename
# Perform further validation and file processing here
file.save('uploads/' + filename)
return 'File uploaded and saved with filename: ' + filename
else:
return 'Invalid file.'
if __name__ == '__main__':
app.run(debug=True)
Output –
4. File Execution: Avoid allowing uploaded files to be executed on the server. For example, if you’re expecting an image file, do not allow files with executable extensions such as .php, .py, .sh, etc., to be uploaded.
Conclusion
File uploading is a common feature in web applications, and Flask provides a simple and effective way to handle file uploads. By following best practices for securing file uploads, you can ensure that your Flask application remains secure and protected from malicious uploads. Remember to always validate and sanitize any user-generated content, including uploaded files, to prevent potential security risks. Happy coding!
