Django Installation and Environment Setup
From learning to earning – Courses that prepare you for job - Enroll now
Since Django is a Python-based framework, ensure that you have Python installed on your machine. Django Development Environment can be set up by installing python, a virtual environment, and Django Package Installation. Although Virtual Environment is not necessary, it is recommended to install your Django Packages under a Virtual Environment if you will be dealing with different package versions.
In this tutorial, we will learn how to install Django using Virtual Environments in Python.
Venv is a python Virtual Environment module that provides support to create “Virtual Environments”, isolating the system directories and packages.
Each Python Virtual Environment has its own Binary Files and independent packages so that developers can work on different package projects without having to disturb other environment packages.
Virtual Environment is the ideal way to install packages and work on your Projects.
Django Installation on Windows
Installing Python
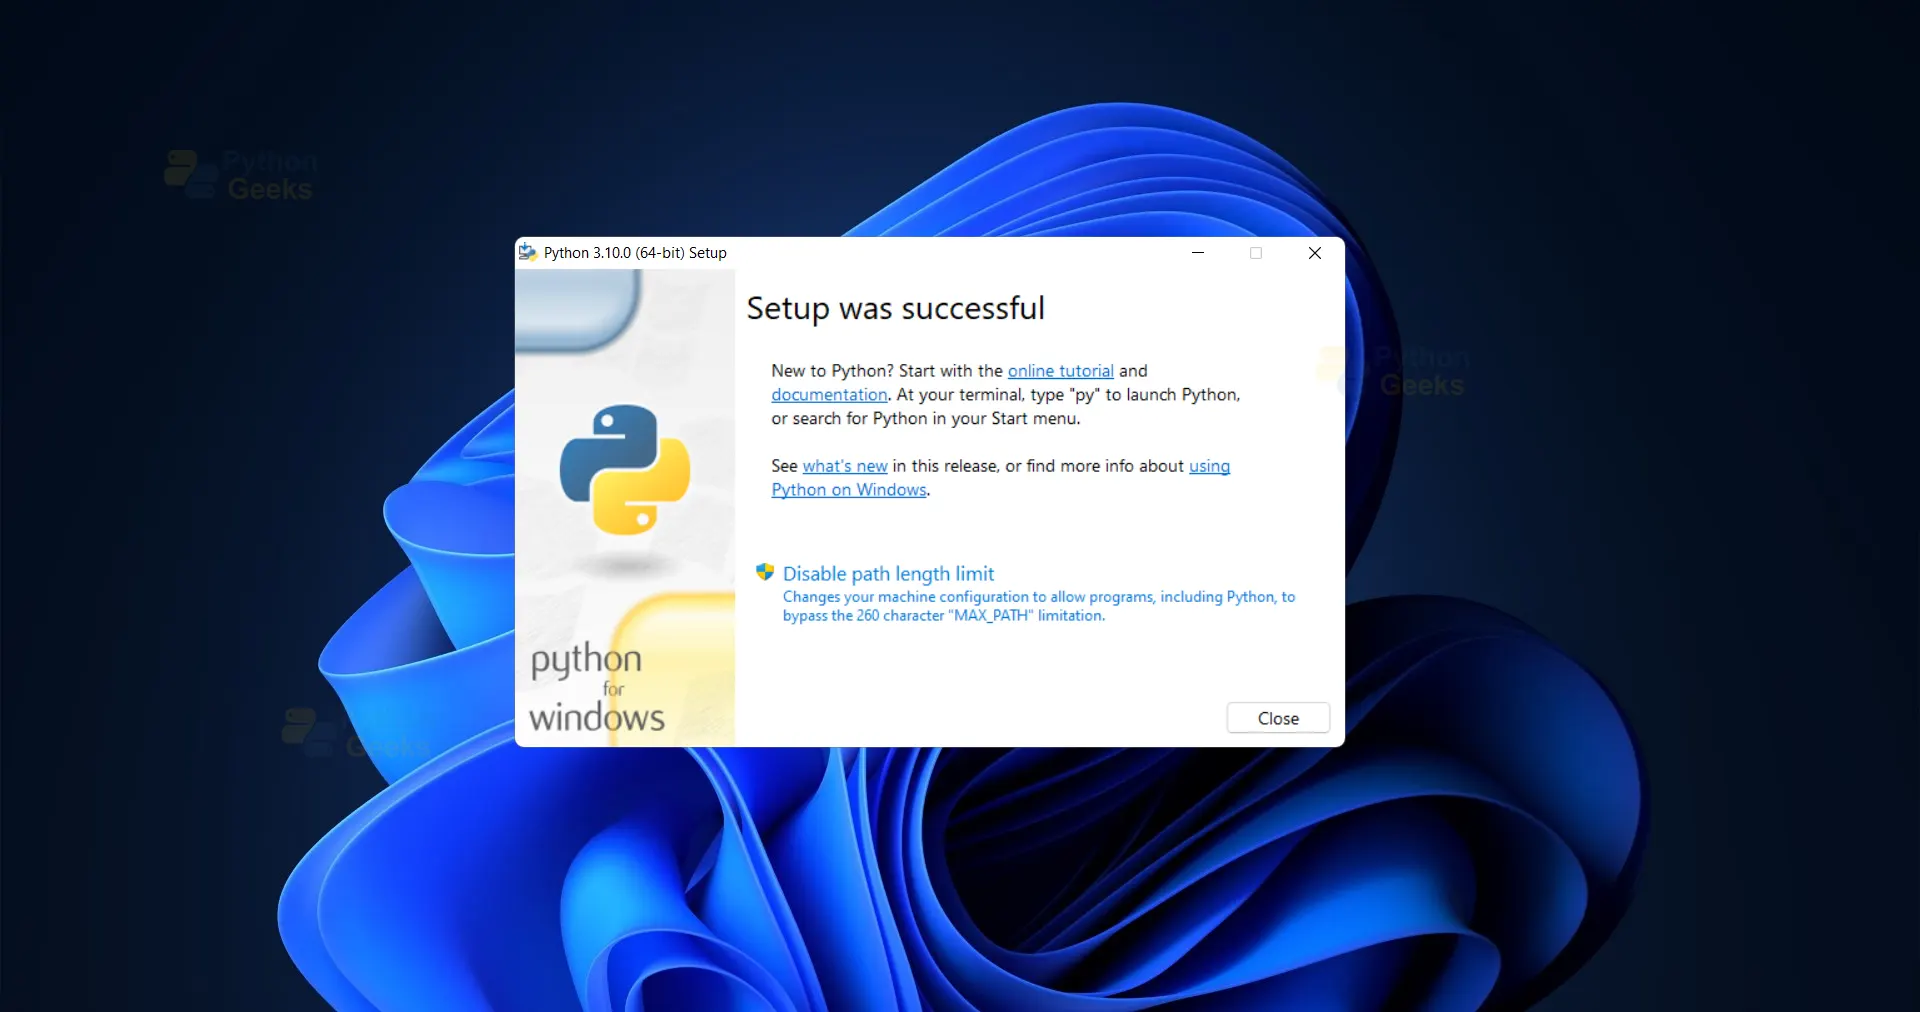
Firstly Download Python Executable File.
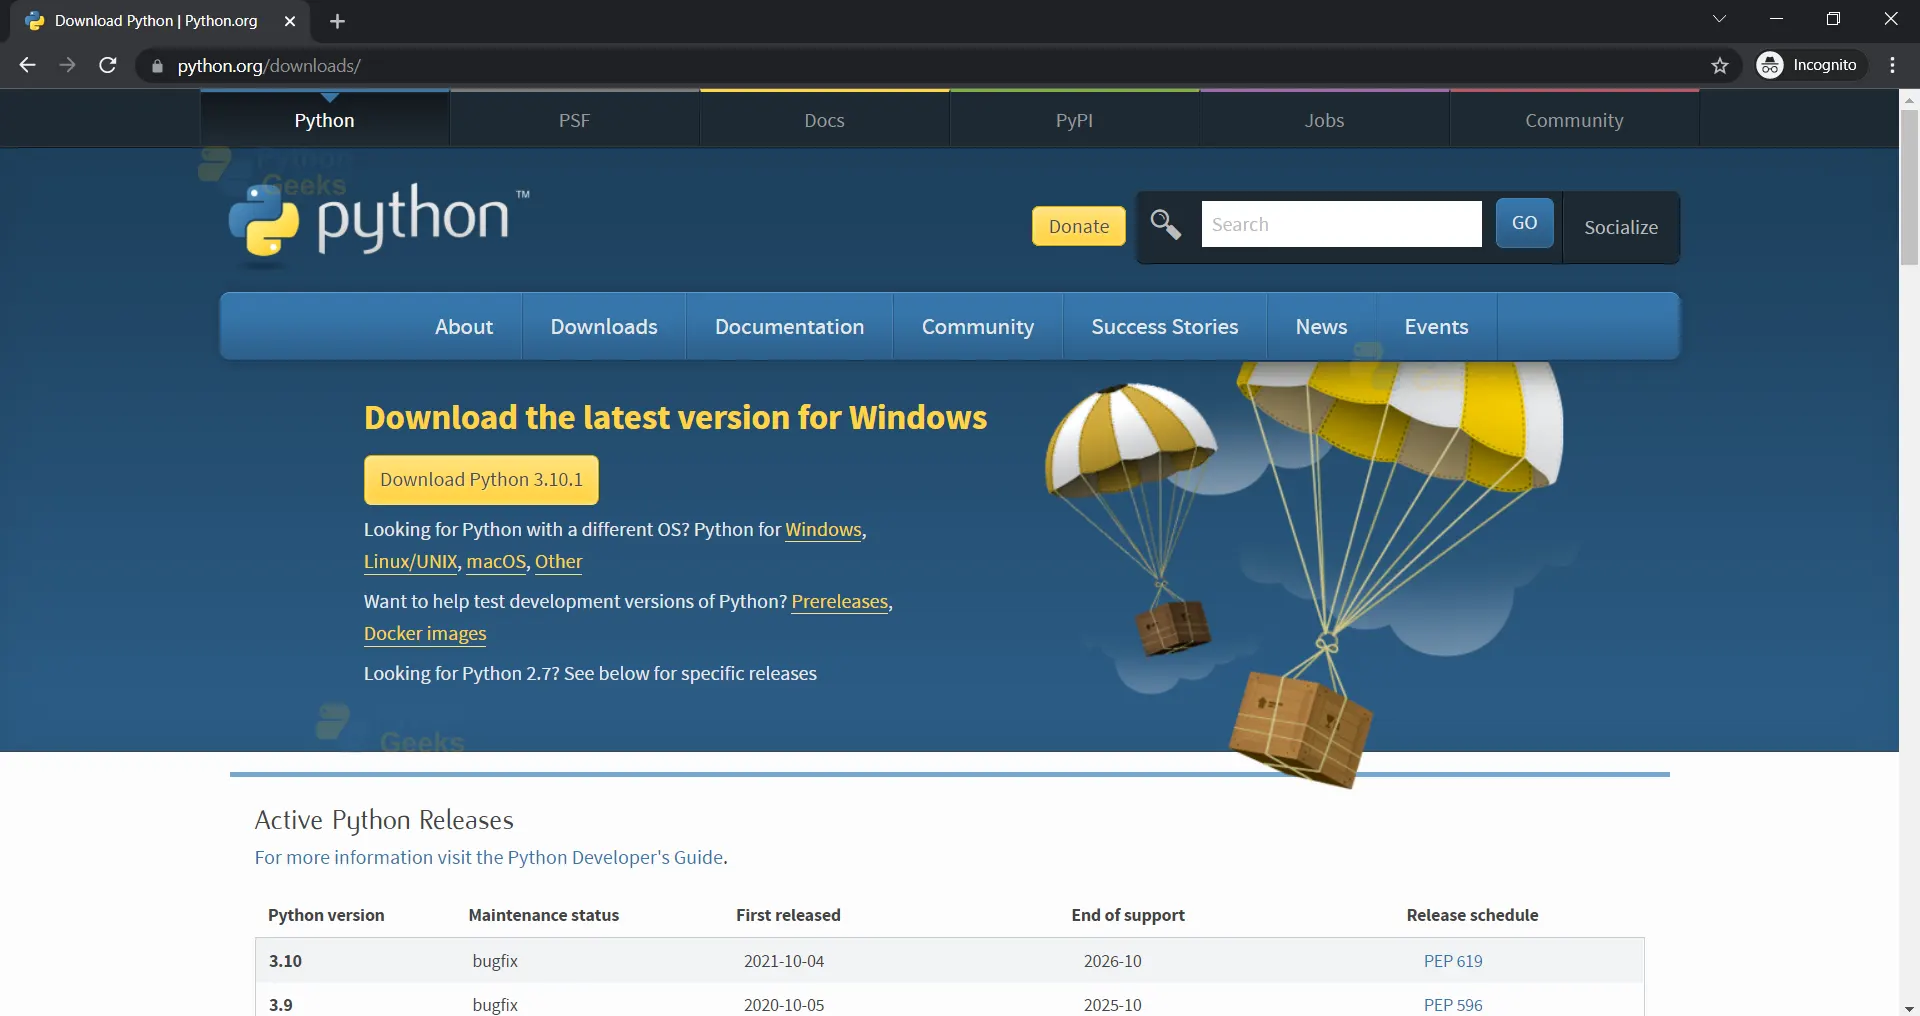
Ensure that you check the “Add Python 3.10 to PATH” , else you can manually add the path through the System Environment Variable Section .

Close the Installation Setup once you’re done Installing Python.
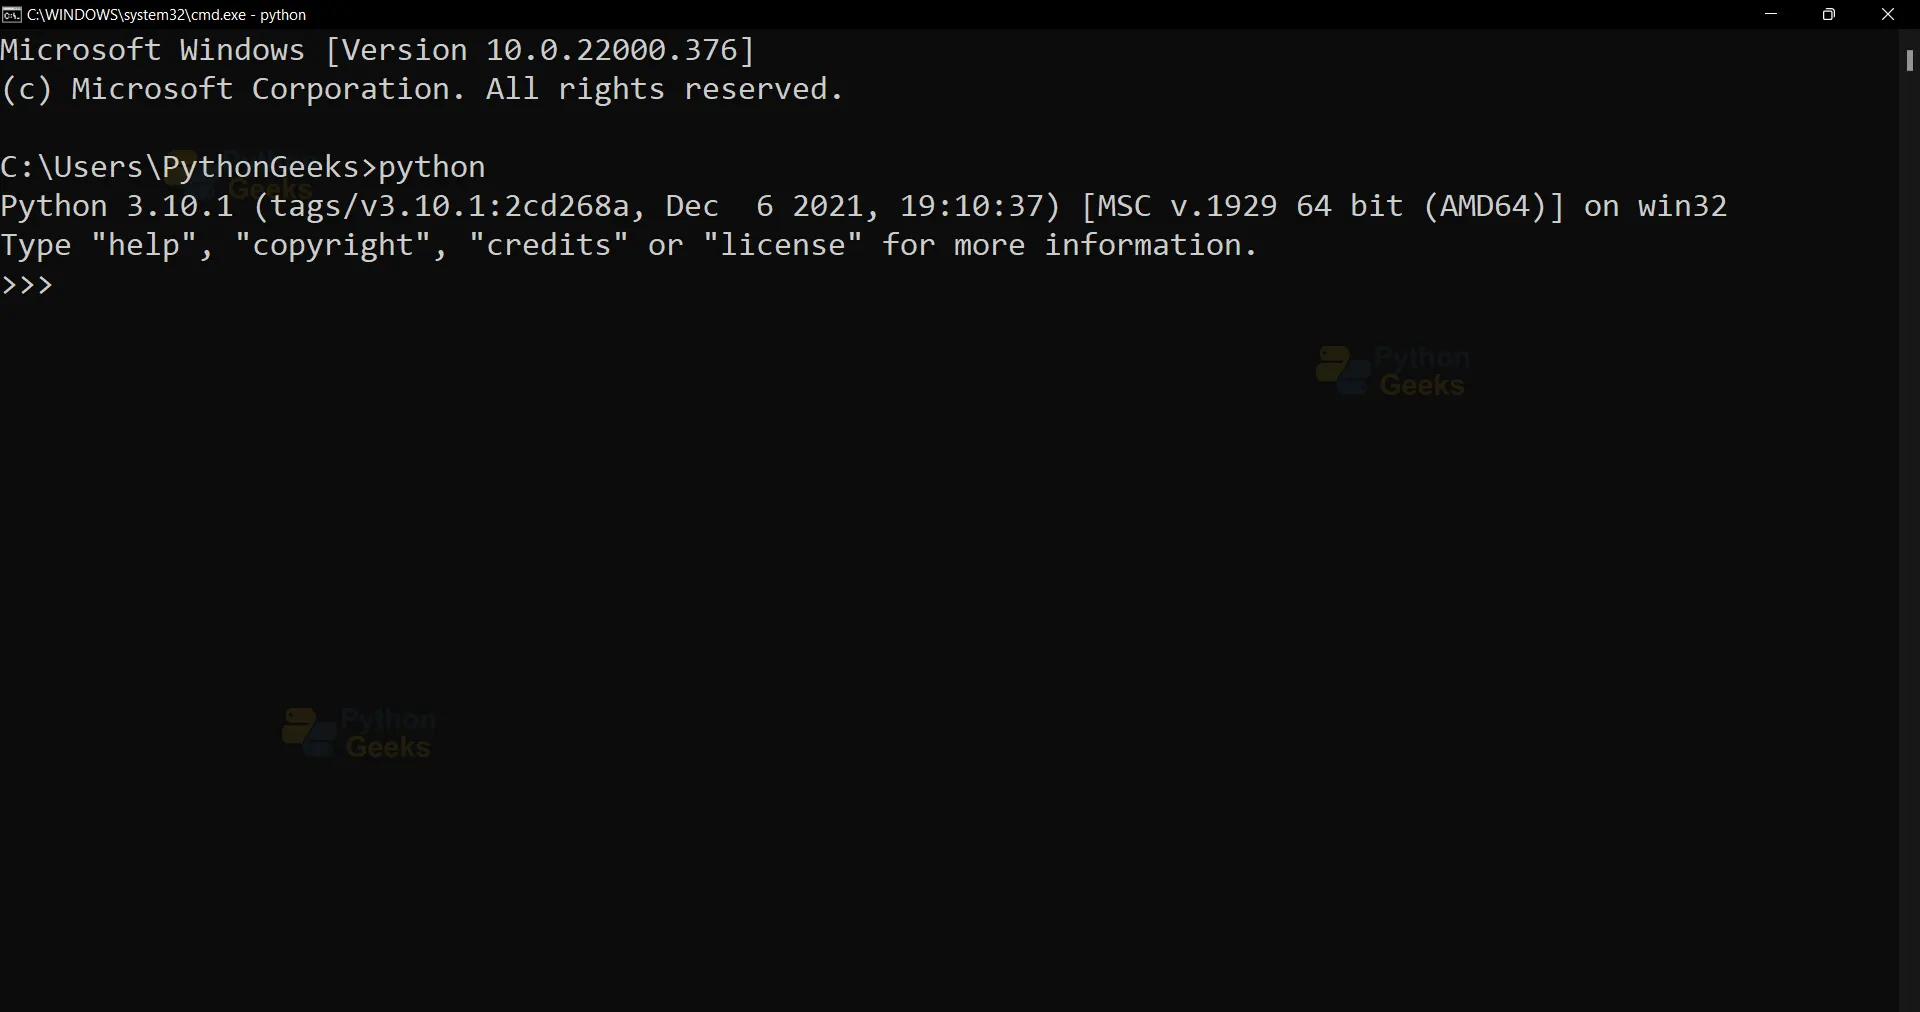
Open Command Prompt and execute the “python” command to ensure that Python is installed on your computer.
Installing Django using Virtual Environment
Install Pip
Pip is a package installer for Python, in order to install various python packages using command prompt, we need to install pip.
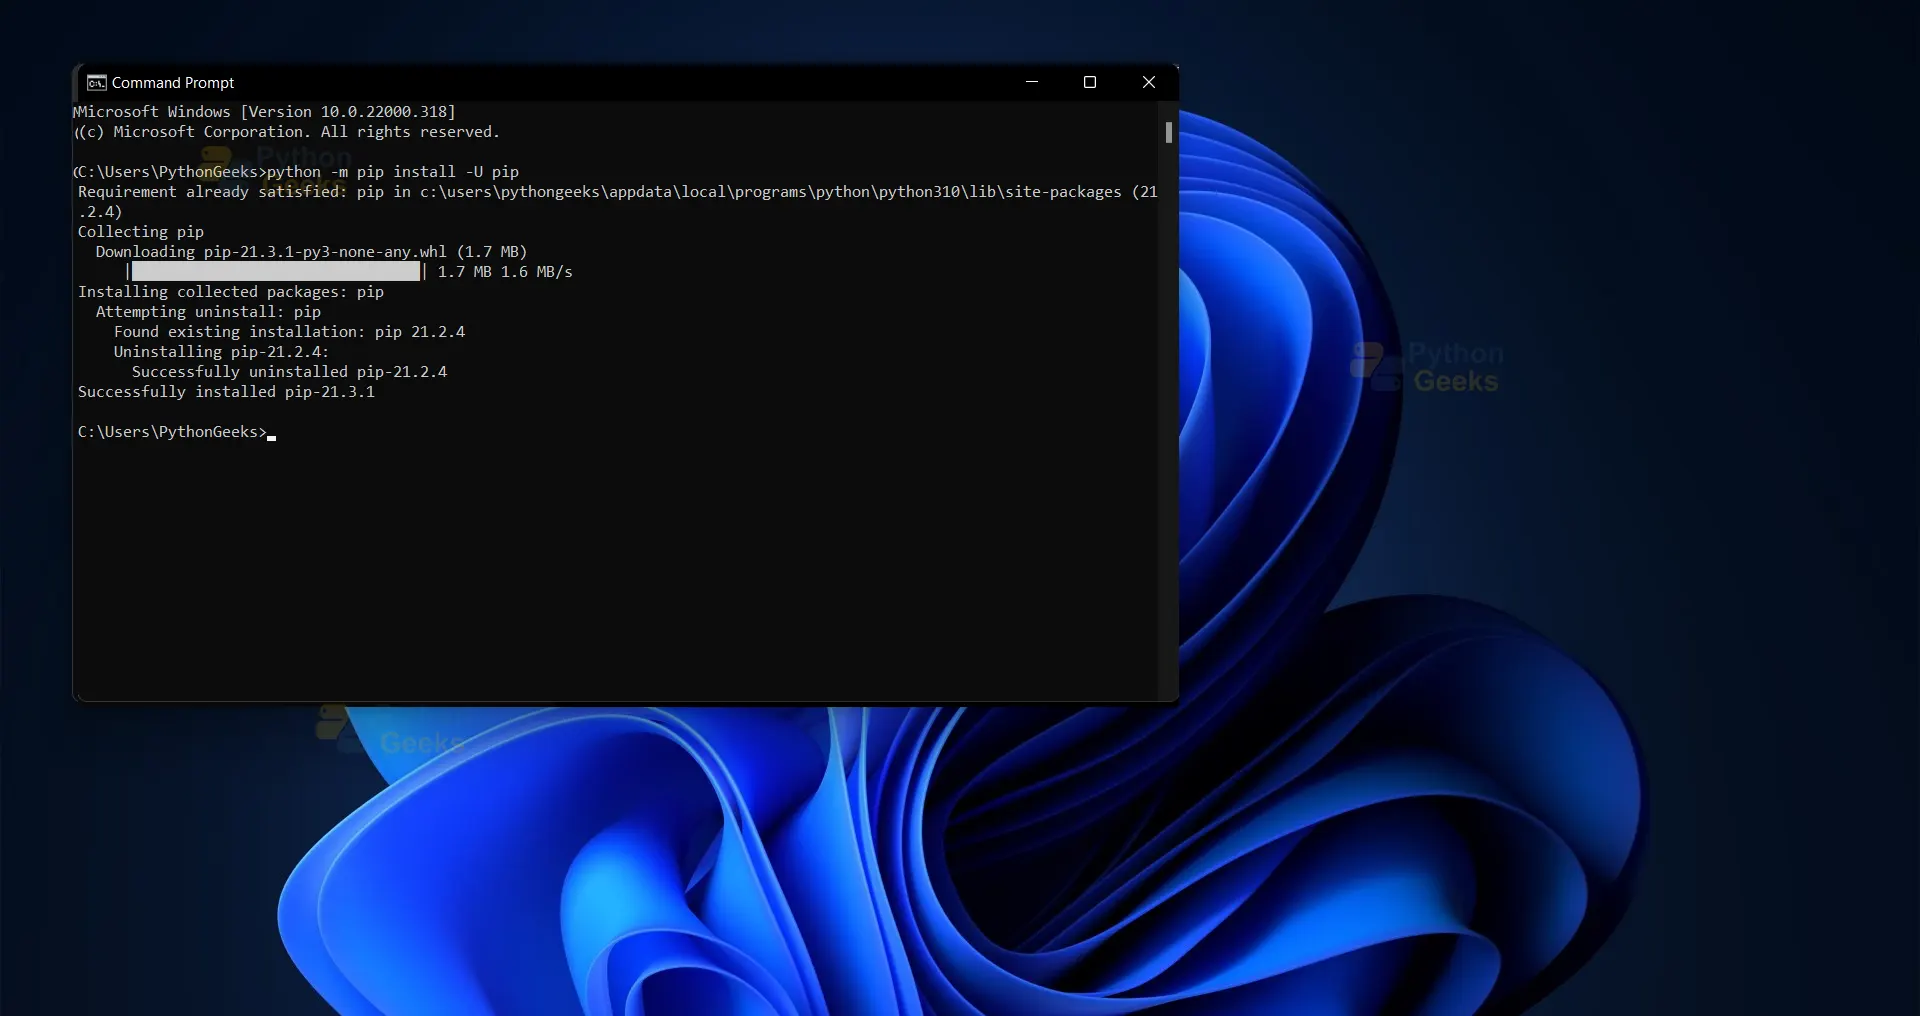
Open Command Prompt and enter the following command to install pip .
Python -m pip install -U pip
Install Virtual Environment – Enter the following command
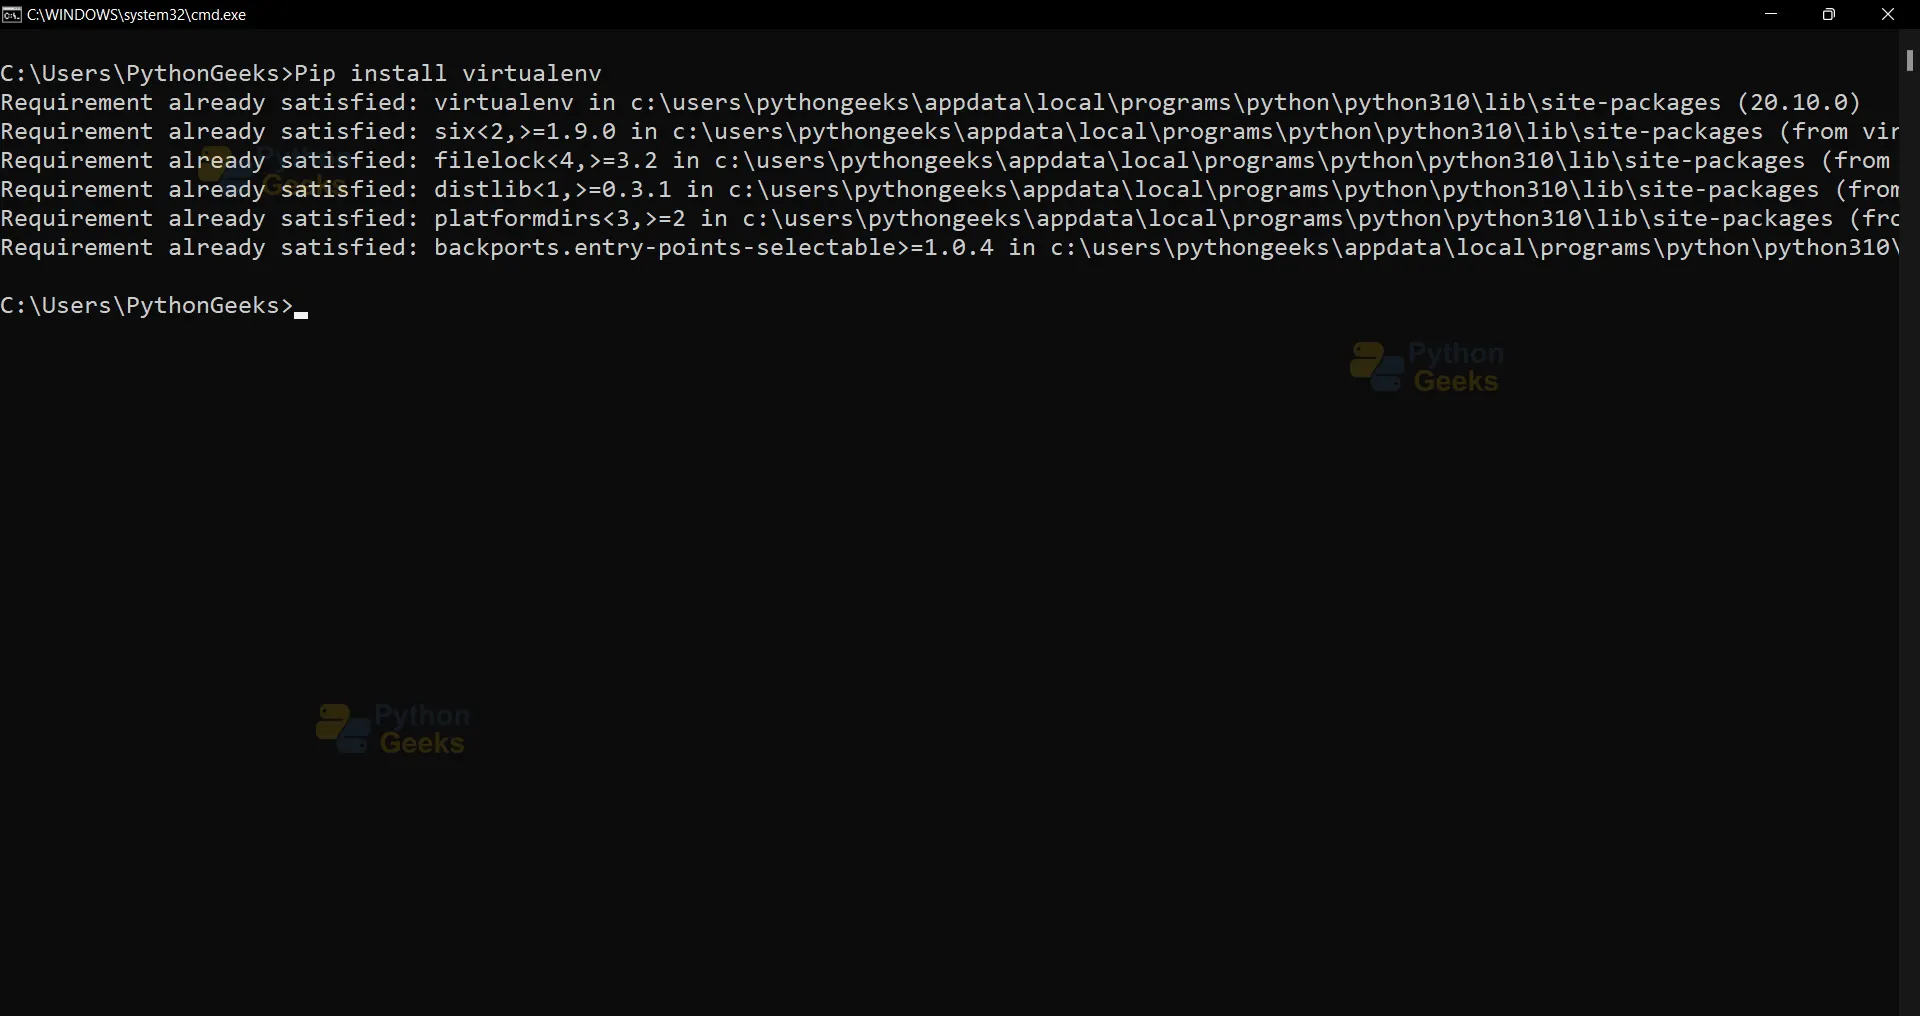
Pip install virtualenv
Initializing the Virtual Environment – Enter the following command
Virtualenv env_site
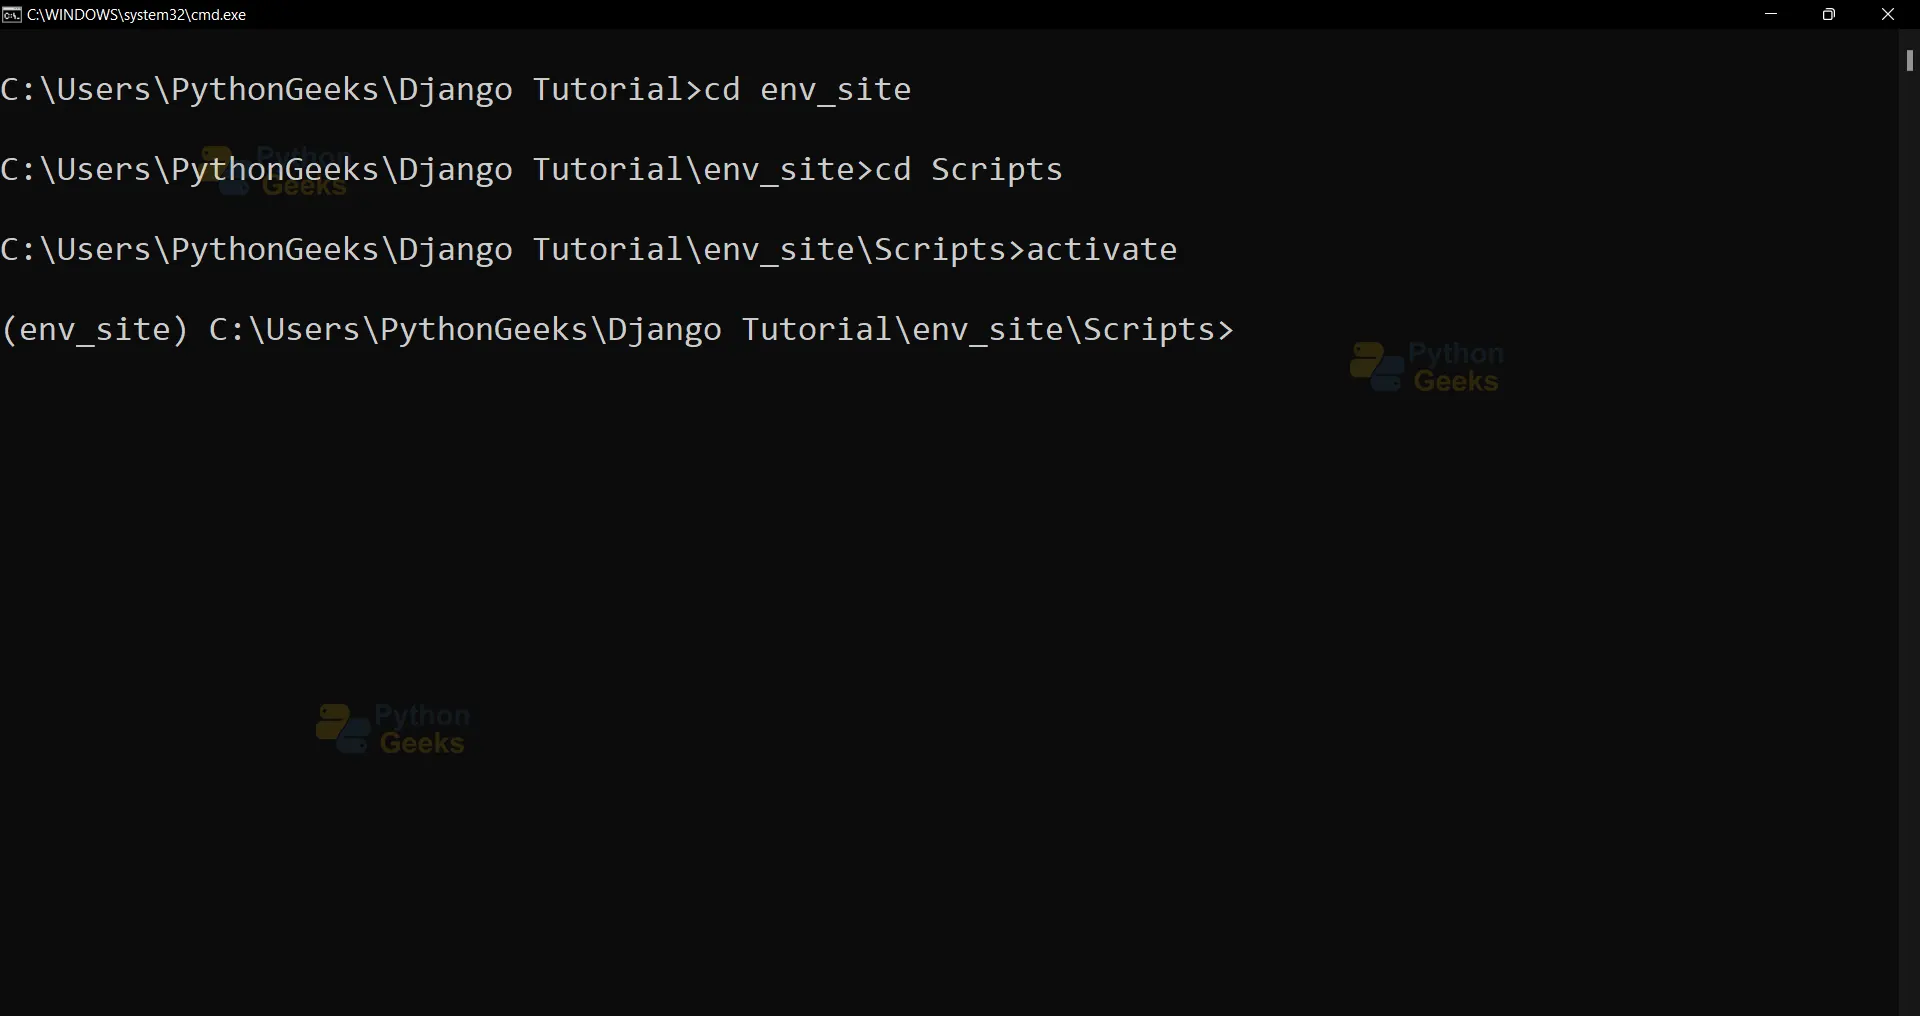
Navigate to Scripts Directory – Enter the following command :
Cd env_site\Scripts
Activate the Virtual Environment – Enter the following command:
activate
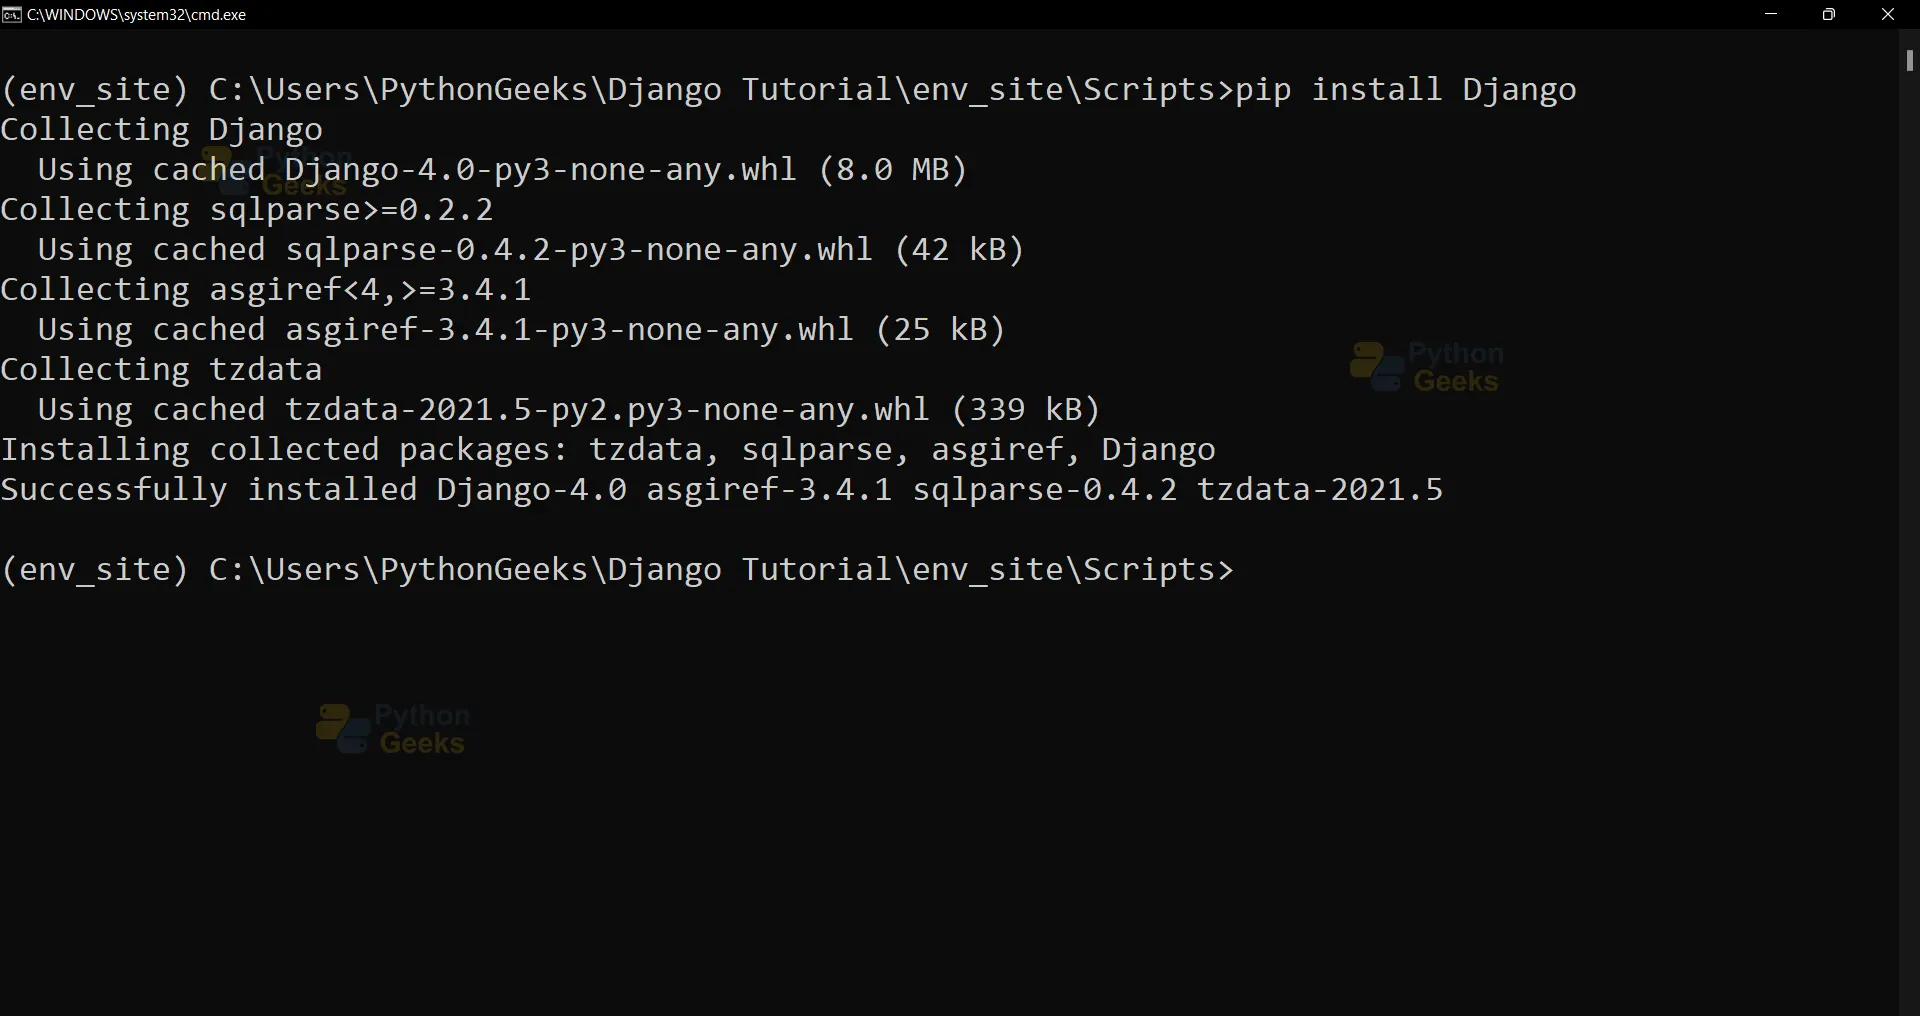
Django is now installed in your virtual environment, enter the following command to deactivate Virtual Environment:
deactivate
Installing Django on Ubuntu
Update your local package index using the following command :
sudo apt update
Check your version of Python using the following command :
python3 -V
Install Pip using the following command :
sudo apt install python3-pip
Make a new project directory and navigate into the project directory using the following commands :
mkdir ~/Python_Geeks
cd ~/Python_Geeks
Initiate Virtual Environment using the following command:
python3.6 -m venv my_env
Activate the Environment using the following command :
source my_env/bin/activate
Install Django using the following command :
pip install django
Installing Django on Mac OS:
Install latest version of Python using the following command :
brew install python3
Install Pip using the following command :
sudo easy_install pip
Install Virtual Environment Wrapper using the following command :
sudo pip3 install virtualenvwrapper
Initializing the Virtual Environment – Enter the following command:
virtualenv PythonGeeks
Navigate into the Virtual environment directory using the following command:
cd PythonGeeks
Activate the Virtual Environment using the following command :
source bin/activate
Install Django using the following command :
sudo pip install django
Virtual Environment Commands:
Below are a list of Virtual Environment Commands that you will be using regularly :
- deactivate – Deactivates Python Virtual Environment
- workon – Displays available virtual environments
- workon $environment_name – Activates the environment
- rmvirtualenv $environment_name – Removes the virtual environment
Testing Django Installation:
If you’re new to virtual environments, there is a slight chance that you might have made an error while installing. Let’s check if Django is installed on your machine by creating a test web site.
Enter the following commands after ensuring that you are in the environment .
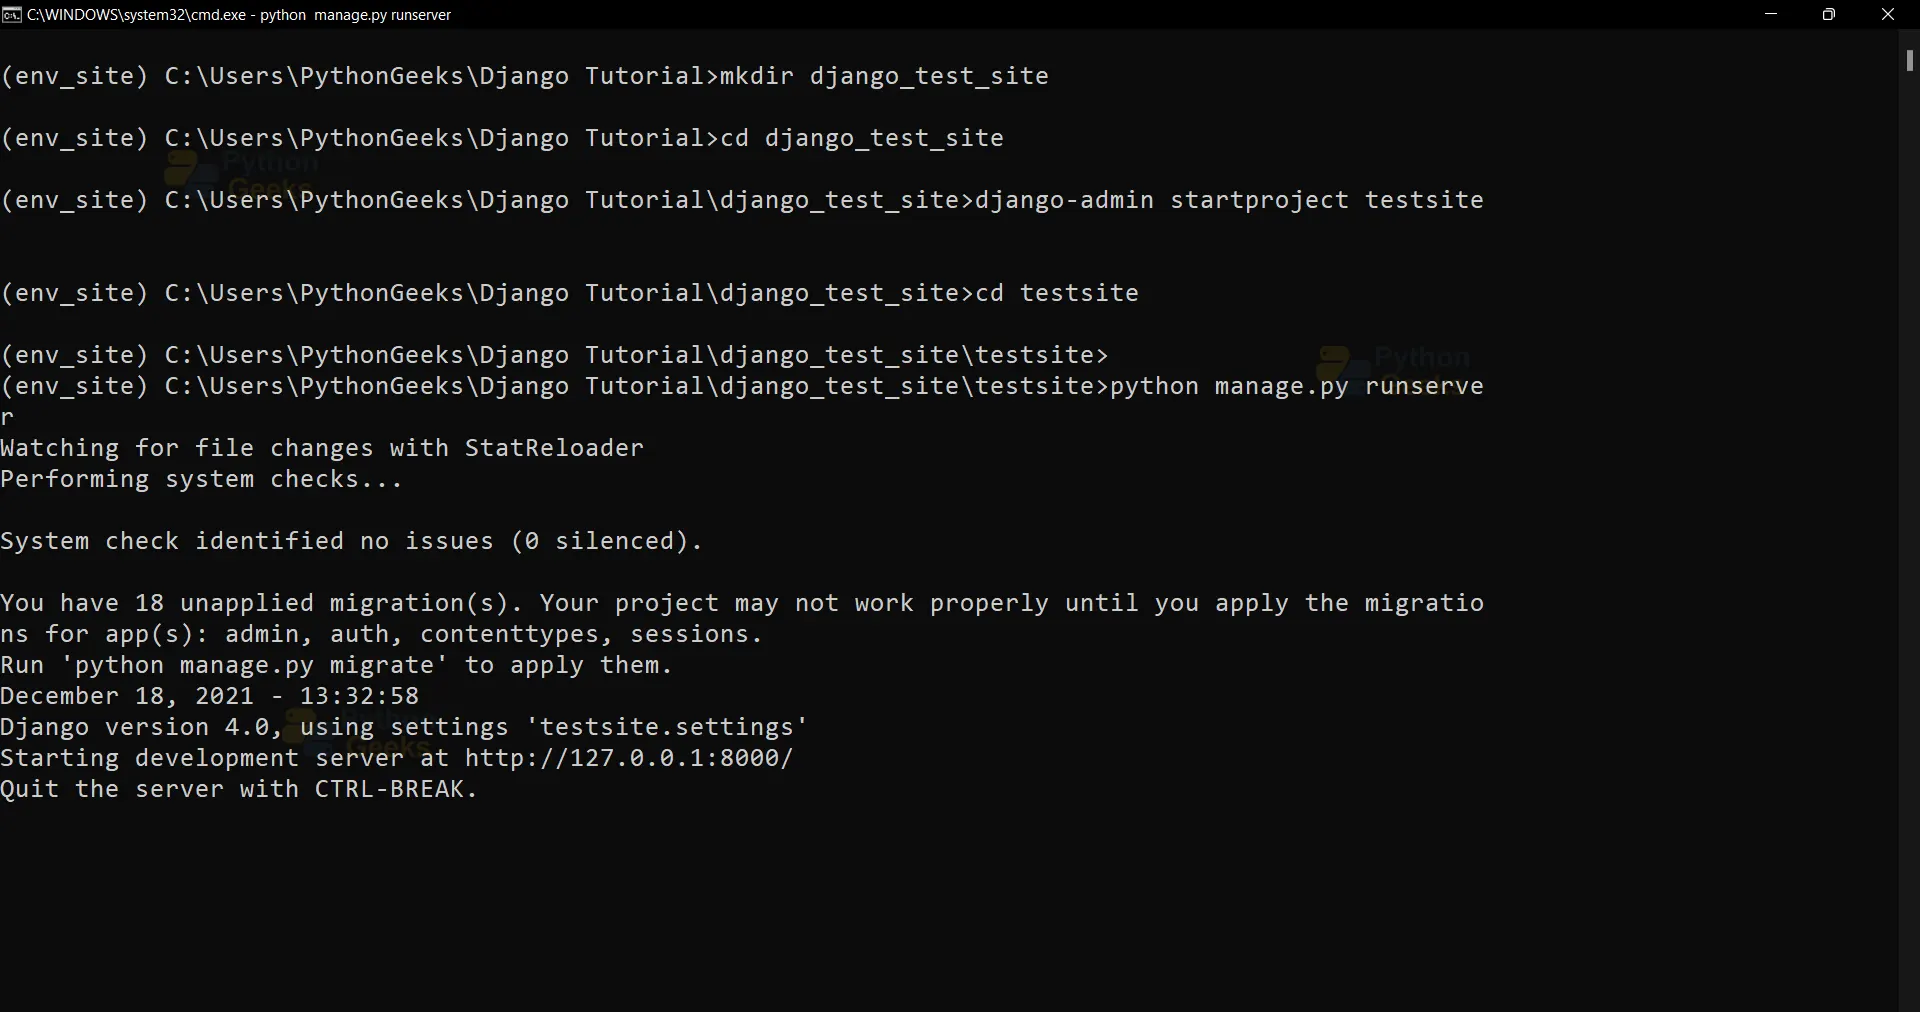
Create a test directory
(env_site) C:\Users\PythonGeeks\Django Tutorial>mkdir django_test_site
Navigate into the test directory
(env_site) C:\Users\PythonGeeks\Django Tutorial>cd django_test_site
Create Django Project by initiating this command
(env_site) C:\Users\PythonGeeks\Django Tutorial\django_test_site>django-admin startproject testsite
Navigate into the Project Folder
(env_site) C:\Users\PythonGeeks\Django Tutorial\django_test_site>cd testsite
Run the webserver using the following command :
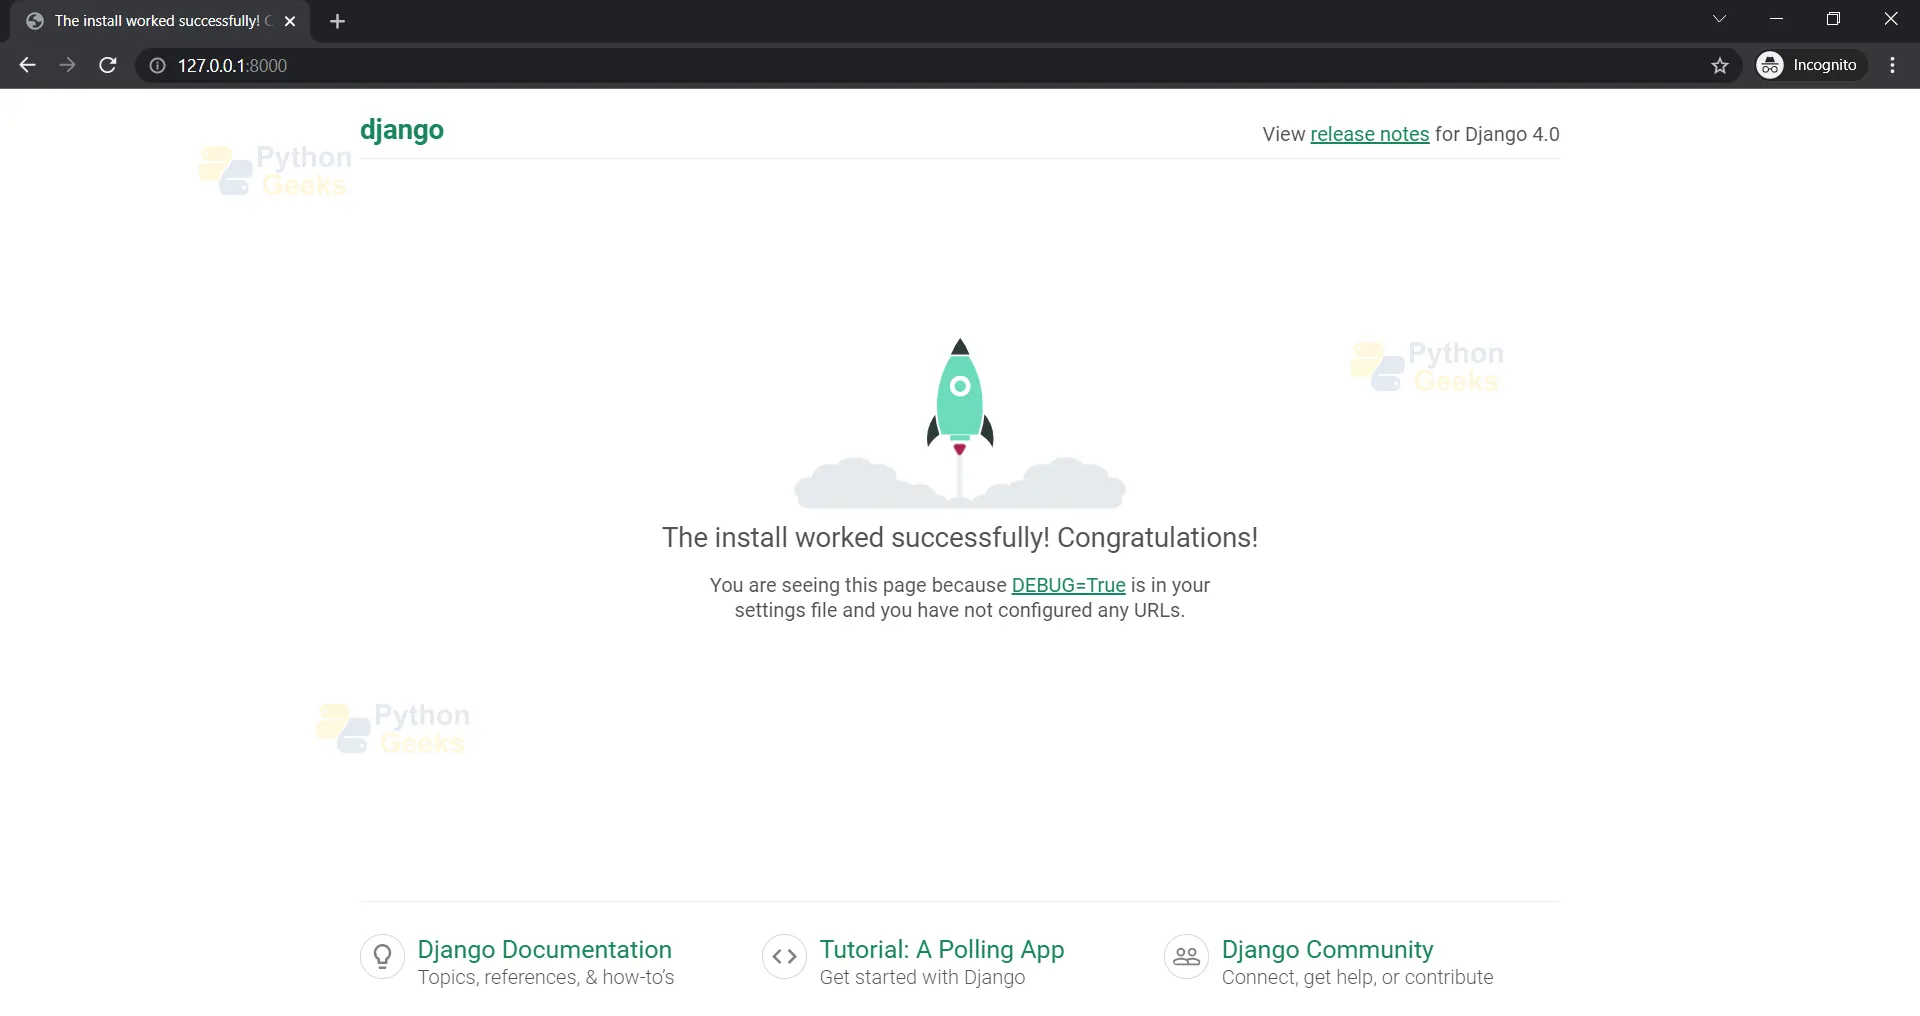
(env_site) C:\Users\PythonGeeks\Django Tutorial\django_test_site\testsite>python manage.py runserver
Summary:
In this tutorial we have learnt how to set up Django Environment by installing python and using the pip package. We have also covered how to test Django Installation by starting a test project using django-admin start project command and running a web server in python.

installation successful
Help please, I made all the way to :
cd testsite
python manage.py runserver
Somewhere between cd testsite and the python manage.py runserver , states no such file/directory
(This is my Very very first time trying to use command prompt , files/folders, pathways) if there was a category prior to novice, that’s me!