Create New Project in Django
Master programming with our job-ready courses: Enroll Now
Assuming you have installed Django on your PC from the last tutorial. In this tutorial, we will be learning how to create a new project in Django:
Creating New Django Project:
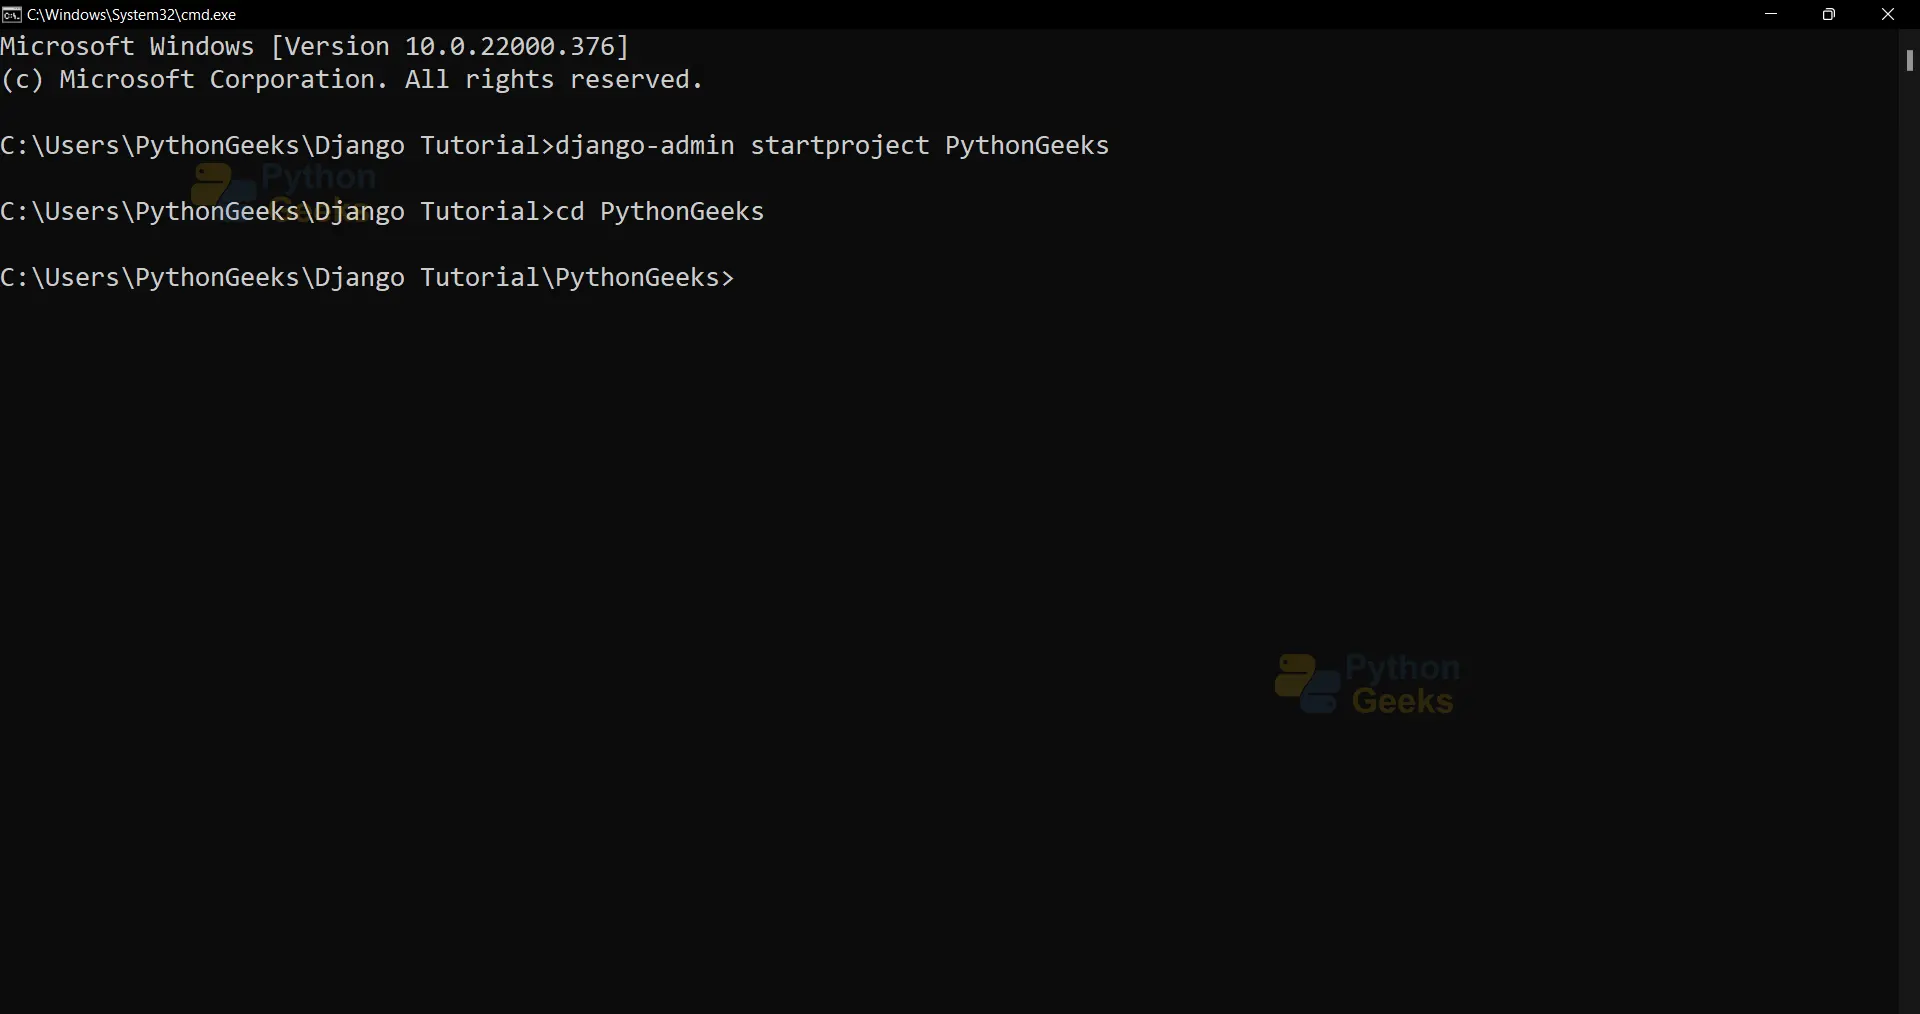
Start a project by running the following command by your project name – Here “PythonGeeks” happens to be Project Name
django-admin startproject PythonGeeks
Navigate back to the Project Directory using the following command :
cd ..
Navigate to your project folder by entering your project name :
cd Python_Geeks
Setting Up Django Project :
Following are some important settings that you need to setup while working with the web application :
Make sure that you have set the DEBUG value to true :
DEBUG = True
In development mode , we will be running into a lot of errors. Enabling the DEBUG feature allows us to view the exact error. Remember to disable the DEBUG feature when you are releasing the application into the production environment, it can be misused by hackers to exploit your application .
DATABASES = {
 'default': {
  'ENGINE': 'django.db.backends.sqlite3',
  'NAME': 'database.sql',
  'USER': '',
  'PASSWORD': '',
  'HOST': '',
  'PORT': '',
 }
}
Django comes with its default database – sqlite3 . You might as well change it according to your preference.
Django supports the following databases :
- SQLite
- Oracle
- MySQL
- MariaDB
- PostgreSQL
Django also supports the following third party databases :
- Microsoft SQL Server
- Google Cloud Spanner
- Firebird
- CockroachDB
You can also configure various other settings such as LANGUAGE_CODE , Template Directory Settings , DEFAULT_AUTO_FIELD according to your requirements .
Create a new “Views.py” file inside your project –
Use your default text editor, I strongly recommend using Notepad when you’re learning to code, since you will focus on the syntax if you don’t use an IDE. I have created “Views.py” file using the following command :
notepad Views.py
Django Project Structure :
Django Tutorial/ <-- higher level folder
|-- PythonGeeks/ <-- django project folder
| |-- PythonGeeks/ <-- django app folder
| | |-- __init__.py
| | |-- settings.py
| | |-- urls.py
| | |-- views.py
| | |-- wsgi.py
| +-- manage.py
- manage.py :The file contains code that will be able to runserver, make migrations and error handling exceptions to print to the developer while deploying an application.
- __init__.py : It is a mandatory file and it becomes impossible to import files from another directory without it .
- settings.py : It contains all the Configurations of our web application such as ; Database Configuration, Logging Settings, Static Files Path, API Keys, DEBUG Value etc .
- urls.py : Urls.py contains URL information of all Project URLs .
- wsgi.py : It specifies how servers should interact with the web application .
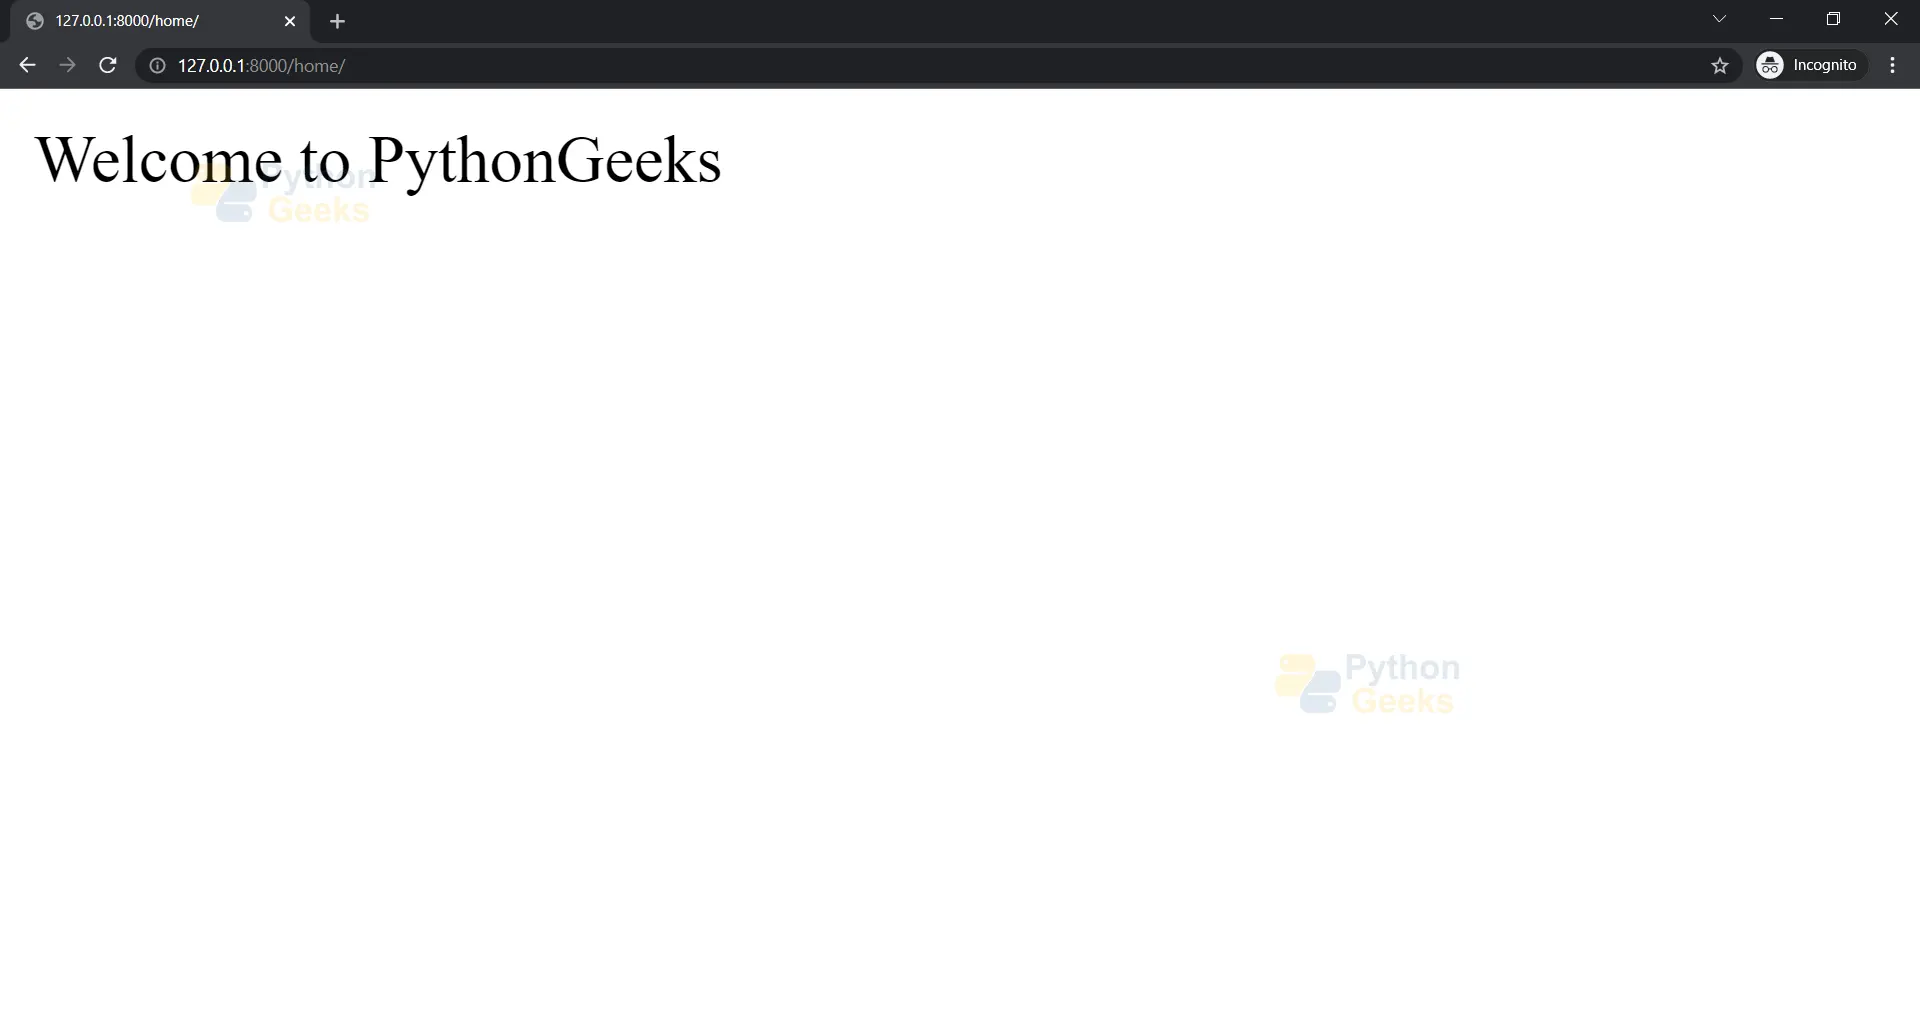
Make sure your “views.py” file looks like the below code . It returns “Welcome to PythonGeeks” as a text string on HTTP Request .
# HttpResponse is used to render the response HTTP Request
from django.http import HttpResponse

#Function is being initialised to perform a return request when called


def PythonGeeks(request) :
  return HttpResponse("Welcome to PythonGeeks")
Navigate to your “Urls.py” file inside your project folder and replace the following code to import “PythonGeeks” function from “Views.py” file and assign “home” as our route URL to the function .
from django.contrib import admin
from django.urls import path

#Importing PythonGeeks function from Views.py file
from PythonGeeks.views import PythonGeeks

urlpatterns = [
 path('home/',PythonGeeks),
]
Starting Python Web Server
Run Python Webserver by entering the following command :
Python manage.py runserver

Running the test server:
In order to test our application, let’s launch our web application.
Run the following command to launch python web server :
python manage.py runserver
Check the Server Status by Visiting the localhost server address using your browser:
127.0.01:8080/home.
Summary
In this tutorial, we have learned to create our first Django project that lets us print a Text String when called upon the function using the URL route “home”. In the upcoming tutorials, we will be looking at how to create Django Apps and File Structure .
