Flask Mail Extension
Get Ready for Your Dream Job: Click, Learn, Succeed, Start Now!
In today’s digital world, email remains a critical means of communication for businesses and web applications. Whether it’s sending notifications, password resets, or newsletters, integrating email functionality into your Flask web application is essential. Flask-Mail, a popular extension for the Flask web framework, makes it easy to send emails from your Flask application with just a few lines of code. In this article, we will explore Flask-Mail and learn how to leverage its powerful features for email functionality in Flask.
What is Flask-Mail?
Flask-Mail is a third-party extension for Flask, a Python web framework, that provides a simple and convenient way to send emails from your Flask application. It abstracts the complexities of email protocols and provides a high-level, intuitive interface for sending emails using SMTP (Simple Mail Transfer Protocol) servers. Flask-Mail is widely used in Flask applications for a variety of email-related tasks, such as sending welcome emails, password reset emails, and notifications to users.
Features of Flask-Mail
Flask-Mail comes with a wide range of features that make it a powerful tool for handling email functionality in Flask applications. Some of the notable features of Flask-Mail include:
1. Easy configuration: Flask-Mail allows you to easily configure your email settings, such as the SMTP server, port, and authentication credentials, using the Flask application’s configuration mechanism. This makes it easy to switch between different email providers or update email settings without modifying your application code.
2. Multiple email backends: Flask-Mail supports multiple email backends, including SMTP, Sendmail, and Amazon Simple Email Service (SES). It allows you to choose the backend that best fits your application’s requirements.
3. Support for HTML emails: Flask-Mail supports sending HTML emails, allowing you to send rich content emails with images, links, and formatted text. You can also use templates to generate dynamic content in your emails.
4. Attachments: Flask-Mail allows you to easily attach files to your emails. It makes it convenient for sending files such as PDFs, images, or other documents as email attachments.
5. Email error handling: Flask-Mail provides built-in error handling for email sending failures, such as invalid email addresses or failed SMTP connections. You can easily handle these errors in your Flask application and take appropriate actions, such as logging or sending notifications.
6. Email message customization: Flask-Mail provides a simple and intuitive interface for customizing email messages, including setting the sender, recipient, subject, body, and other email attributes. This makes it easy to tailor your emails to meet the specific requirements of your application.
Using Flask-Mail in a Flask Application
To use Flask-Mail in your Flask application, you need to install it first. You can install Flask-Mail using pip, the Python package manager, with the following command:
pip install Flask-mail
Once Flask-Mail is installed, you can import it into your Flask application and configure it using the Flask application’s configuration mechanism. Here’s an example of how you can configure Flask-Mail in your Flask application:
from flask import Flask
from flask_mail import Mail


app = Flask(__name__)


# Configure Flask-Mail settings
app.config['MAIL_SERVER'] = 'smtp.gmail.com'
app.config['MAIL_PORT'] = 465
app.config['MAIL_USE_SSL'] = True
app.config['MAIL_USERNAME'] = '[email protected]'
app.config['MAIL_PASSWORD'] = 'your_email_password'


# Initialize Flask-Mail
mail = Mail(app)
In the above example, we configure Flask-Mail to use the SMTP server of Gmail with SSL encryption for secure communication. We also provide the email address and password for authentication.
Once Flask-Mail is configured, you can start using it to send emails from your Flask application. Here’s an example of how you can send a simple text email using Flask-Mail:
from flask_mail import Message
from flask import Flask, render_template
from flask_mail import Mail


app = Flask(__name__)


# Configure Flask-Mail settings
app.config['MAIL_SERVER'] = 'smtp.gmail.com'
app.config['MAIL_PORT'] = 465
app.config['MAIL_USE_SSL'] = True
app.config['MAIL_USERNAME'] = '[email protected]'
app.config['MAIL_PASSWORD'] = 'your_email_password'


# Initialize Flask-Mail
mail = Mail(app)


@app.route('/')
def send_email():
   # Create a Flask-Mail message
   msg = Message('Hello from Flask-Mail', sender='[email protected]', recipients=['[email protected]'])
   msg.body = 'This is a test email sent from Flask-Mail.'


   # Send the email
   mail.send(msg)
   return 'Email sent!'


if __name__ == '__main__':
   app.run(debug=True)
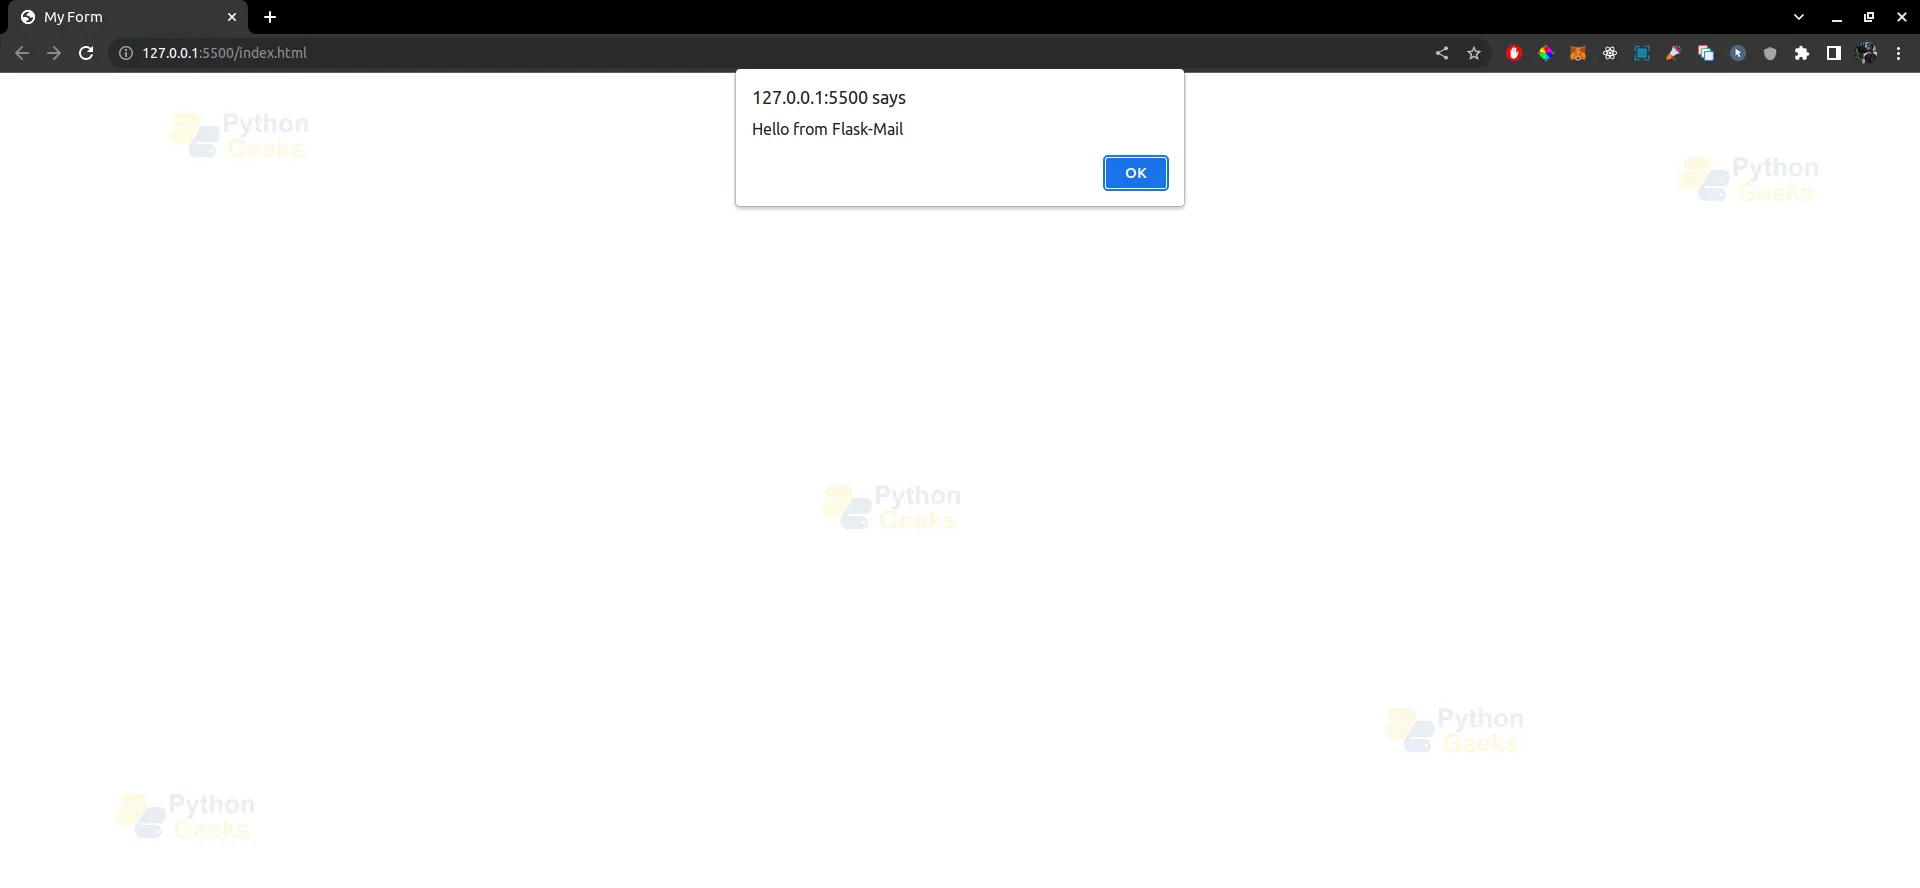
In the above example, we create a Flask-Mail message with a subject, sender, recipient, and body. We then use the mail.send() method to send the email. It’s as simple as that!
Flask-Mail also provides additional features, such as sending HTML emails, adding attachments, and customizing email messages using templates. Here’s an example of how you can send an HTML email with an attachment using Flask-Mail:
from flask_mail import Message
from flask import Flask, render_template
from flask_mail import Mail


app = Flask(__name__)


# Configure Flask-Mail settings
app.config['MAIL_SERVER'] = 'smtp.gmail.com'
app.config['MAIL_PORT'] = 465
app.config['MAIL_USE_SSL'] = True
app.config['MAIL_USERNAME'] = '[email protected]'
app.config['MAIL_PASSWORD'] = 'your_email_password'


# Initialize Flask-Mail
mail = Mail(app)


@app.route('/')
def send_email():
   # Create a Flask-Mail message with HTML body and an attachment
   msg = Message('Hello from Flask-Mail with HTML', sender='[email protected]', recipients=['[email protected]'])
   msg.html = render_template('email.html', name='John')  # Render an HTML template
   with app.open_resource('attachment.pdf') as attachment:
       msg.attach('attachment.pdf', 'application/pdf', attachment.read())  # Attach a file


   # Send the email
   mail.send(msg)
   return 'Email sent!'


if __name__ == '__main__':
   app.run(debug=True)
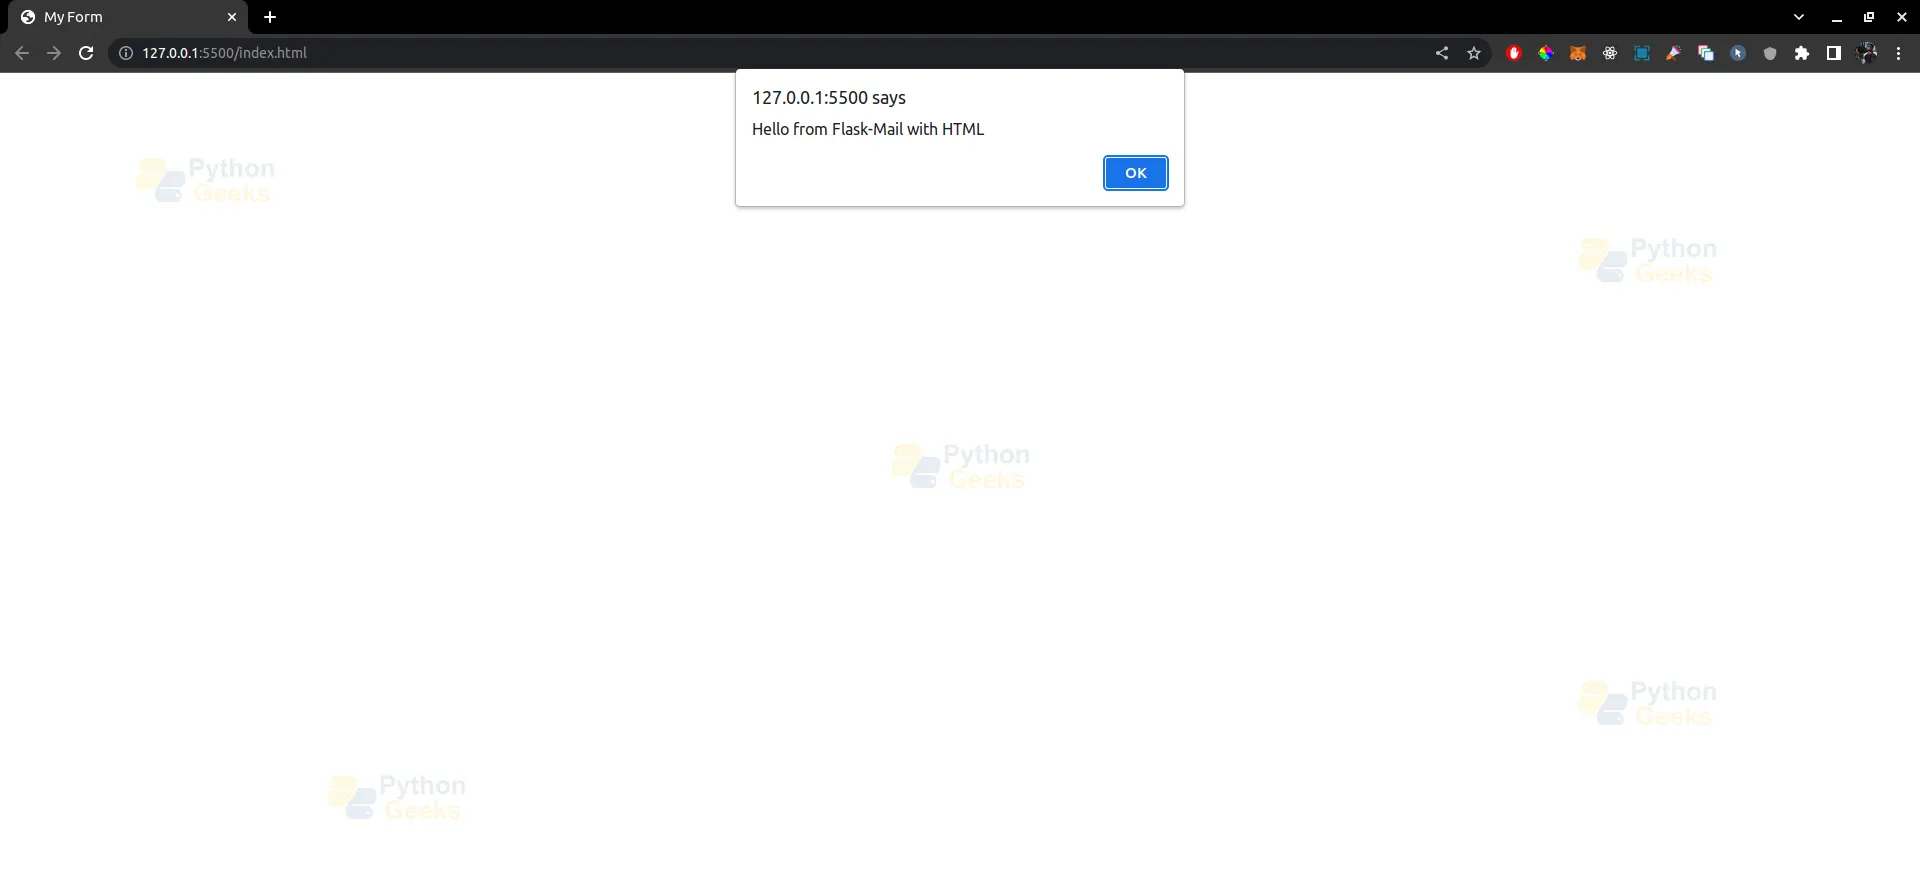
In the above example, we use the render_template() function to render an HTML template for the email body, and the msg.attach() method to attach a PDF file to the email. Flask-Mail makes it easy to send rich content emails with attachments in your Flask application.
In addition to these features, Flask-Mail also provides options for handling email errors, setting email headers, and using different email backends. You can refer to the Flask-Mail documentation for more information on these advanced features.
Flask Mail
Flask-Mail is a Flask extension that provides a simple interface for sending email from a Flask application. It supports several email protocols such as SMTP, SSL, TLS, and SendGrid, and can be easily integrated into a Flask application using its simple API.
To use Flask-Mail, you need to install the extension and configure it with your email settings. This can be done in the Flask application’s configuration file, where you can specify the SMTP server, port, username, password, and other settings.
Once configured, Flask-Mail provides a Mail object that can be used to create and send emails. The Mail object has several methods for sending different types of emails, such as simple text emails, HTML emails, and emails with attachments.
To send an email using Flask-Mail, you create a Message object and set its attributes such as the recipient, subject, body, and attachments. You can then use the Mail object’s send() method to send the message.
In addition to sending emails, Flask-Mail also provides other features such as email templating, batch email sending, and error handling.
Overall, Flask-Mail is a simple and convenient way to add email sending functionality to a Flask application. It is widely used in Flask applications and is well-documented with plenty of examples available to help you get started.
| Parameter | Description |
| MAIL_SERVER | The hostname or IP address of the SMTP server to use for sending emails. |
| MAIL_PORT | The port number to use for the SMTP server. |
| MAIL_USE_TLS | If set to True, Flask-Mail will use TLS to encrypt the connection to the SMTP server. |
| MAIL_USE_SSL | If set to True, Flask-Mail will use SSL to encrypt the connection to the SMTP server. |
| MAIL_USERNAME | The username to use for authenticating with the SMTP server. |
| MAIL_PASSWORD | The password to use for authenticating with the SMTP server. |
| MAIL_DEFAULT_SENDER | The default sender email address to use for all emails sent by Flask-Mail. |
| MAIL_MAX_EMAILS | The maximum number of emails to send in a single connection. |
| MAIL_SUPPRESS_SEND | If set to True, Flask-Mail will not actually send emails, but will log them instead. |
| MAIL_ASCII_ATTACHMENTS | If set to True, Flask-Mail will encode all non-ASCII characters in attachments using ASCII. |
Methods of Mail class in Flask
The Mail class in Flask-Mail provides several methods that can be used to send emails from a Flask application. Here is an overview of the main methods provided by the Mail class:
1. send(message):
This method is used to send an email using the specified Message object. The message should contain the recipient, sender, subject, body, and any attachments for the email.
2. send_message(recipients, subject, body, sender=None, cc=None, bcc=None, attachments=None, reply_to=None, date=None, charset=None, extra_headers=None, mail_options=None, rcpt_options=None):
This method is a simplified way to send an email without creating a separate Message object. It takes the recipient, sender, subject, body, and any attachments for the email as arguments.
3. connect():
This method is used to establish a connection to the SMTP server. This method is called automatically by the send() method, so you generally don’t need to call it explicitly.
4. send_message_one_by_one(recipients, **kwargs):
This method is used to send an email to each recipient individually. This can be useful when sending emails to a large number of recipients, as it can help avoid issues with email providers that limit the number of recipients per email.
5. build_message(subject, recipients, body, sender=None, cc=None, bcc=None, attachments=None, reply_to=None, date=None, charset=None, extra_headers=None):
This method is used to create a Message object with the specified recipient, sender, subject, body, and attachments. This can be useful when you want to customize the email for each recipient.
6. html_message(recipients, subject, body, sender=None, cc=None, bcc=None, attachments=None, reply_to=None, date=None, charset=None, extra_headers=None):
This method is used to send an HTML email. The body of the email should be specified as HTML code.
Overall, these methods provide a flexible and convenient way to send emails from a Flask application using Flask-Mail. The method you choose will depend on the specific requirements of your application.
Flask-Mail Module Classes
Flask-Mail is a Flask extension that provides a simple interface to set up email sending in a Flask application. It supports various email sending services and protocols such as SMTP, SSL, TLS, and Sendgrid.
Flask-Mail provides several classes that can be used to configure and send emails from a Flask application:
1. Mail: This class is the core of Flask-Mail and handles the configuration of email sending. It provides methods to send simple text emails, HTML emails, and emails with attachments.
2. Message: This class represents an email message and provides methods to set the recipient, sender, subject, body, and attachments of an email.
3. Attachment: This class represents an email attachment and provides methods to set the filename, content type, and data of the attachment.
4. Connection: This class represents a connection to an email server and provides methods to send email messages over that connection.
To use Flask-Mail in a Flask application, you need to create a Mail instance and configure it with the appropriate email settings. You can then create a Message instance, set the email details, and send the email using the Mail instance.
Overall, Flask-Mail provides a convenient and easy-to-use interface for sending emails in Flask applications.
Email verification in flask using OTP
Email verification using OTP (One-Time Password) is a common feature in many web applications, and Flask provides several extensions that can be used to implement this feature.
One approach to implementing email verification using OTP is to use Flask-Mail to send an email containing the OTP code to the user’s email address. The user can then enter the OTP code into a form on the web application to verify their email address.
To implement this feature, you can use the Flask-Mail extension to send the email containing the OTP code. You can then generate the OTP code using a library like PyOTP or Otpauth, and store it in a database or session variable.
When the user enters the OTP code into the web application, you can compare it with the stored OTP code to verify the user’s email address. If the codes match, you can mark the email address as verified in the database or session variable.
Overall, implementing email verification using OTP in Flask requires a combination of Flask extensions, libraries, and database or session management. With the right tools and approach, it is possible to implement this feature in a secure and user-friendly way.
Conclusion
Flask-Mail is a powerful and easy-to-use extension for adding email functionality to Flask applications. It simplifies the process of sending emails and provides a wide range of features, including support for different email backends, HTML emails, attachments, and more. By leveraging Flask-Mail, you can easily incorporate email functionality into your Flask web application and enhance your user experience. So go ahead and start using Flask-Mail to send emails from your Flask application today!
