OpenCV Installation in Easy Steps
We offer you a brighter future with placement-ready courses - Start Now!!
In this article, we will learn how to install OpenCV-Python across different operating systems such as Windows and Linux. OpenCV is a portable, cross-platform, multi-language supporting, and open-source library for computer vision tasks.
Packages in OpenCV
There are four types of packages that we can install in OpenCV:
1. There are two packages for a standard desktop environment such as Windows, Mac OS, Linux, etc.
- Package 1 – Main modules package includes only the OpenCV modules
- Package 2 – Full package contains both the main modules and contrib modules
2. Packages for server (headless: application without a graphical user interface (GUI)) environments (such as cloud environments etc.), and no GUI library dependencies. These packages are smaller because they do not contain any GUI functionality.
- Package 3 – Headless main modules package
- Package 4 – Headless full package (contains both main modules and contrib and additional modules)
OpenCV Installation steps for Windows
1. Ensuring availability of necessary modules/packages
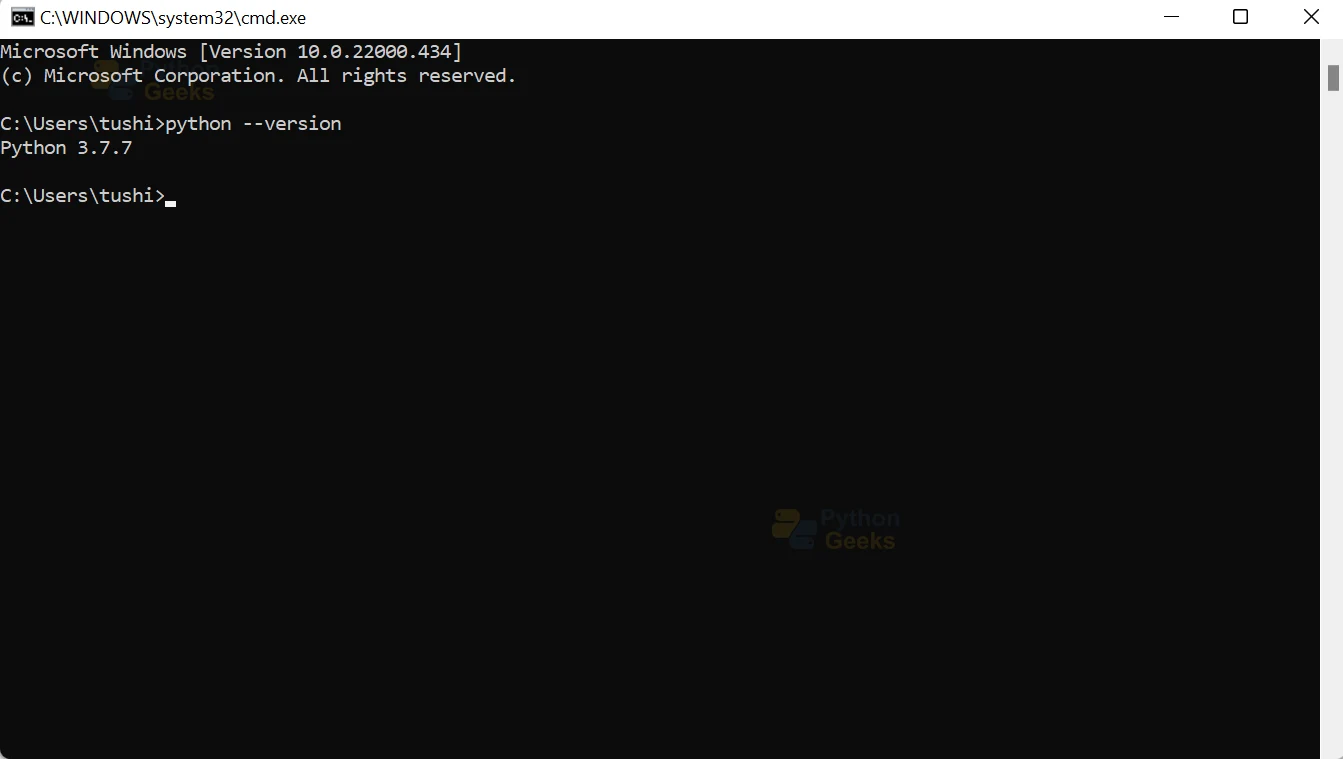
The first step to installing OpenCV is to ensure that your system has Python and pip preinstalled. You can check if your system already contains Python through the following command:
python --version
If Python is already installed in your system, the command prompt will output a message displaying the current version of Python installed in your local device.
2. Downloading/checking version of pip
Pip is a package manager for Python used to install and manage software packages. It’s a tool that lets us install additional libraries and dependencies not distributed along with the standard library. It connects to an online repository of public packages, Python Package Index.
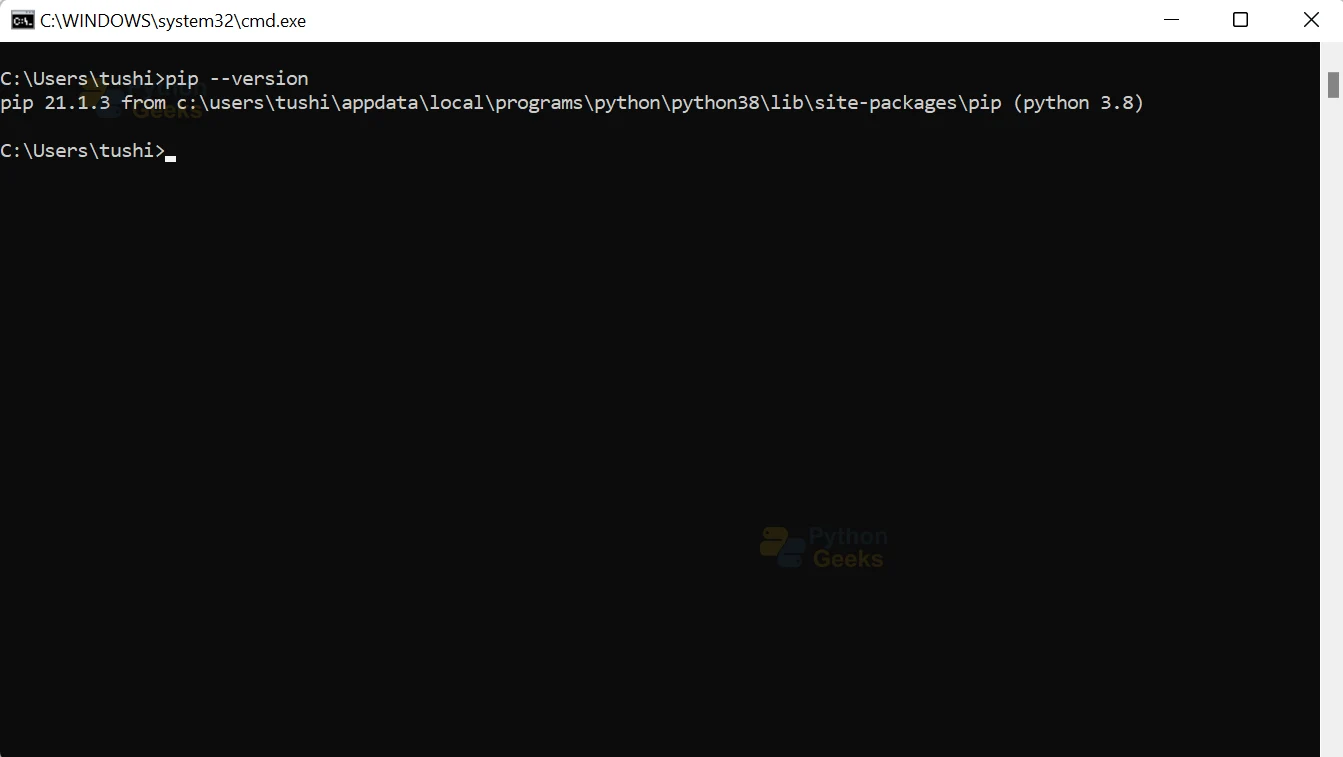
To check if pip is already installed on your device, execute the following command on the command prompt
pip --version
3. Updating the version of pip
We need to ensure that the pip version that we are using is up-to-date (19.3 is the minimum supported version for OpenCV) by executing the following command:
pip install --upgrade pip
By default, pip installs Python packages to a system directory. This requires root access and hence you may not be able to upgrade the version of pip using the above command. To overcome that problem, we need to execute the following command:
pip install –upgrade pip --user
4. Downloading and Installing OpenCV
We can directly download and install OpenCV-python by using pip. If you have previously installed a version of OpenCV, remove it before installation to avoid conflicts using the command:
pip uninstall opencv-python
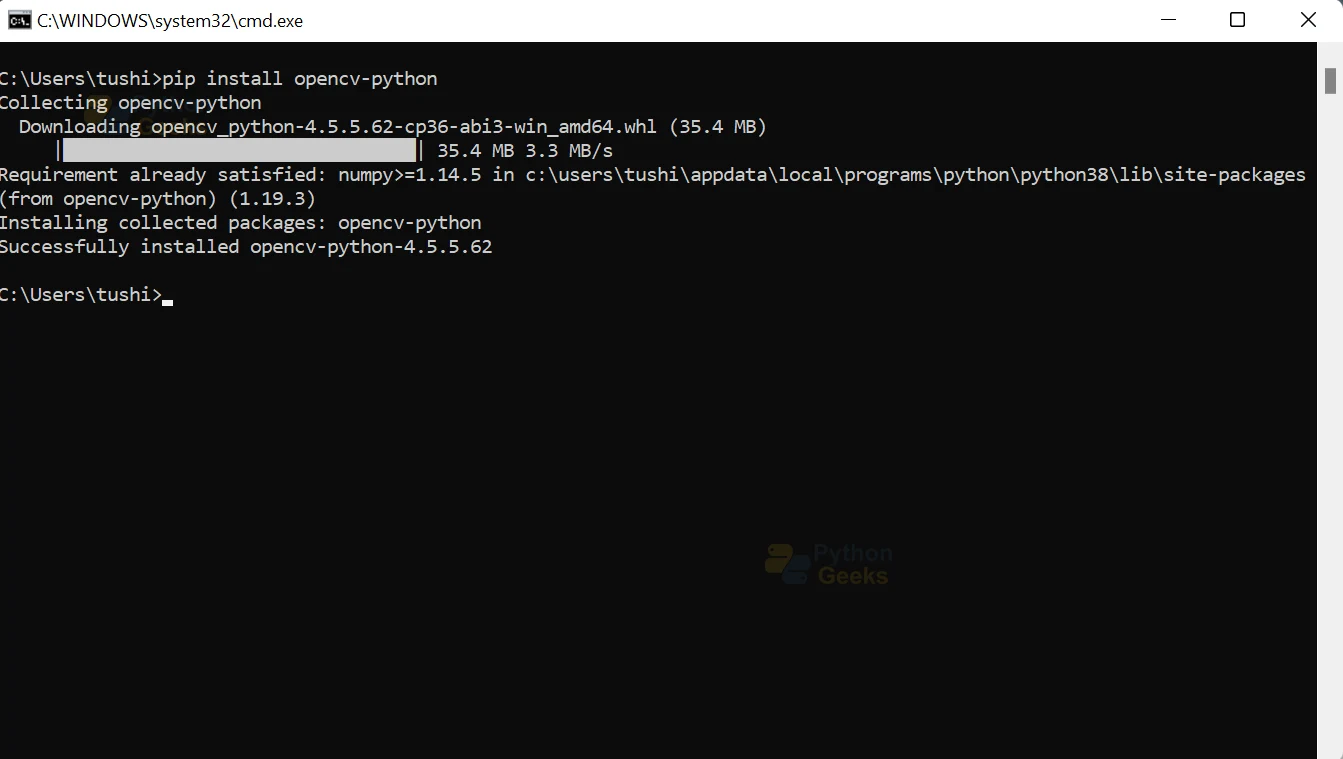
To install OpenCV-python, execute the following code via the command prompt:
pip install opencv-python
Ensure that you select the correct package for your environment. Installing multiple packages has several demerits and can cause conflicts. If we have installed multiple different packages in the same environment, we need to uninstall them all with the command given above and reinstall only one package.
5. Installing OpenCV-contrib
Contrib modules are additional modules that constantly under development and are often used alongside the latest releases of OpenCV. Usually, some functions get transferred to and from OpenCV-Python and OpenCV-contrib-python.
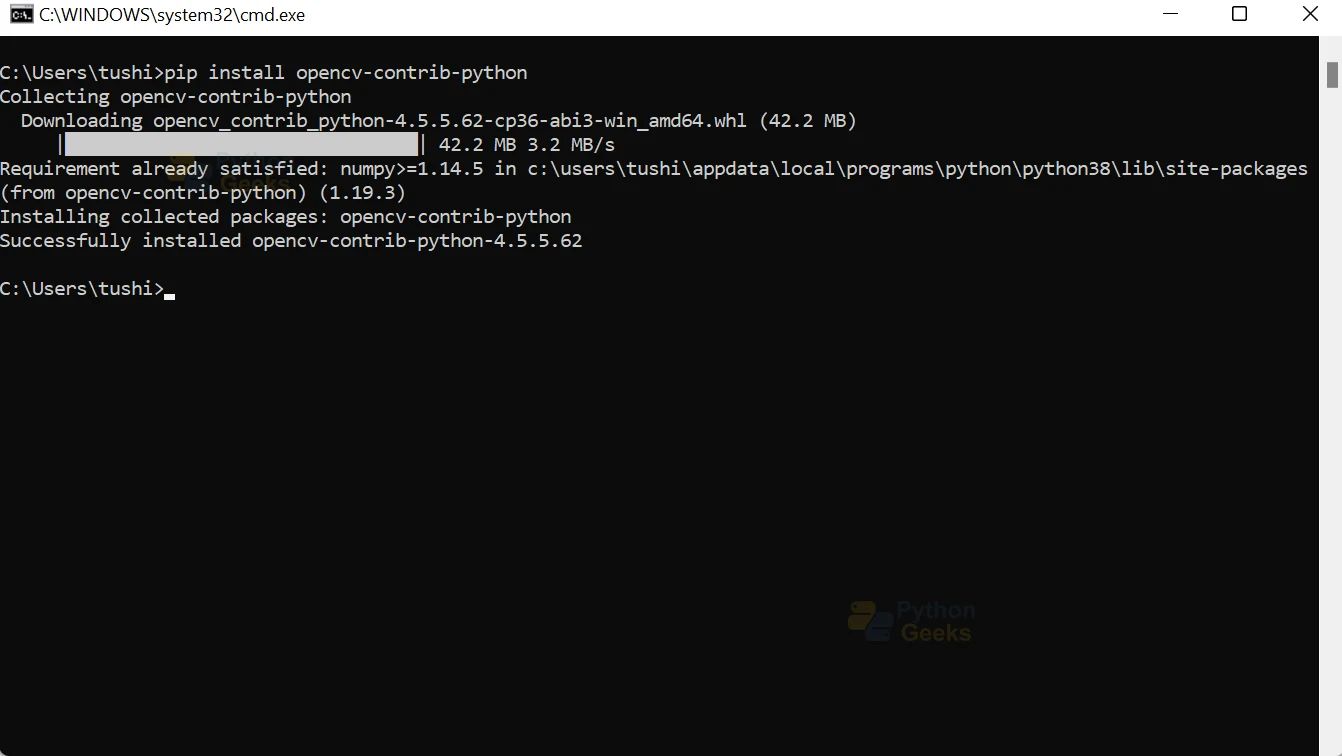
The following command is executed on the command prompt to install OpenCV-contrib-python:
pip install opencv-contrib-python
By executing the above steps, we have successfully installed the latest version of OpenCV-python in our machine for the Windows operating system.
OpenCV Installation steps for Linux
The process of installation of OpenCV for Linux/GNU-based operating systems is very similar to that of the windows operating system.
1. Ensuring availability of necessary modules/packages
The first step remains the same, i.e. we need to ensure that our system has Python and pip preinstalled. We can check if our system already contains Python through the following command:
python3--version
If Python is already installed in your system, then the command prompt will output a message displaying the current version of Python installed on your device.
2. Downloading/checking the version of pip
To check if pip is already installed on our device, execute the following command on the command prompt
pip3 –version
Pip3 command is used in Linux for Python 3 version.
3. Installing or updating pip
To install pip for python 3, the following code has to be run on the command prompt:
apt-get install python3-pip
or
apt-get pip3 install --upgrade pip
4. Installing the OpenCV package for Python.
To install OpenCV, the following command is executed through the command prompt and type the following command:
pip3 install opencv-python
5. Installing OpenCV-contrib
The following command is executed on the command prompt to install OpenCV-contrib-python:
pip3 install opencv-contrib-python
By executing the above steps, we have successfully installed the latest version of OpenCV-python in our machine for the Linux operating system.
Conclusion
In this article, we have explored the different packages that OpenCV-python offers for installation, designed for different environments. We learned how to install OpenCV-python and OpenCV-contrib-python for both Windows and Linux operating systems.

Cctv Camera
Cctv Camera hyak krne kahe
Hi