Understand Django Project Structure
Boost Your Career with Our Placement-ready Courses – ENroll Now
It is important to understand the Django Project Structure. Understanding the Project Structure thoroughly will help you to get an overview of what files you will be working with and a clear view of where you should be writing your code.
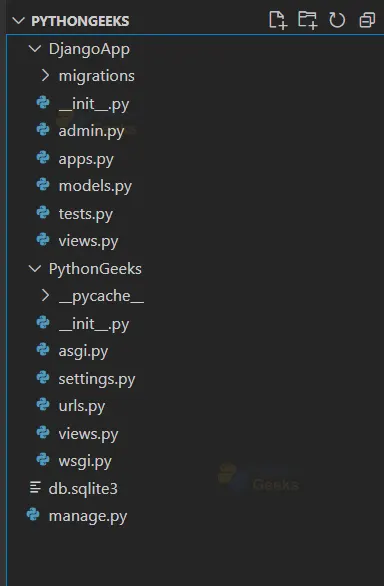
Django Project Structure
As mentioned in the previous tutorial, you can create an application in Django that you can dedicate to separate functionality.
Enter the following command to create a separate Django app:
python manage.py startapp "$AppName"
1. Manage.py
Manage.py is basically a command-line utility that lets us deploy, debug and run our web applications. This file is basically a Module containing models for our Django Application.
It performs the function of django-admin, it even connects the DJANGO_SETTINGS_MODULE environment variable so that it points to our project’s configuration file. It is ideal to use Manage.py when working on a single project over using Django-admin.
The file contains code that will be able to run the server, make migrations, and error handling exceptions to print to the developer while deploying an application.
a. runserver
By default when you use the command along with manage.py, it deploys a development server on port 8080, which developers can use to test their application. You can also manually assign a port number followed by the “runserver” command.
b. migrate
The Migrate command essentially syncs up the database along with unapplied migrations, Django keeps track of this in a special table called django_migrations. It basically runs migrations to sync changes that we have made to our models with schema in the database. Migrations can be thought of as a version control system for our databases.
c. makemigrations
The makemigrations command creates new migrations based on the changes that have been made to the models.
d. dbshell
The dbshell command runs a command-line client for our preferred database engine.
In a similar manner here is a list of subcommands that are available in the manage.py which we can use to manage our Django Application.
[auth]
changepassword
createsuperuser
[contenttypes]
remove_stale_contenttypes
[django]
check
compilemessages
createcachetable
dbshell
diffsettings
dumpdata
flush
inspectdb
loaddata
makemessages
makemigrations
migrate
sendtestemail
shell
showmigrations
sqlflush
sqlmigrate
sqlsequencereset
squashmigrations
startapp
startproject
test
testserver
[sessions]
clearsessions
[staticfiles]
collectstatic
findstatic
runserver
Django Project Files:

Project name of the application is typically provided by the developer while creating the project, using the following command:
django -admin startproject (ProjectName)
2. Init.py
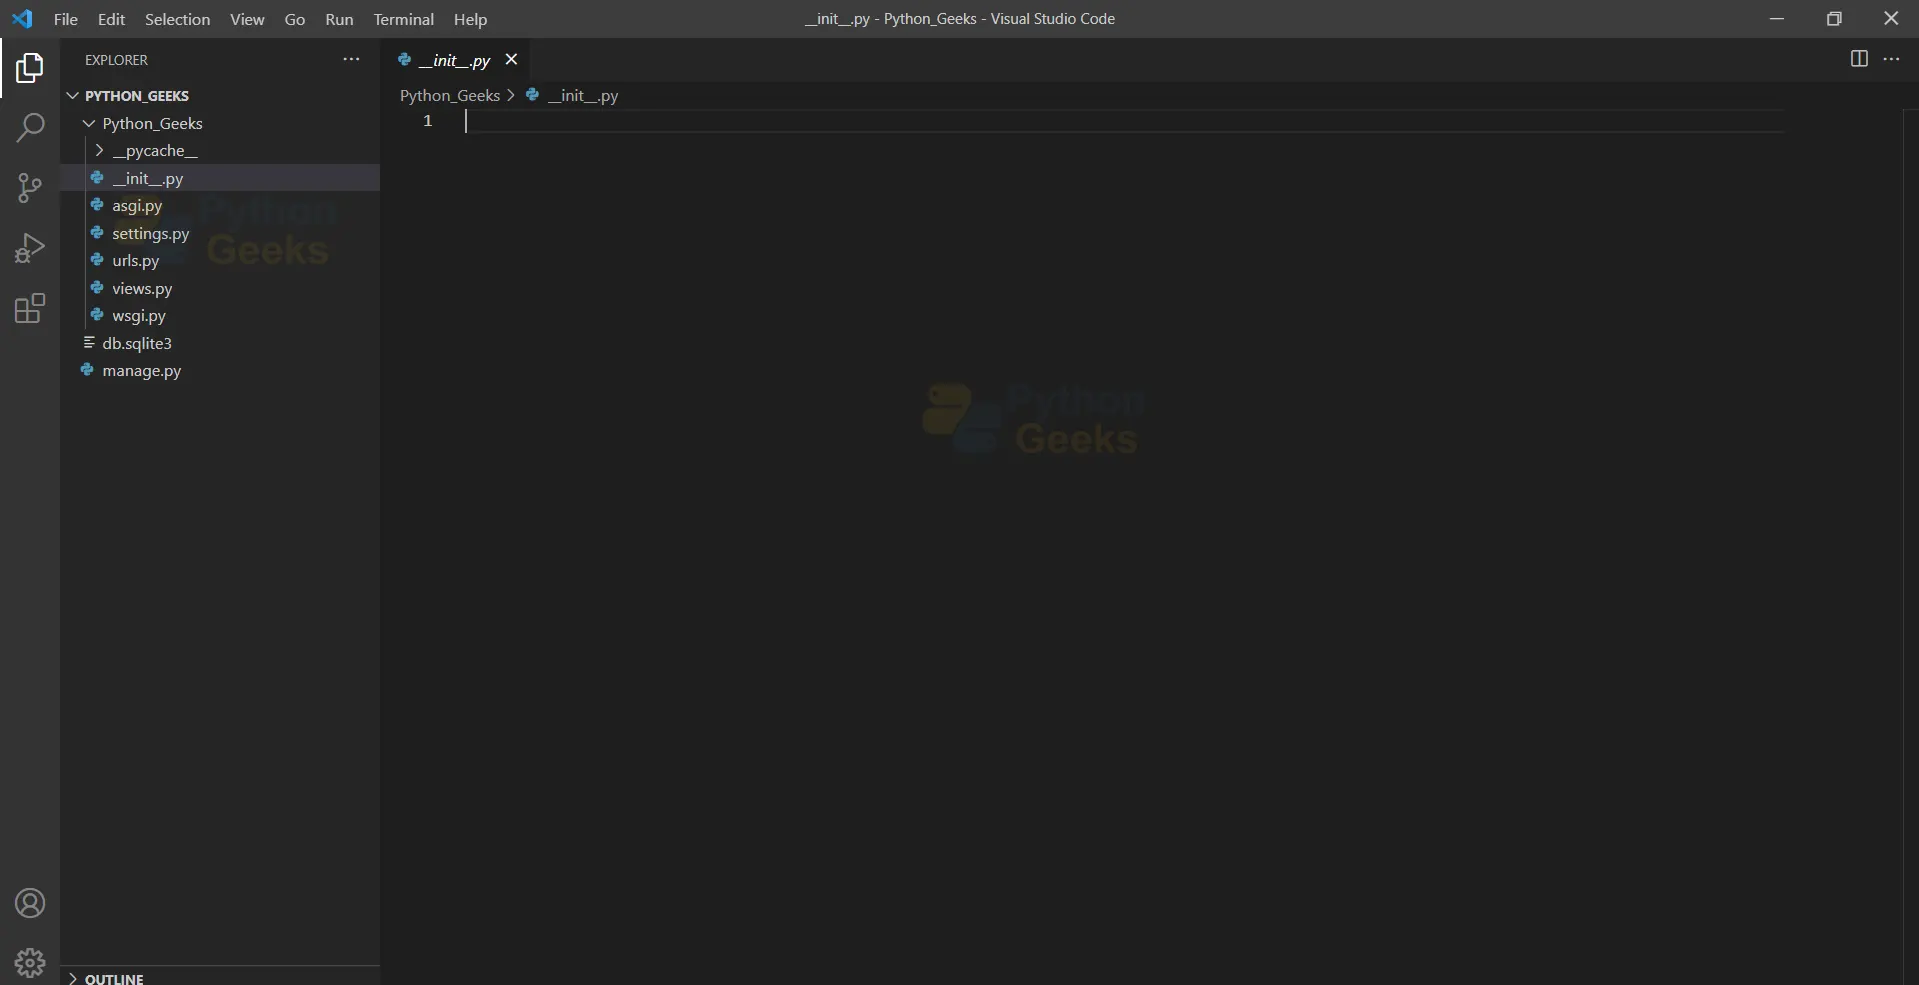
__init__.py file is mandatory for the Python interpreter to let it know that the directory contains the code for the Python module. This helps Python to prevent communicating with directories having a common name. __init__.py file is mandatory and it becomes impossible to import files from another directory without it.
We need not make any changes to this file .
3. Settings.py
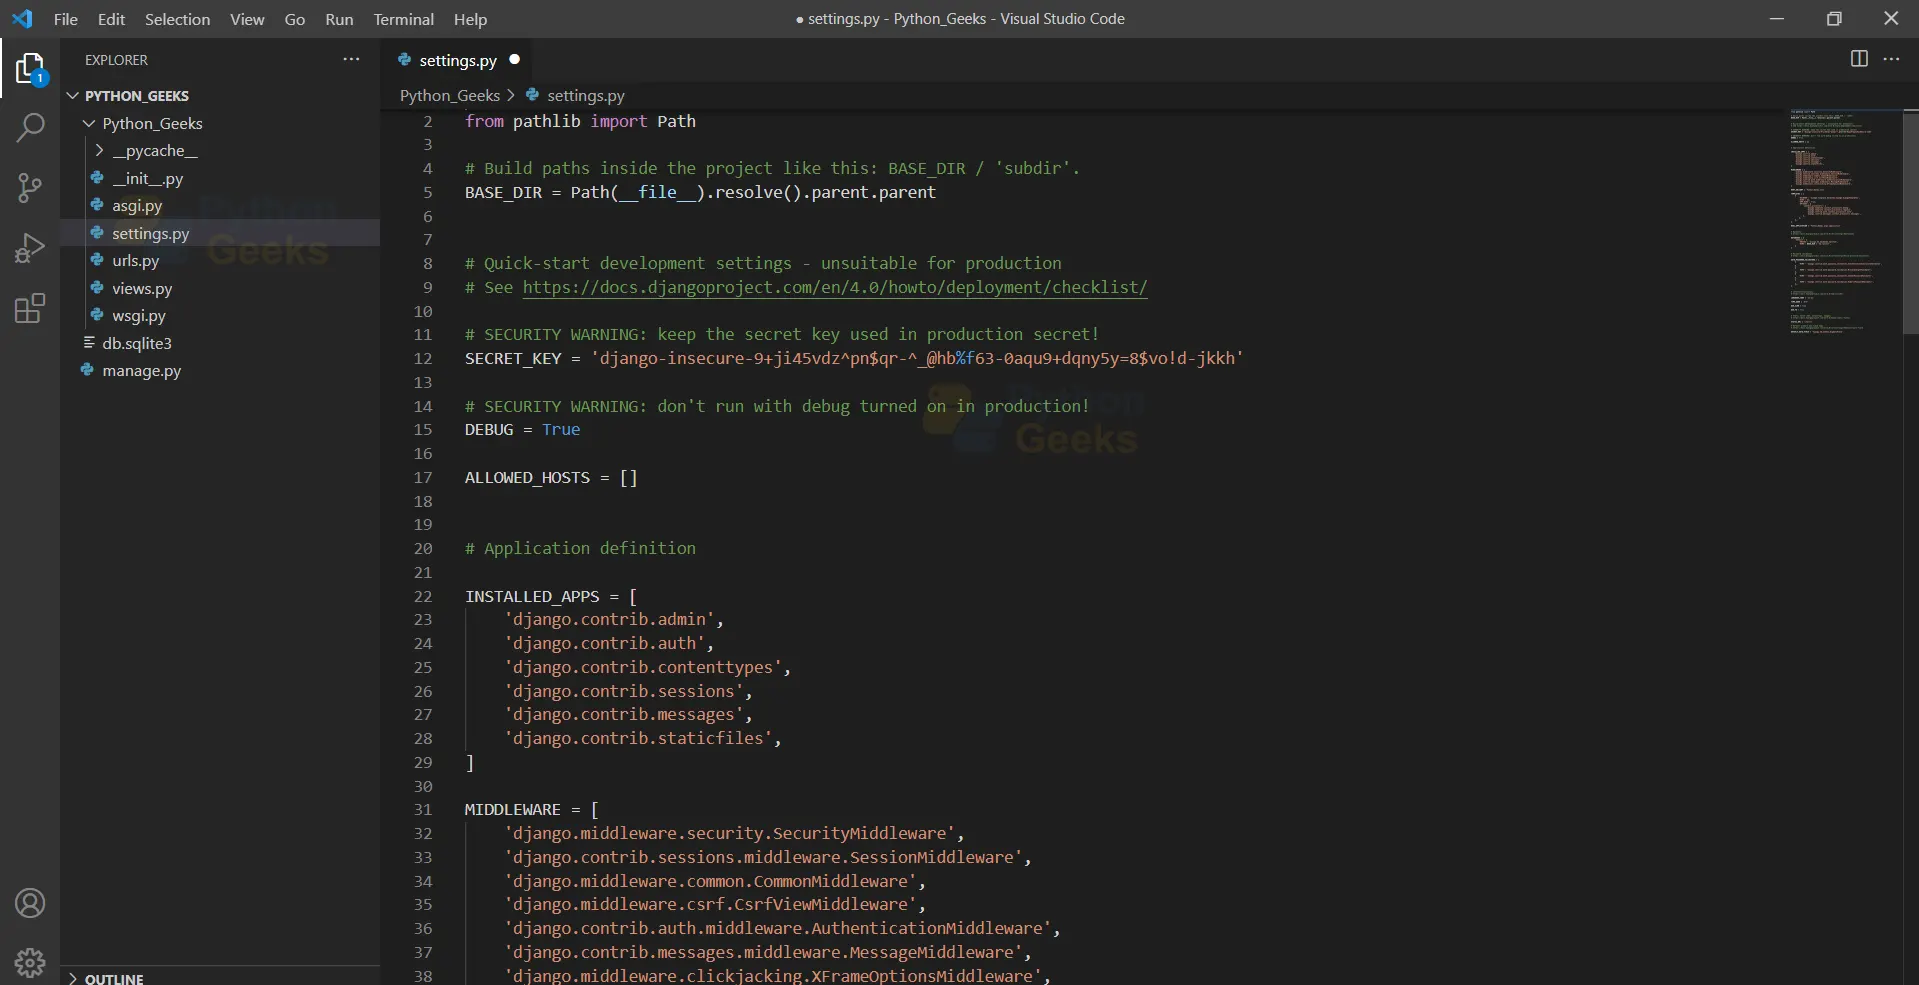
It contains all the Configurations of our web application such as; Database Configuration, Logging Settings, Static Files Path, API Keys, DEBUG Value, etc.
After you initiate a new custom application, it is mandatory to reflect changes in this file in order for the web application to work properly.
You should add your Applications and Middleware Applications here for Django to detect them. SQL3 happens to be the default database in the configuration but we can change according to our needs and switch to databases like PostgreSQL, MongoDB.
If you’re in a development phase, you should also change the DEBUG value to True, so that you don’t have to restart your server every time you make changes in your application.
4. urls.py
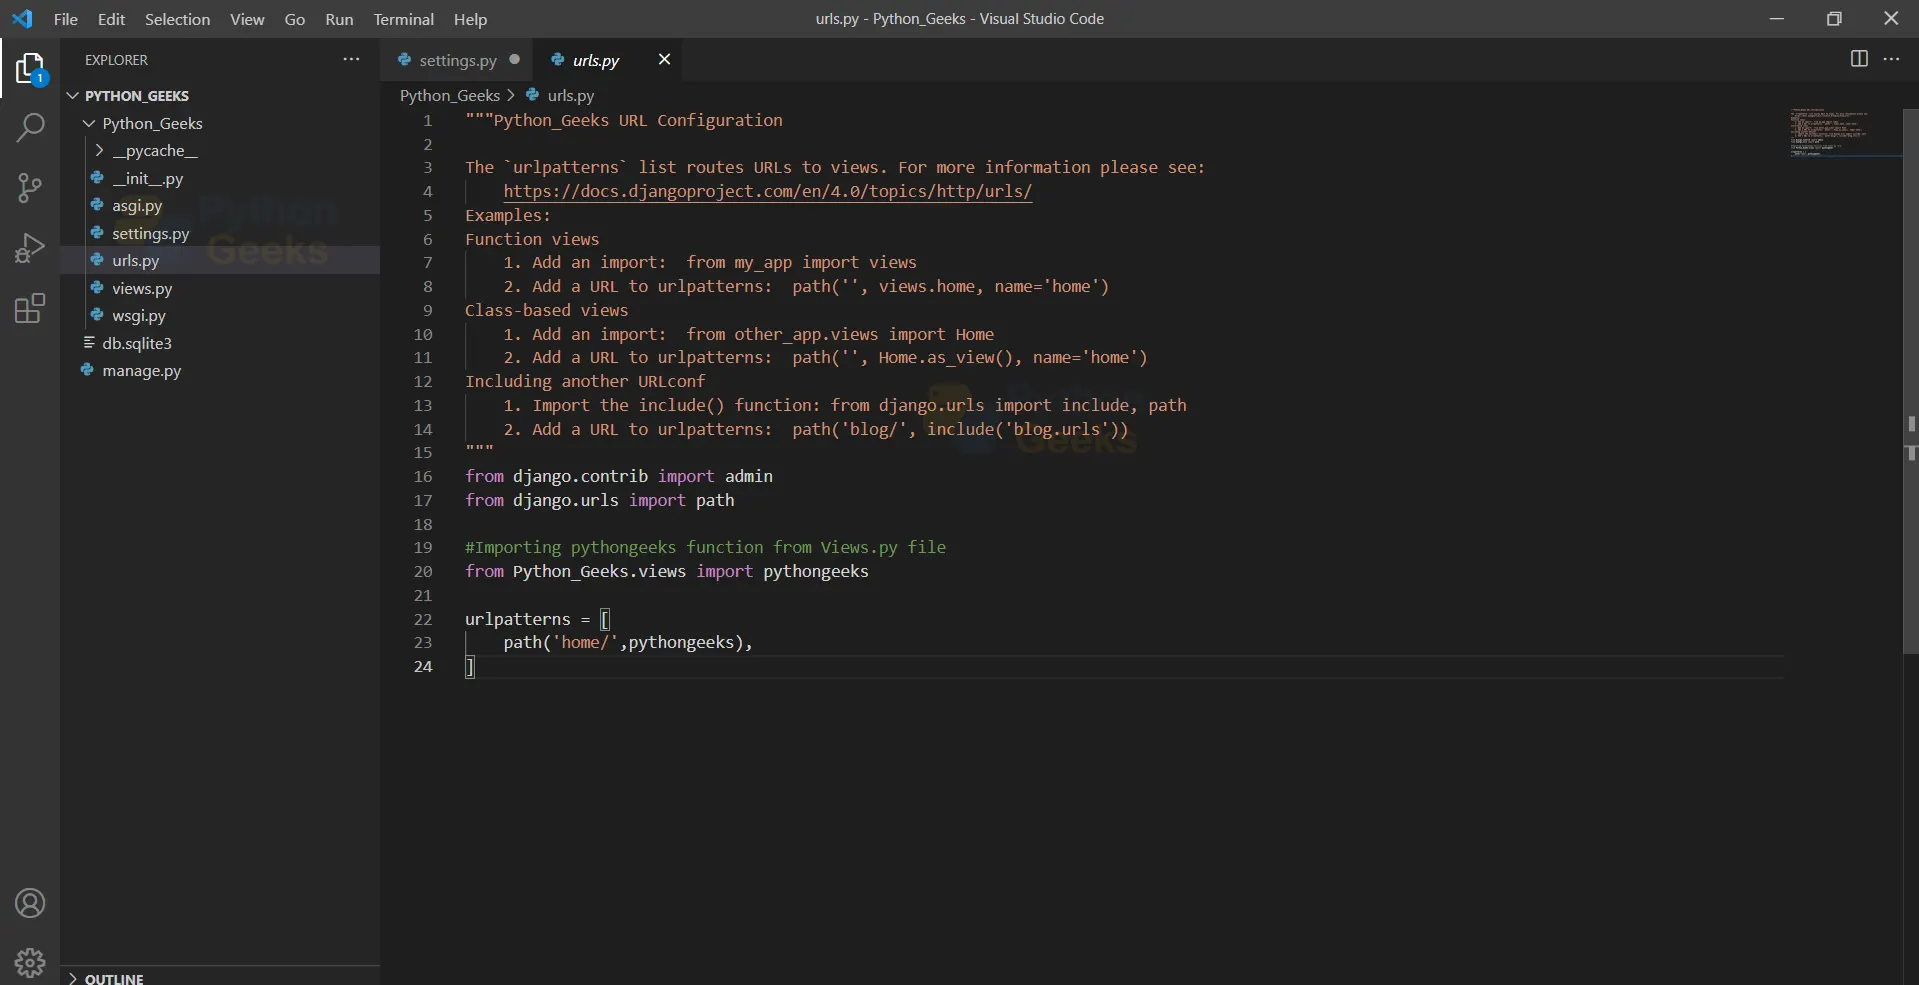
Urls.py contains URL information of all Project URLs. URL stands for Universal Resource Locator and it helps you browse resources using a definitive address.
urls.py purpose is to connect the web application with the project and assign a URL address to the designated app.
Recall our urls.py file from our first project app tutorial :
urlpatterns = [
  path('home/',PythonGeeks),
]
We have assigned “PythonGeeks” View Function to 127.0.0:8080/home using the urls.py file.
5. wsgi.py
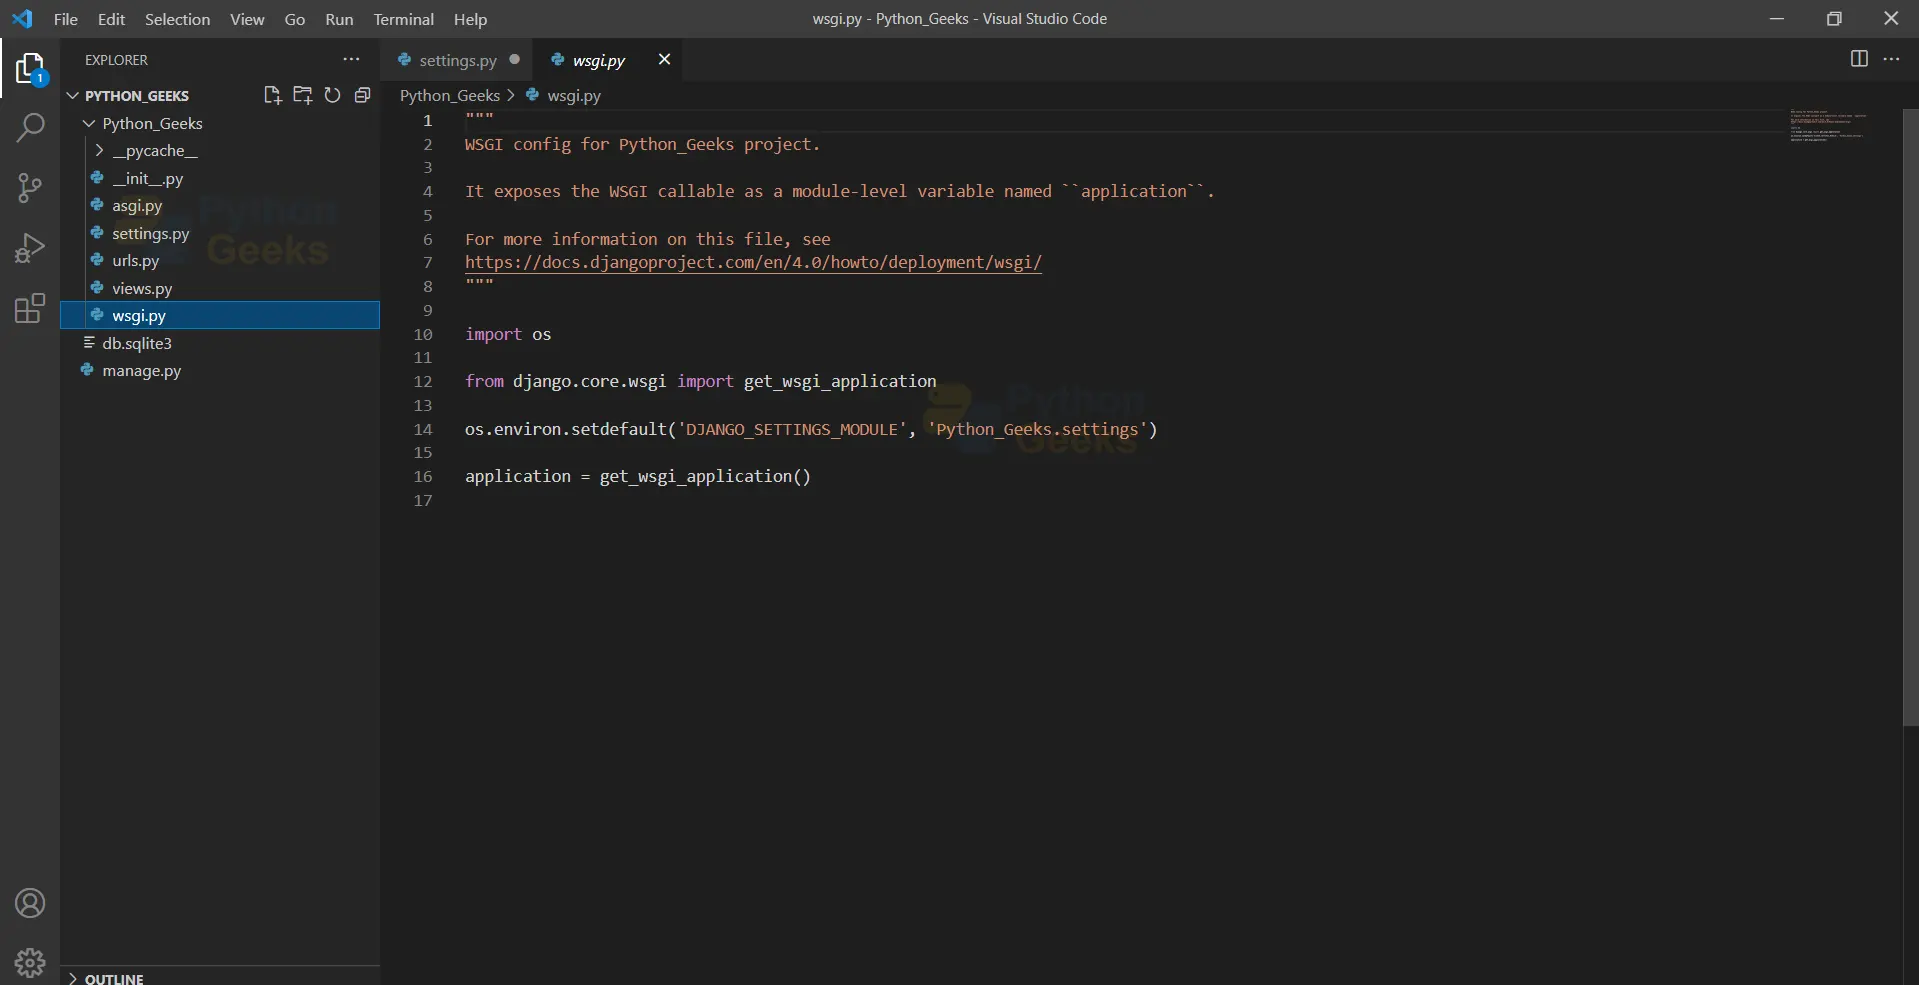
Django relies on WSGI (Web Server Gateway Interface), a Python webserver. Since Django is a backend code, it is deployed on servers that can support it. wsgi.py specifies how servers should interact with the web application.
It is modified during deployment and we need not make any changes to it while in the development phase. WSGI is a file you will be working with when you have to deploy your application, for now, we can ignore the file and keep it as it is .
6. asgi.py
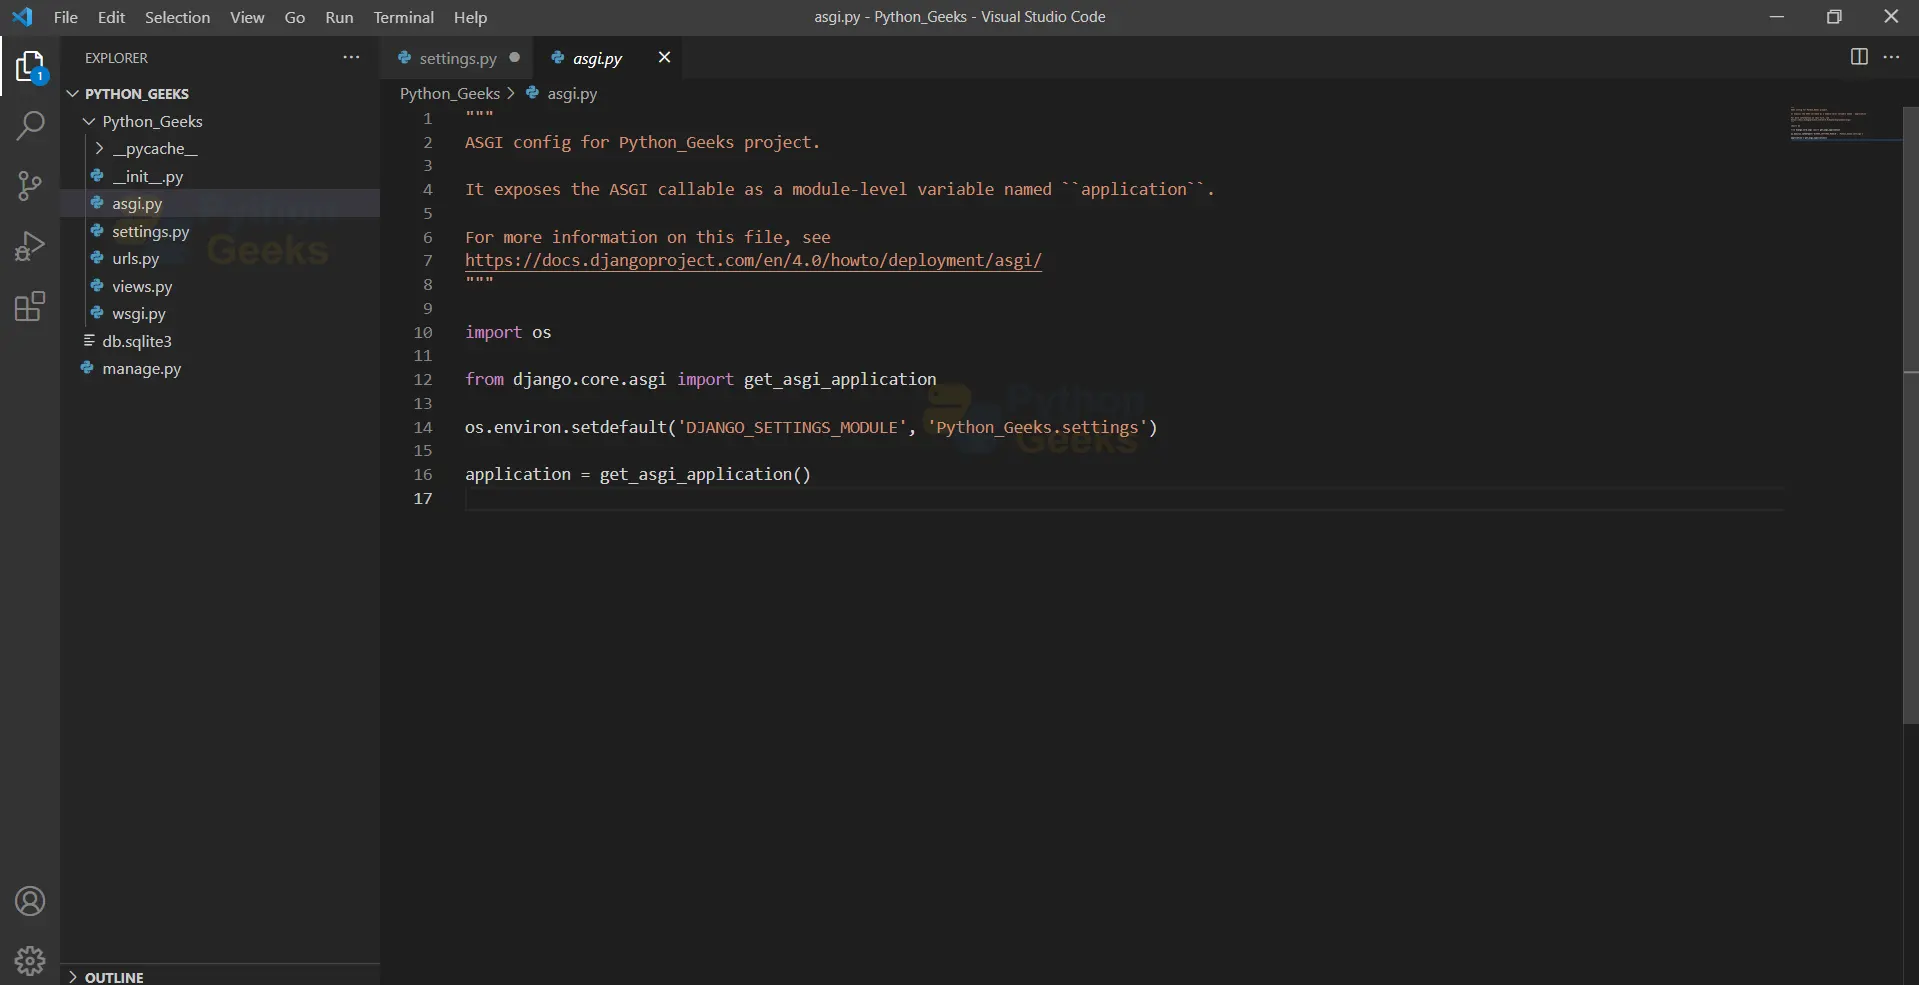
ASGI stands for Asynchronous Server Gateway Interface, it is similar to WSGI, but it performs some additional functions and is considered as an upgrade to WSGI.
While WSGI supports only synchronous code, ASGI provides support for Asynchronous Code. These days WSGI is being heavily replaced by ASGI.
7. admin.py
As mentioned previously, one can create a separate Django App to work with a dedicated component. An admin.py file is made when you create an app.
As the name suggests, admin.py is a file used to display the admin panel. This file is used to connect the models to the admin interface and make changes from the admin portal.
Admin Interface does the following functions:
- Creating Models
- Reading Models
- Deleting Models
- Updating Models
- Creating Users and Assigning Permissions
- Login Function
8. tests.py
tests.py file contains code for application testing. The code usually contains different kinds of test cases such as testing app functionalities, etc. This is usually done before the application goes live into the production environment. Most modern web apps are usually tested using DevOps tools such as selenium, you won’t be working with the file unless you want to not depend on ready-made tools.
9. views.py
When you make a request to a webpage via browser, Django looks at the request URL, Decides which function to fire in Views.py. Views then return a response to the browser by feeding the template which is then rendered by the webserver.
views.py file contains classes that are rendered when the client makes requests to the web application.
Summary
In this tutorial, we have discussed the file structure of the Django Project. These files are automatically created when you create your Django application and are mandatory for your Django Application to work smoothly. You need not have all the mentioned files, you will be working with them as you learn Django.

Je veux Voyager d’aute pays
Bien
Projet
Great Work 🙂
Good explanation